
Panini Bread, The Italian Way
This post may contain affiliate links. Please read my disclosure policy for more details.

This easy panini bread recipe makes crusty, delicious panini rolls that make your kitchen smell like an Italian bakery! It’s a no-knead recipe, an absolute dream when you want fresh bread in about 1 HOUR. Video recipe and photos included!
Published on February 2020 /Updated on September 2024

I first published this panini recipe in 2020 and had to share it again to encourage you to make it. It’s AMAZING and has been my go-to bread recipe for ages.
Join my newsletter for free weekly recipes!
It’s on par with this no-knead pizza dough in terms of simplicity and method and makes the best bread for panini sandwiches. Still, these crusty and flavorsome rolls also pair wonderfully with soups, salads, cheese, and charcuterie. Their crispy texture is just addictive!
And best of all, it’s effortless. You only have to mix all the ingredients in one bowl; no kneading is required, which means the dough itself comes together in minutes. Next, let it rise, shape, and bake.
And you’re done. Your freshly baked panini bread will be on the table in about 1 hour, and you’ll love it!

What’s Panini
“Panini” is an Italian word. One panino (singular), two panini (plural). In Italian, the noun panino means a small bread roll without filling. However, the word is also used to indicate a sandwich made from Italian bread. The bread is cut horizontally (not sliced!) and filled with deli ingredients, often served warmed or grilled.
Panetteria is the Italian word for bakery, and every panetteria in Italy sells plain panini. And if you visit Italy, visit one of the many bakeries in the morning, get fresh bread, and think of me for a second. 🙂
Watch how to make it
List of the ingredients
- Flour
- Olive oil
- Active dry or instant yeast
- Salt
- Sugar
- Water
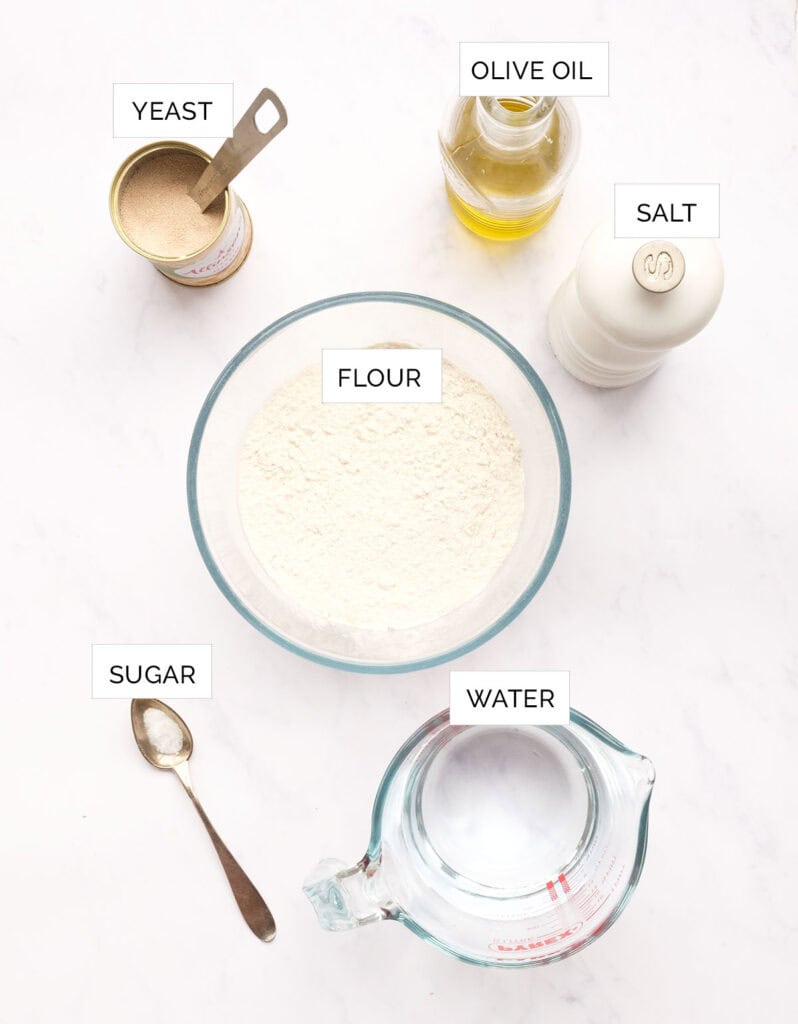
HOW to make PANINI bread DOUGH
(Note: this is a quick description; the full recipe is at the bottom of the page)
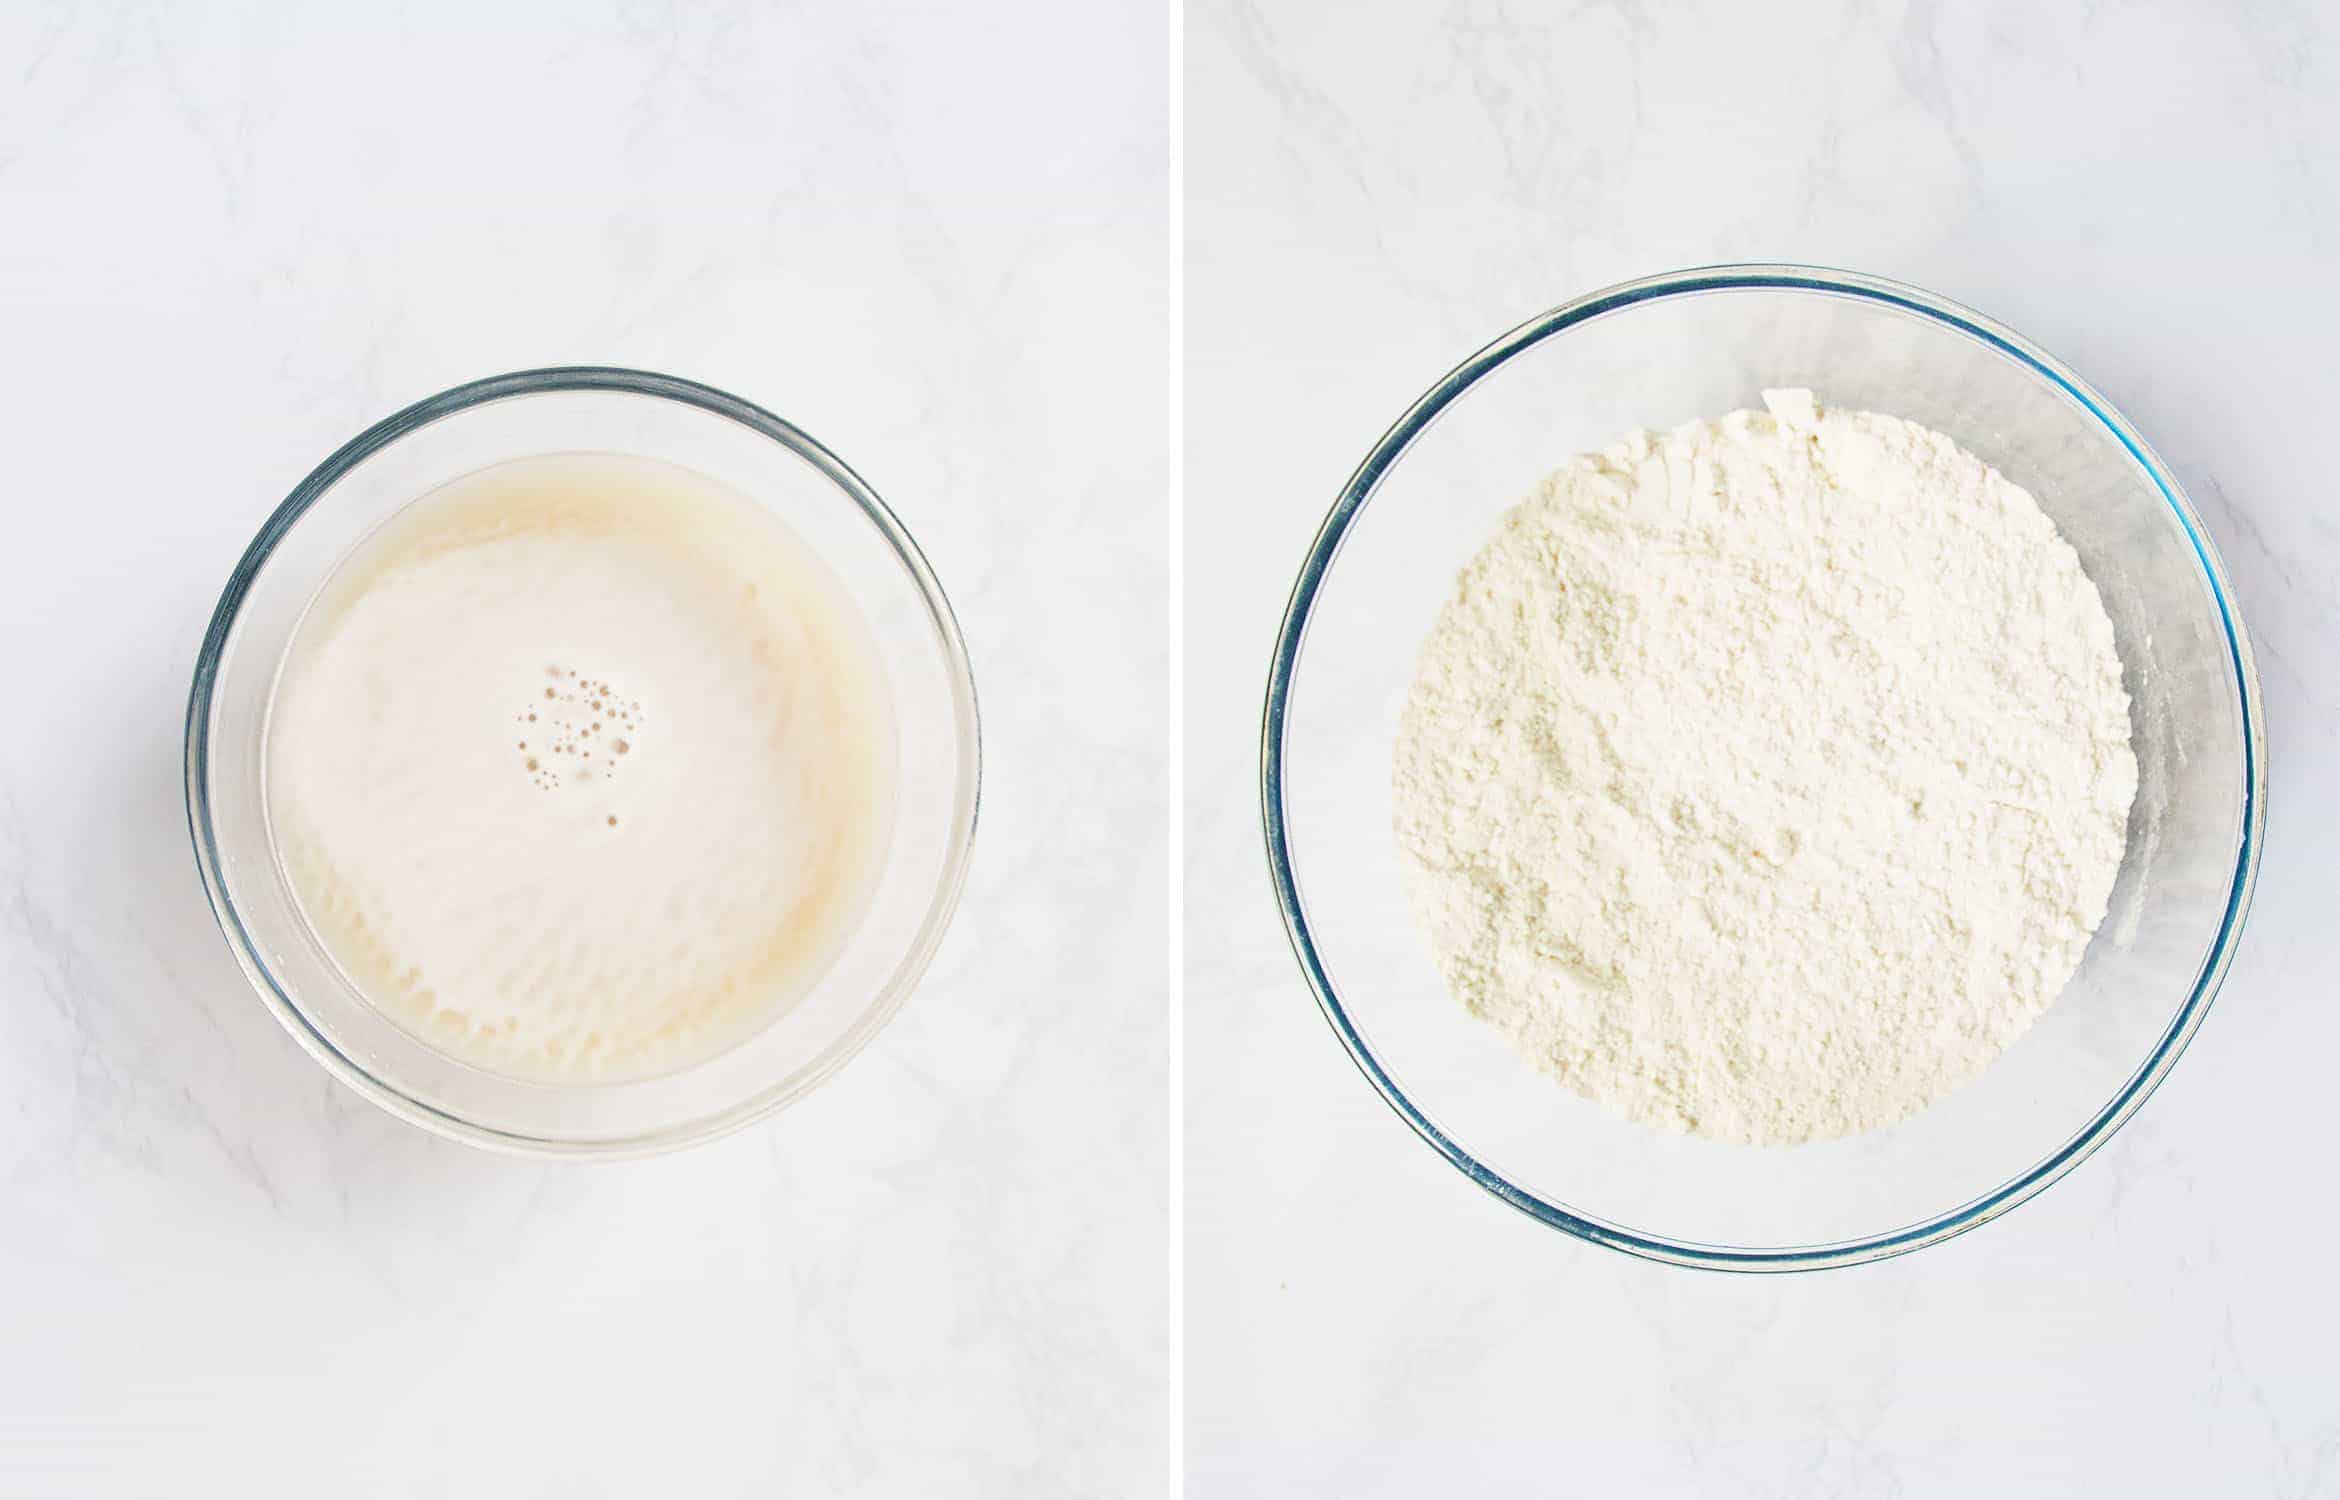
- In a small bowl, mix water, yeast, sugar, and let sit until foamy.
- In a larger bowl, combine flour and salt.
- Pour the liquid into the dry ingredients and add olive oil.
- Mix well with a fork; you want to incorporate all the liquid. If the dough doesn’t have the consistency shown in the photo below, gradually add a little extra water until the flour has been incorporated.
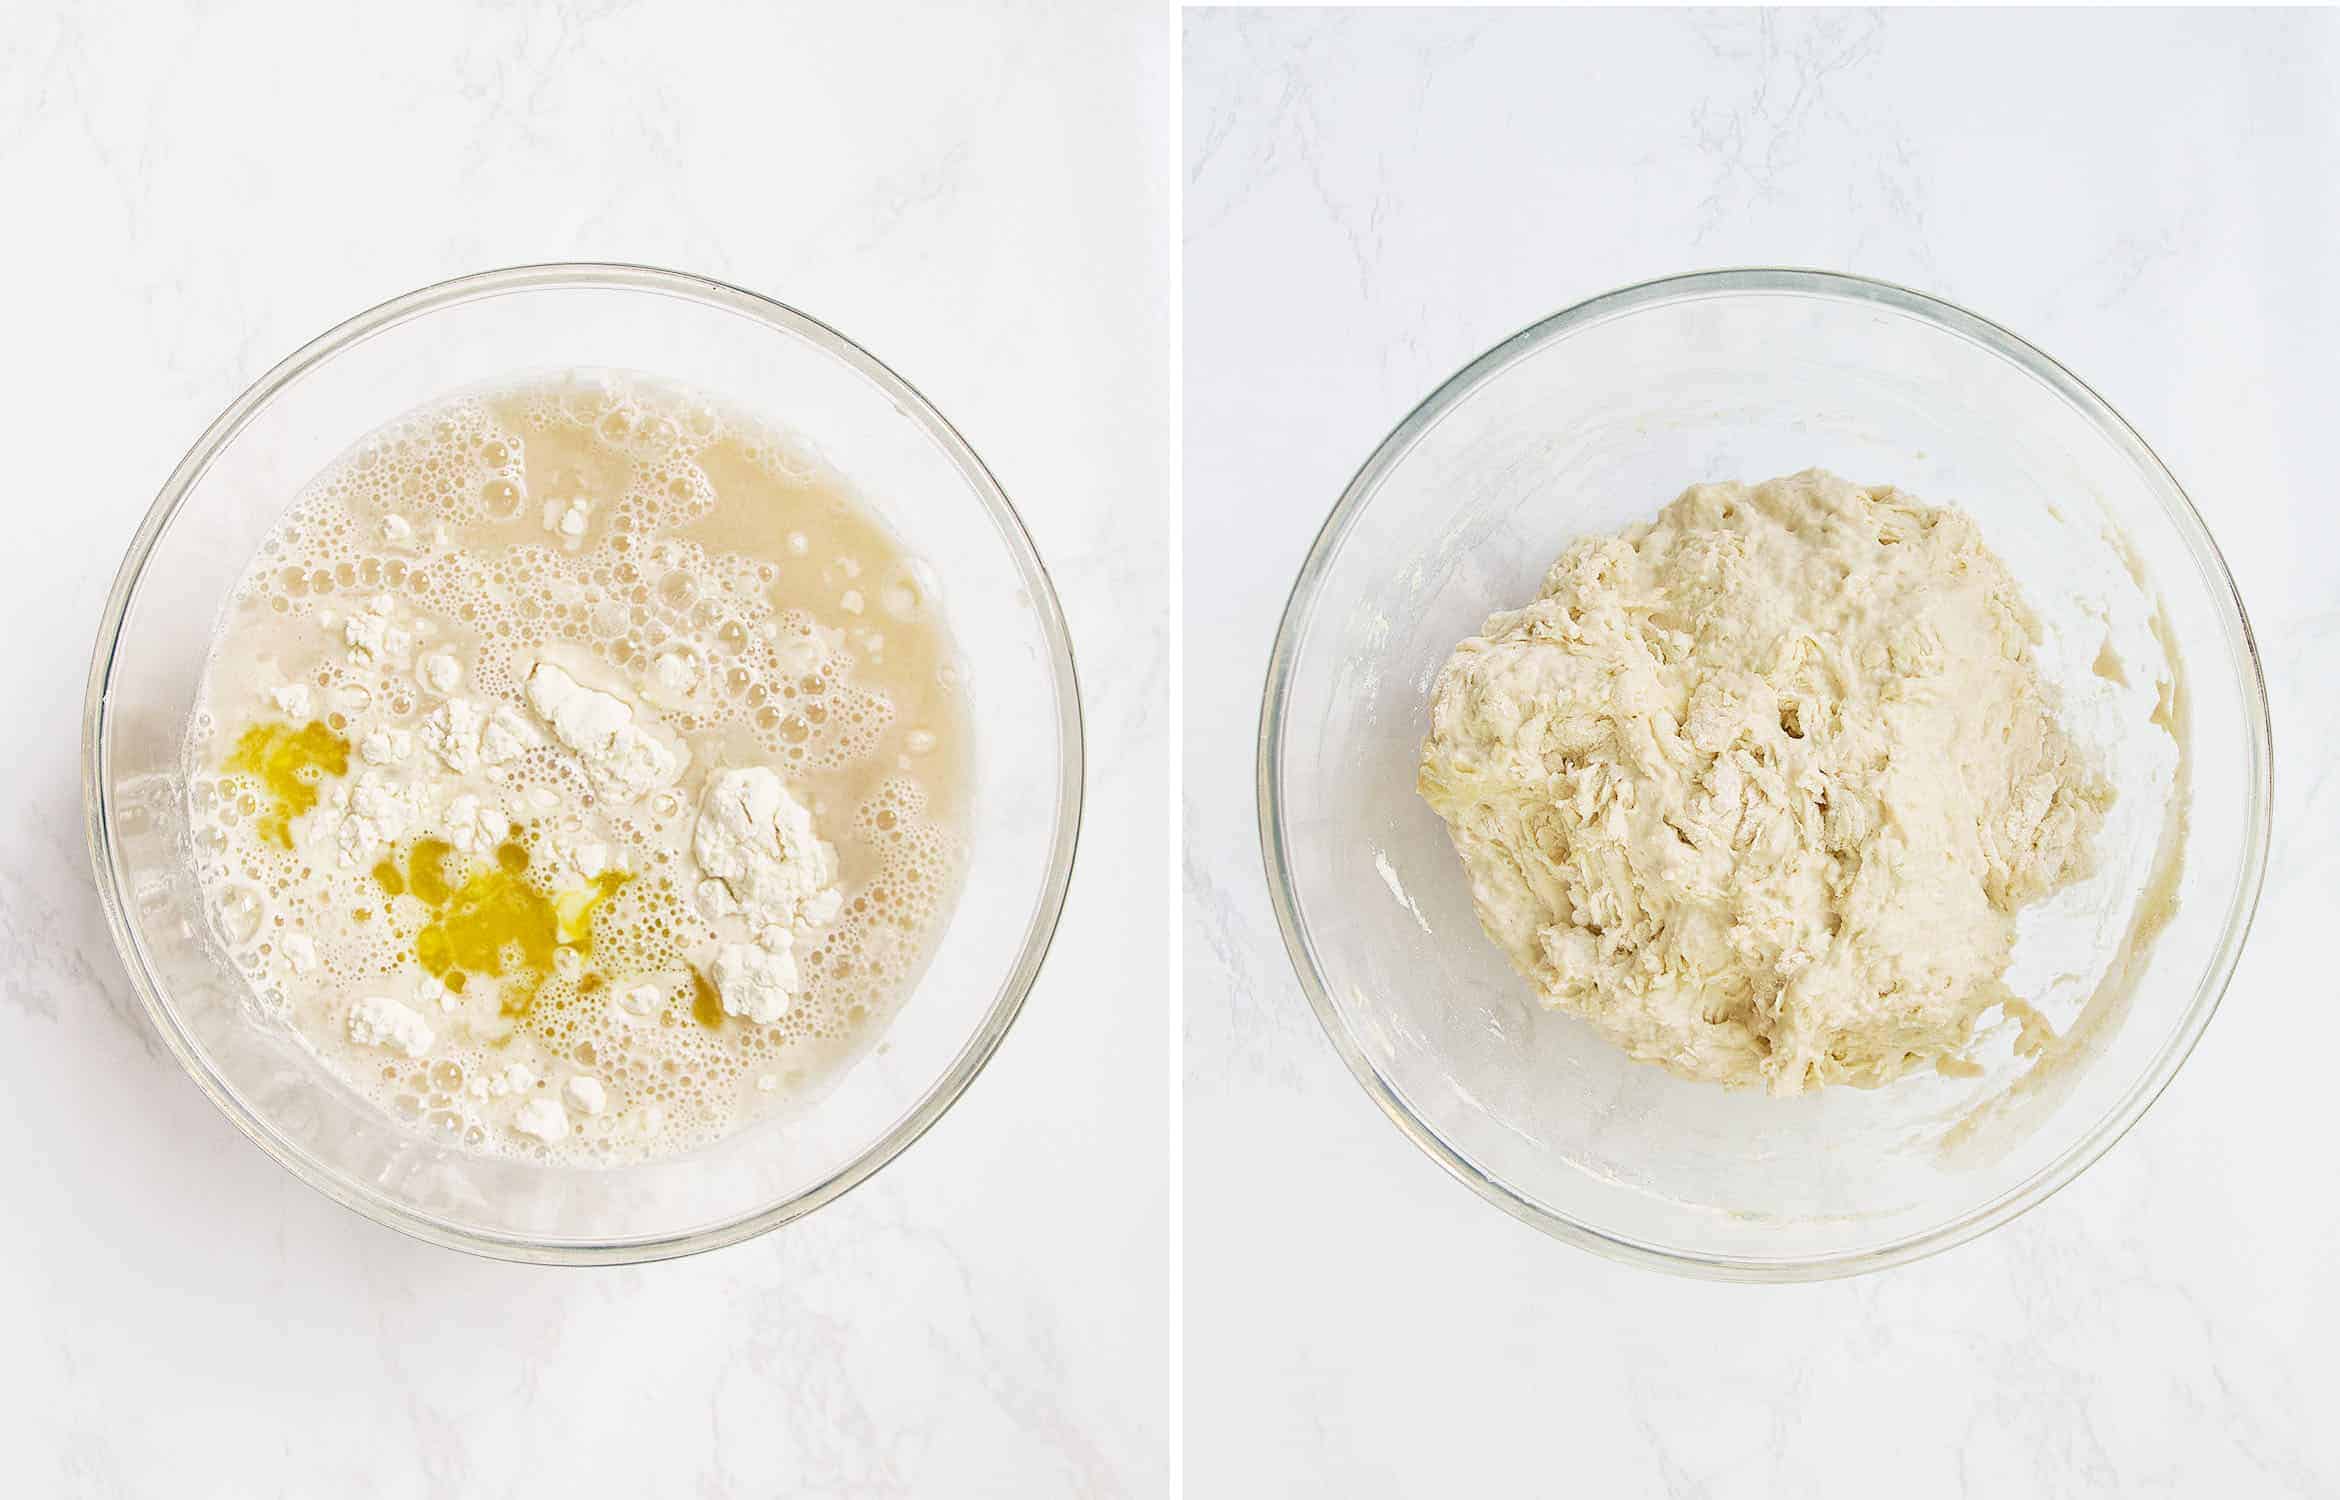
- Place the dough and its bowl in a slightly warm oven for 35-40 minutes. This trick creates a warm environment and helps the dough rise faster. Below is what the dough looks like after this rest.
- Next, using a spatula, pour the dough on a floured surface.
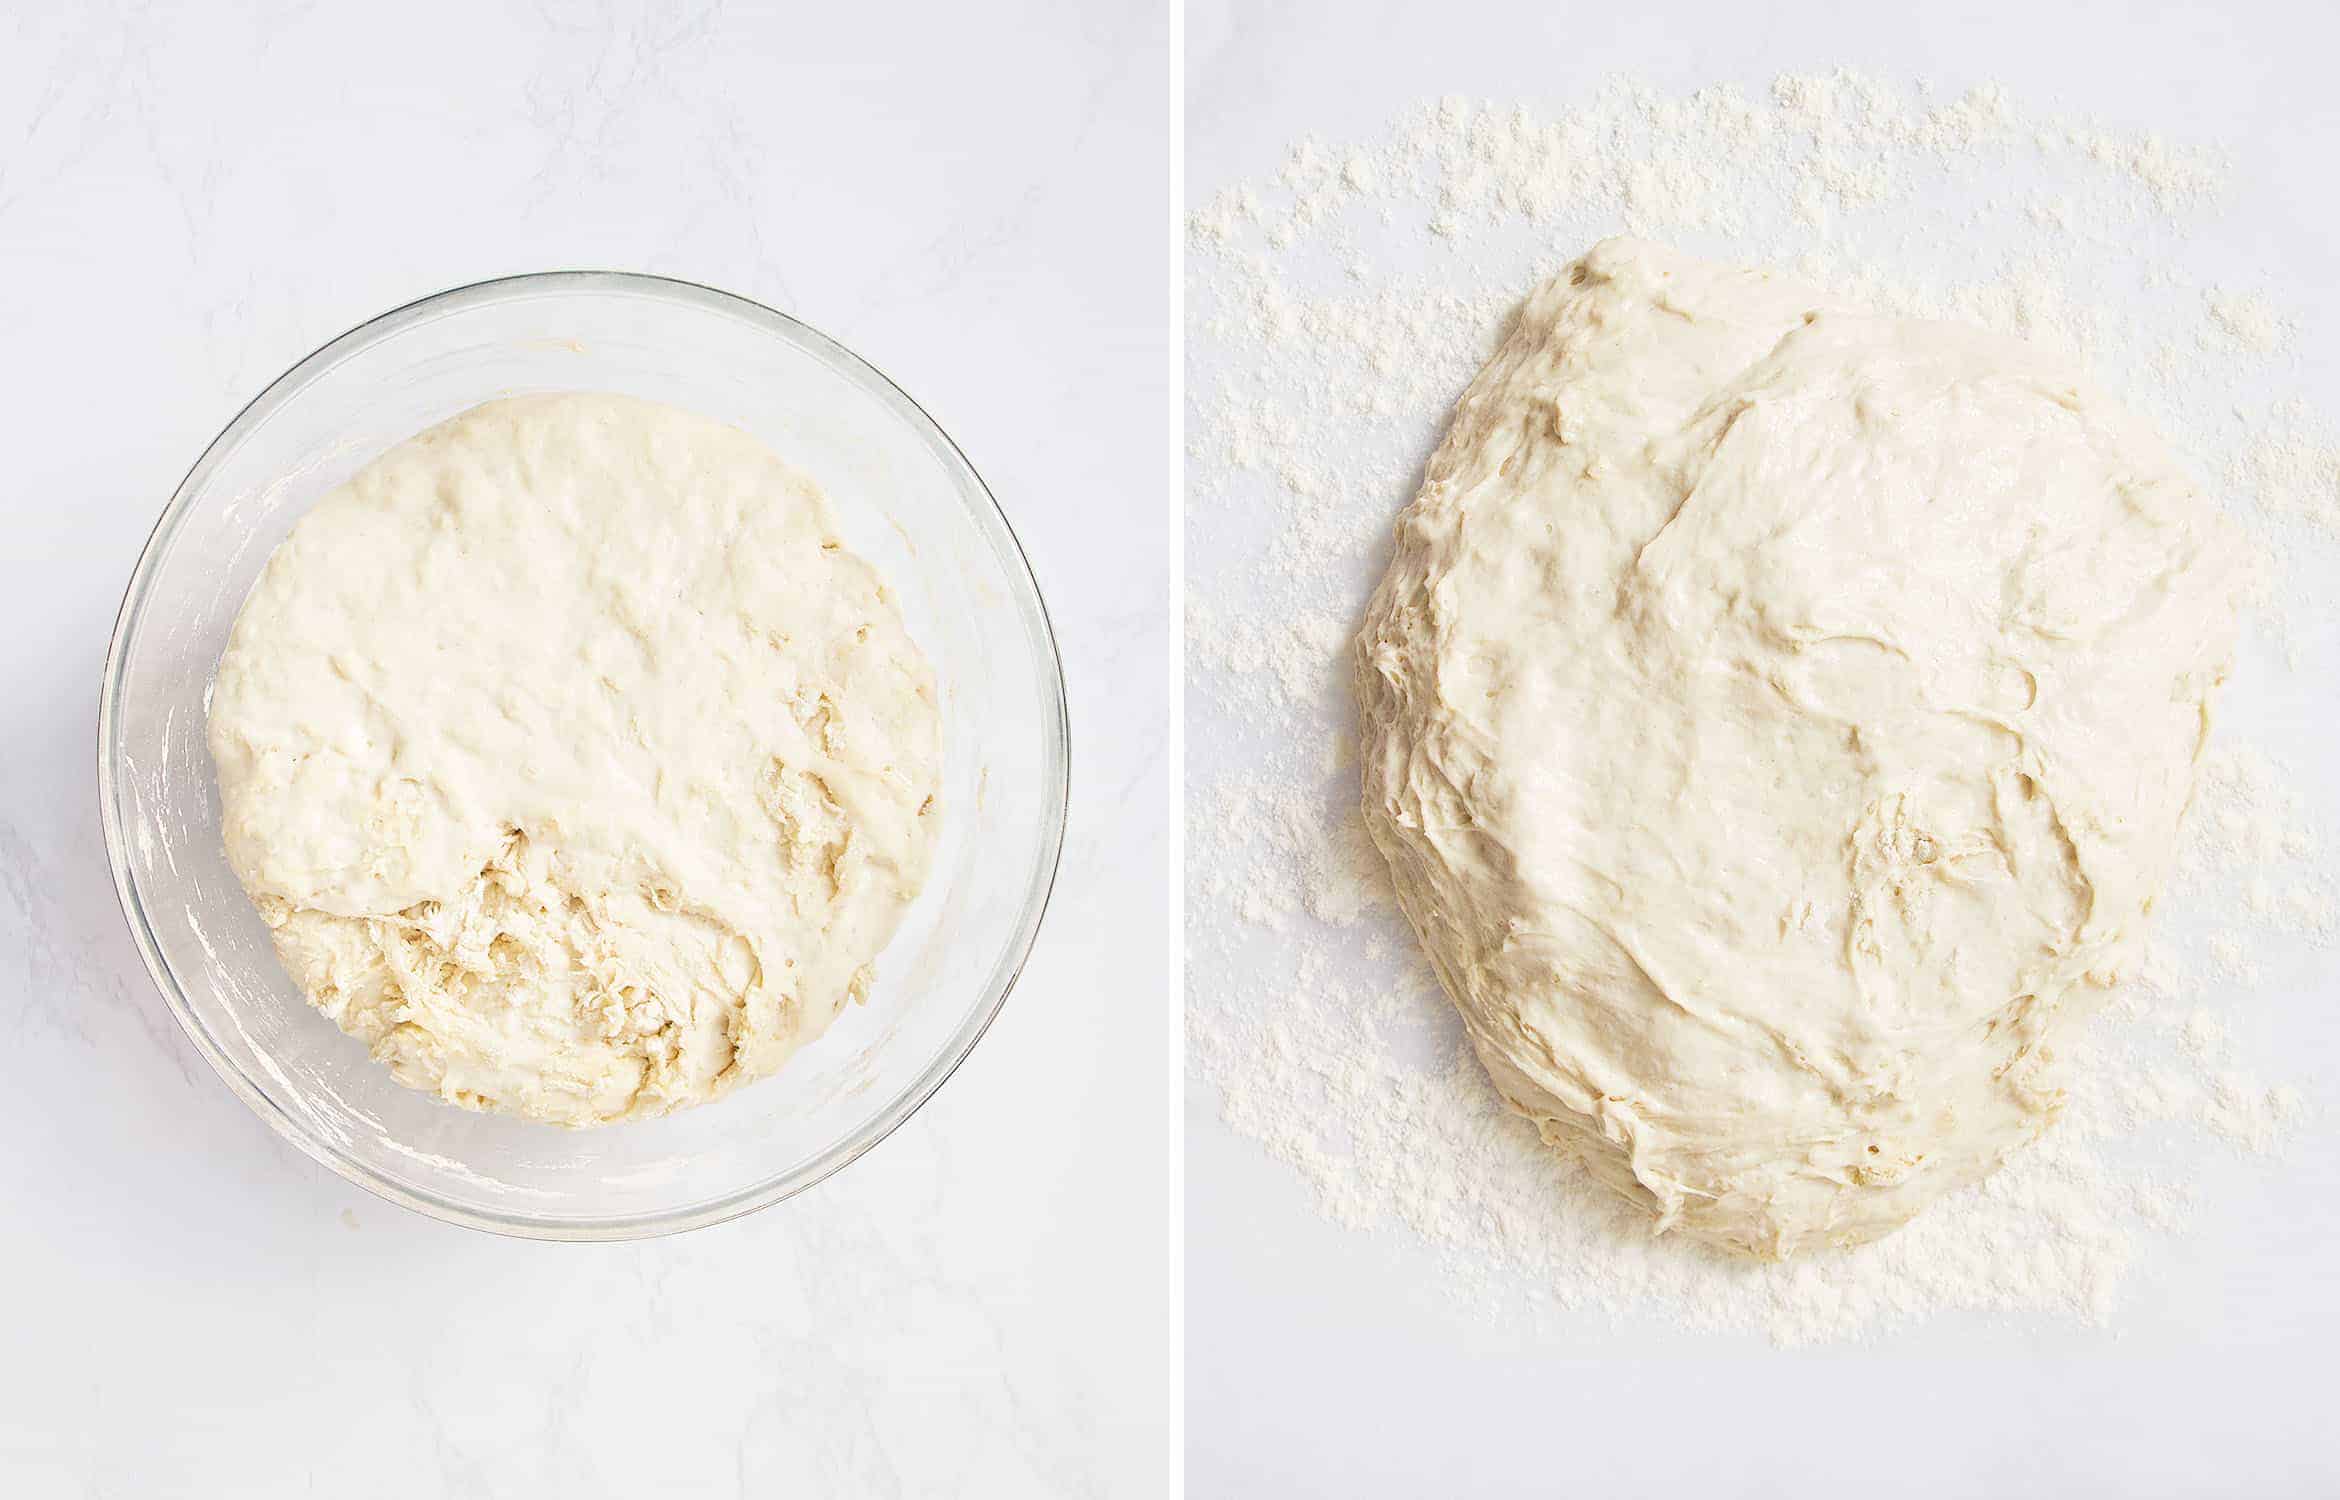
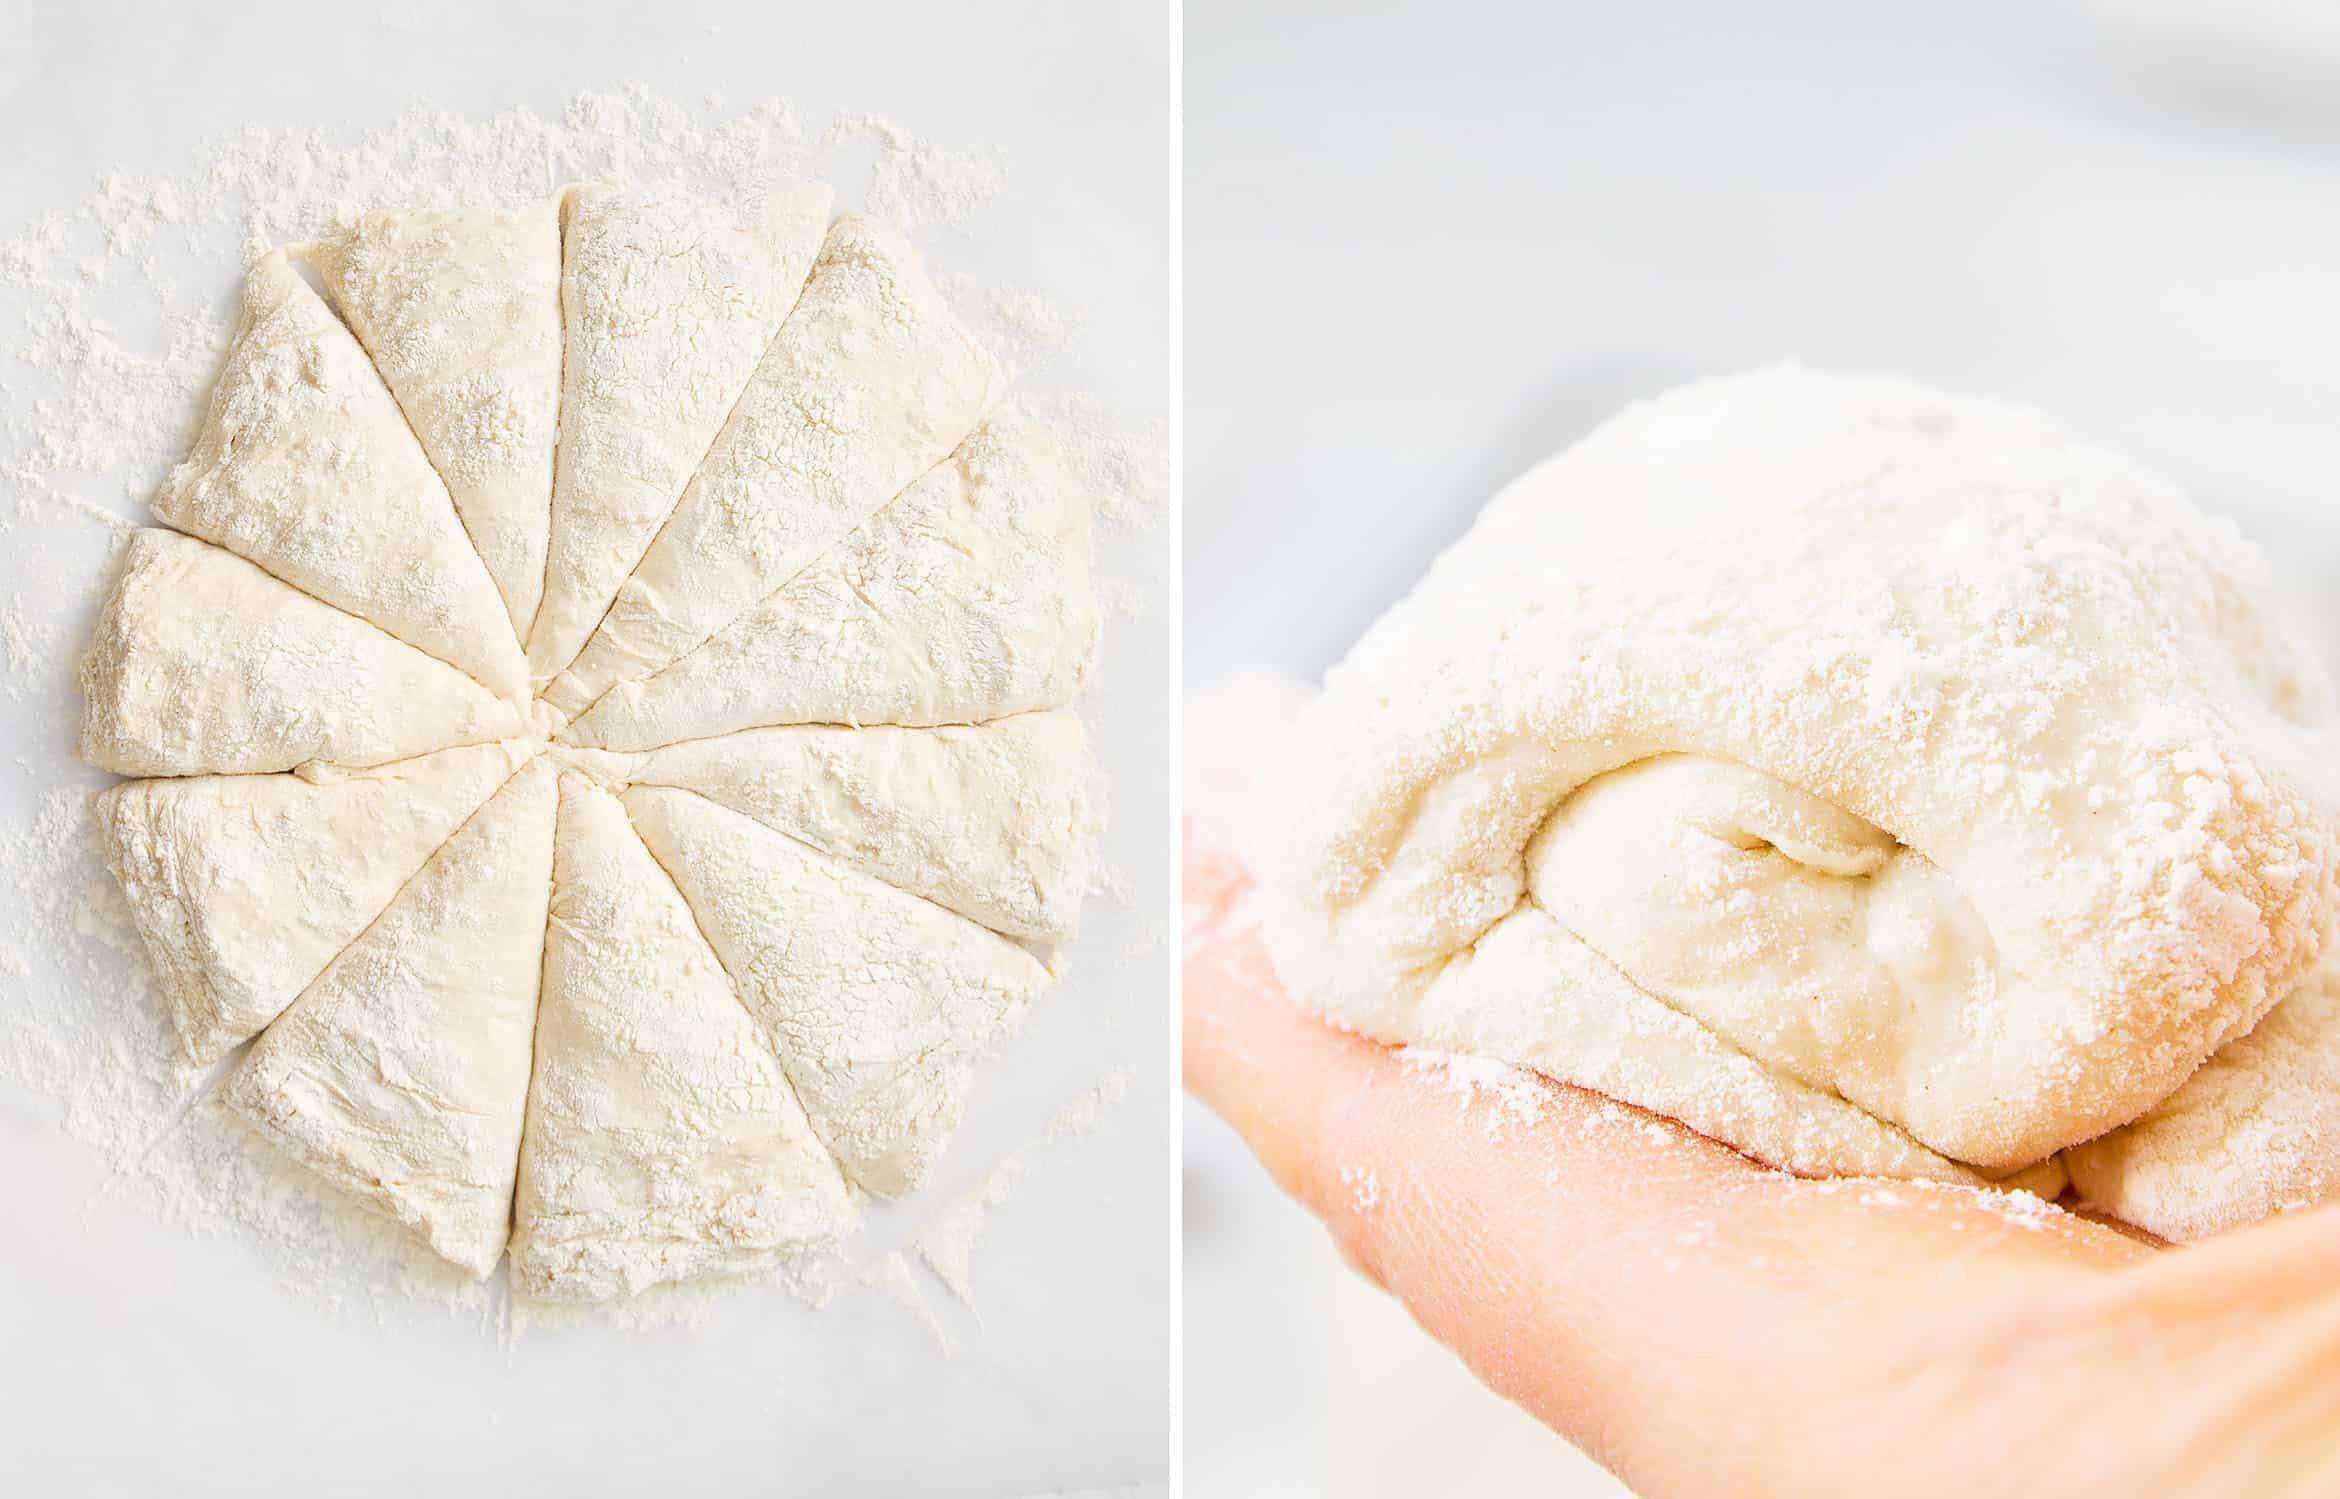
- Dust with flour and divide it into 10 roughly equal pieces.
- Roll out each piece as shown in the photo on the right (don’t worry if it’s not perfect).
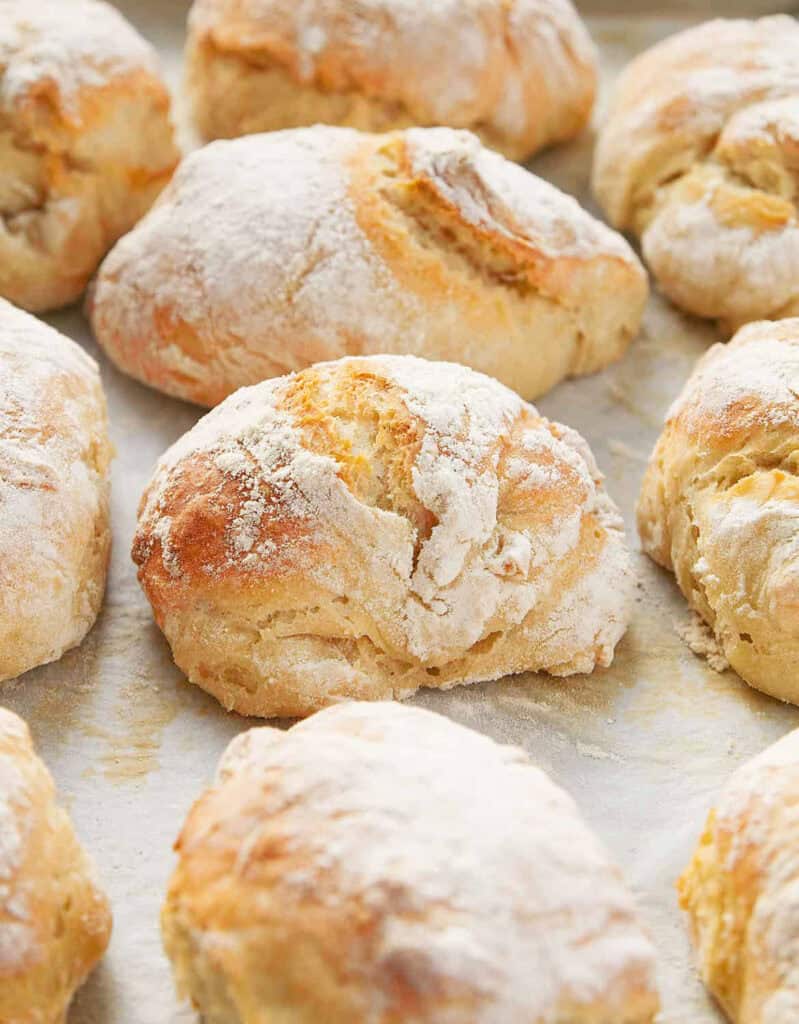
- Place them on a baking sheet and bake until golden and crusty. You will enjoy the comforting aroma of freshly baked bread filling your kitchen!
RECIPE NOTES
ingredients & substitutions
Flour: You can use all-purpose flour, bread flour, or a combination of all-purpose and whole-wheat flour. Bread flour contains a higher protein content, resulting in a crispier crust, while all-purpose flour gives a softer crumb but is cheaper and works just as well. Whole-wheat flour produces a denser crumb and less crusty bread, so it’s best not to exceed half of the amount called for in the recipe.
Yeast: For this recipe, I used Active dry yeast, which needs to be dissolved in water to activate before adding it to the dry ingredients. But you can also use instant yeast and stir it directly into the flour; no need to activate it in water.
Salt & Olive oil: For flavor and texture.
Sugar: A small quantity of sugar helps the yeast and speeds up the proving process, but it doesn’t contribute any sweetness to the bread. If you use instant yeast, mix the sugar with the dry ingredients.
Important! Make sure to measure all the ingredients properly. I recommend using a digital scale.
WHAT DO YOU EAT WITH PANINI BREAD?
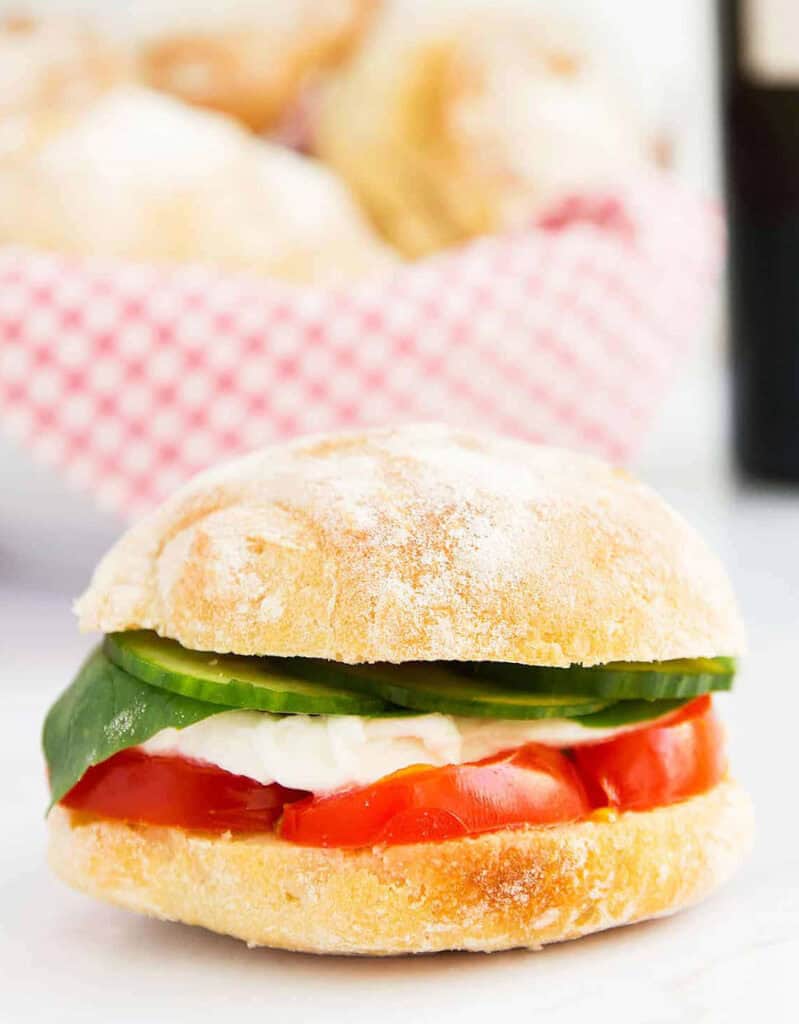
The sky is the limit! That being said, the most popular filling for panini is any salami, cured meat, cheese, or fresh or grilled vegetables. Here are a few examples of the usual ingredients for an authentic Italian stuffed panini:
- Meat: Salami, mortadella, ham, parma ham, bresaola, coppa, speck, porchetta, grilled chicken or chicken milanese.
- Cheese: Mozzarella, brie, soft cheese, toma, Emmental, gouda, goat cheese.
- Vegetables: Tomatoes, lettuce, rocket, grilled vegetables such as zucchini, peppers, eggplants.
- Eggs: Sliced hard-boiled eggs or any kind of frittata, like this spinach frittata, or this potato frittata.
- Dressing: Extra virgin olive oil and salt are the most popular dressings. But basil pesto, red pesto, mustard, or mayonnaise are often used to jazz up classic panini recipes.
Last but not least, Italians eat panini bread with any dish except pasta and pizza. Do we love carbs?! Yes, we do!
Storage Tips
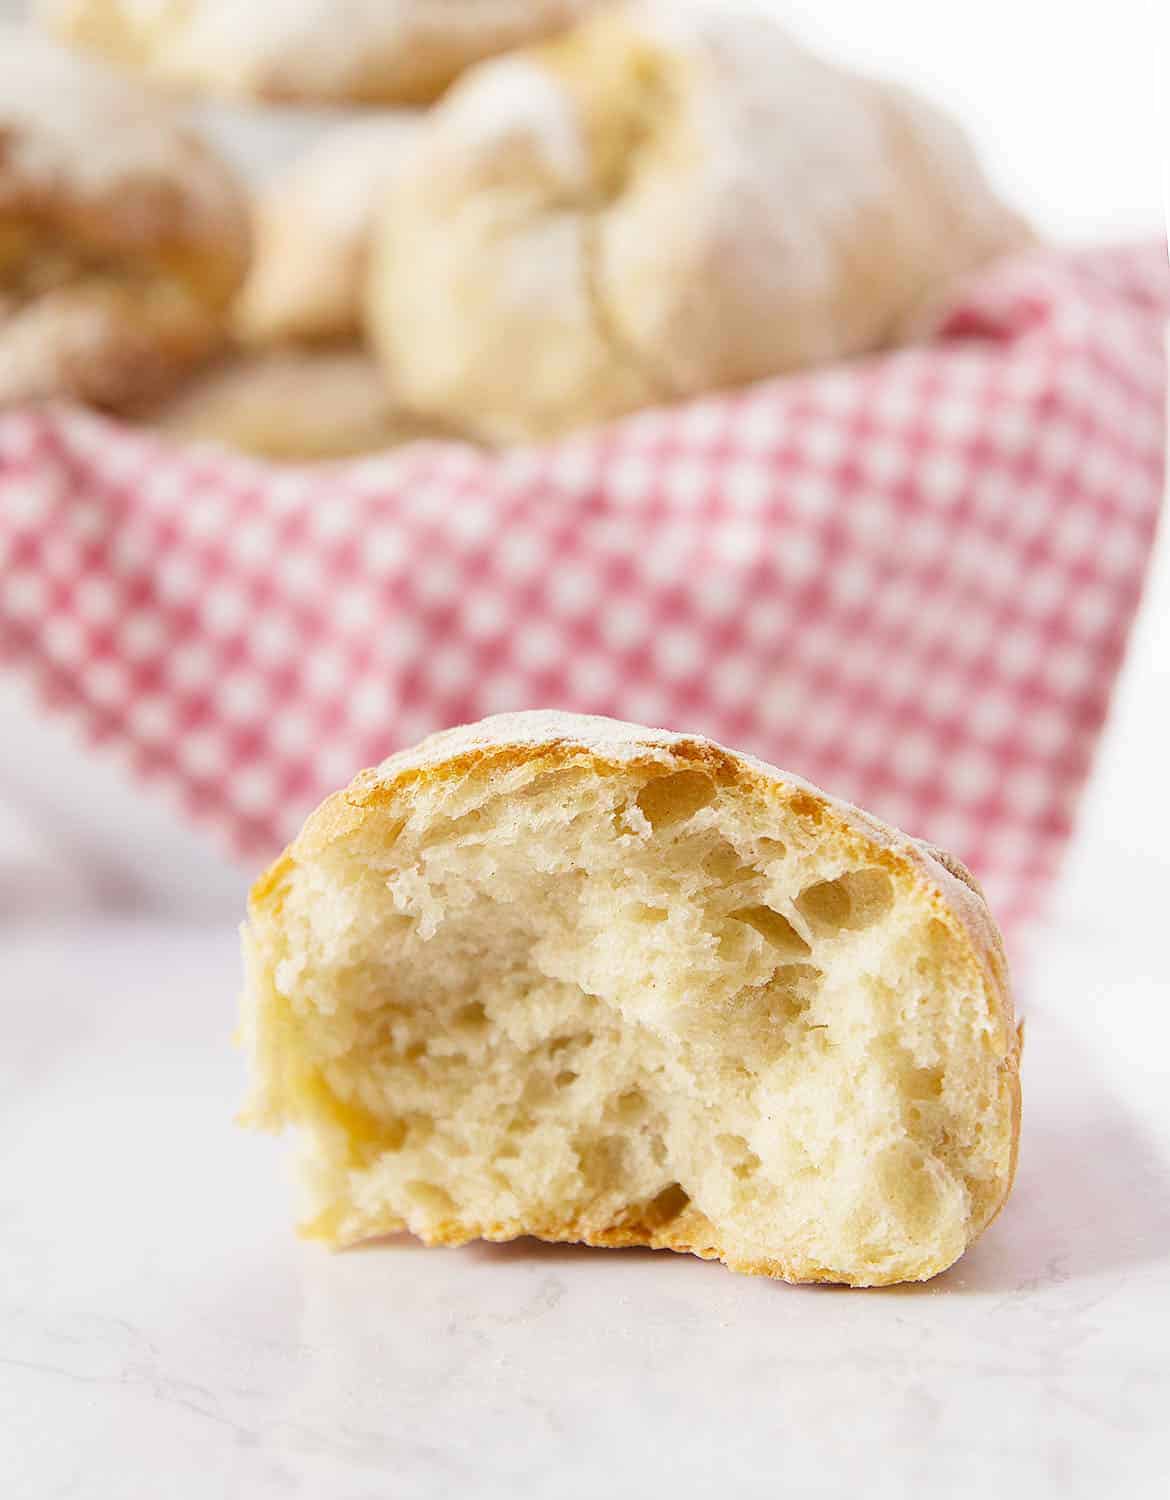
Homemade panini bread doesn’t contain preservatives and keeps fresh for a short period. Panini bread lasts for about 1-2 days.
- Store your panini bread in a closed paper bag at room temperature. Within 12 hours, the crust will soften, and the crumb will become firmer. To restore crispiness, toast or grill the panini bread.
- Freeze your panini bread while it’s fresh. Place your bread in a sealed plastic bag and freeze it. When you want to use it, let it thaw at room temperature.

More easy baking recipes you’ll love!
- Quick no-knead panini bread
- Italian breadsticks (aka grissini)
- Easy Italian focaccia
- Spinach pizza
- Black pepper focaccia
- Pesto garlic bread
I hope you’ll enjoy this amazing panini bread recipe as much as we do. If you make it or have any questions, please leave a comment, rate it, or tag a photo #theclevermeal on Instagram (without posting the recipe, please!).
I would love to hear from you!
For more recipe updates, subscribe to my newsletter and follow me on Instagram, Pinterest, and Facebook. I would love to hear from you!

Panini Bread, The Italian Way
Ingredients
- 1 ¾ cup (420 ml) lukewarm water, plus more if needed* (leveled)
- 2 teaspoon Active dry yeast or instant yeast
- ½ teaspoon sugar
- 4 cups (500 grams) unbleached all-purpose flour*, plus more for dusting
- 1 ½ teaspoon fine salt
- 1 Tablespoon (15 ml) olive oil
Instructions
- Mix water, yeast, and sugar in a jug or bowl and let it rest until foamy (about 5 minutes). If using instant yeast, add it directly to the flour; there's no need to mix it with water (follow the manufacturer's directions).
- Combine flour and salt in a large bowl.
- Meanwhile, preheat the oven to 250℉/120℃ and turn it off.
- Add the liquid to the dry ingredients, add olive oil, and mix with a spoon or a spatula to incorporate the flour*. Mix well until no dry flour remains, and add a bit more water if needed.
- Cover the bowl with a damp kitchen towel or cling film, place it in the warm oven, and let it rest for 30-40 minutes*.
- After this proving time, remove the dough from the oven, preheat it to 440℉/220℃, and cover a large baking sheet with parchment paper.
- Gently scrape the edge of the bowl and pour the dough on a floured working surface. The dough is fluffy and a bit bubbly now, and you don't want to deflate it.
- Dust the dough with flour, and using a dough scraper or a large knife, divide it into 10 small pieces, as shown in the pictures above*.
- Gently roll out each portion, dusting hands and surface with flour if needed. Place each piece of dough on the baking sheet.
- Bake for about 20-25 minutes until golden and crusty. They're delicious while they're still warm and freshly baked.
Video
Notes
When you add water to the flour, start with the amount stated in the recipe. If the liquid is not enough to achieve the dough consistency shown in the pictures above, add a little extra water until the flour has been incorporated. Warm oven method: This trick helps the dough rise faster. Preheat the oven to a low temperature, then turn it off to create a warm environment for the dough to rise. This shortcut works great when you run out of time. Dough cutting: I use a dough scraper, but if you don’t have one, use a knife large enough not to require a slicing motion. The dough is fluffy, and you don’t want to deflate air pockets. Nutrition facts: The nutritional values are for one serving only. They are based on an online nutrition calculator. It’s an estimate and should not be considered a substitute for a professional nutritionist’s advice. Please see my disclosure policies.







Do you need extra water if using half spelt? I used the amounts in the recipe and the dough was stiff and ruined 🙁
Sorry to hear that, Bob! Yes, you need to adjust the amount of water accordinfly, there are notes in the recipe card with the title “water absorption”: If the liquid is not enough to achieve that dough consistency as shown in the pictures above, just add graduallty a little extra water until the flour has been incorporated. x
This Panini Bread Recipe is an absolute gem! It offers the perfect combination of simplicity, speed, and deliciousness. Here are some thoughts on this recipe:
Quick and Easy: The recipe lives up to its promise of being ready in just one hour, making it an excellent choice for busy days when you want freshly baked bread without the long wait.
Minimal Effort, Maximum Flavor: The fact that it’s a no-knead recipe is fantastic. Mixing everything in one bowl and letting it rise in a warm oven streamlines the process and is beginner-friendly.
Versatile: You can use this bread as a base for a wide variety of sandwiches. The suggested ingredients and fillings provided in the post give great ideas for creative panini combinations.
Economical: Homemade bread is not only tastier but also cost-effective, as mentioned in the post. You get more value for your money.
Recipe Notes: The inclusion of helpful tips and notes in the recipe, such as flour types, water absorption, and the warm oven method, are very informative and assist readers in understanding and adapting the recipe to their needs.
Nutritional Information: Providing nutritional values is a thoughtful addition, helping those who are health-conscious or have dietary restrictions.
Engaging Writing: The narrative style in the post makes it engaging to read, and the personal touch, such as suggesting a visit to an Italian panetteria, adds a charming element.
In conclusion, this Panini Bread Recipe is a winner, and it’s a testament to how homemade bread can be both accessible and delightful. I would highly recommend it to anyone looking for a quick and tasty bread recipe.
Would one be able to sub the sugar for sweetener? I have Xylitol on hand but no sugar sadly
Hi Lauren! If you use instant yeast you can also add it to the dry ingredients. No worries about sugar and xylitol in this case. x
1 3/4 water seems like a lot of water?
It’s a high hydration dough recipe, no kneading required. Video recipe is included, that would help for sure. : )
When I added the dry and liquid mixtures it was way to wet I don’t know if it was my error but I think I did it right
Hi Jake, is your dough runny and different from the one you see in the video recipe?
The dough is wet, but when you mix all the ingredients it shouldn’t be runny.
My rolls are in the oven!!!!! Hello and i like this easy recipe and am excited to taste the rolls. I have question about the shaping technique. Instructions say to roll out–
Does that mean to take each dough piece and flatten the dough and then roll it up??? I know this sounds like a silly question but in doing that you will remove the air bubbles in the dough. Please advise. Thank you for your time
Hi Judy! : )
If you can have a look at the video recipe for the panini rolls, it shows exactly how to roll them.
You don’t have to flatten the dough (we want to keep all those gas bubbles!), but all you have to do is shape each roll gently using your hands, trying to keep it fluffy and bubbly. No rolling pin required in this recipe. Hope your panini rolls turned out great! xx
I would really like to know why flour is placed on top of the Panini after its baked?
The flour is not placed on top of the panini rolls at the end for decoration. If you have a look at the recipe you’ll see that each roll is actually “rolled’ using flour before baking, and what you see it’s just some of that flour that the dough didn’t absorb completely. This happens mostly with crusty bread, and it’s totally fine. Cheers.
Is this suppose to be a wet dough?
Thanks!
Hey Coco! Yes, it’s a high hydration dough. x
This Panini bread looks promising. The texture and overall finish are something to be tried and baked. I will definitely add this to my to-do list.
Thanks, Maria… I’m so pleased you like it! Let me know how it turns out. Cheers x
I am wanting to make bruschetta out of this bread, so I want to make just one loaf instead of rolls. If I use instant yeast, how long should I allow it to proof and how long should I let it bake? Thanks!
Hi Amy! Follow the same method for the proofing and let the dough rise until bubbly.
When it looks ready, it’s a good idea to make the folds anyway like it was a giant roll, and place it in a large loaf pan (it might overflow if the pan is not large enough).
Allow it to rise again until doubled, it might take about 45-60 minutes. It depends on the room temperature, trust your judgement here and bake when it looks doubled and puffy.
Bake for 35-40 minutes. Cheers x
Hi!
Made this recipe many times and it’s great! But I always feel bloated after eating this bread. I reckon it’s the yeast. Would it work with just 1 tsp of yeast?
Thanks 😊
Hi Sofia! I’m so glad you love the recipe, and feel free to reduce the amount of yeast next time, 1 tsp is fine, just allows more time for the proofing, the recipe works great as well.
Cheers x
I have the same issue with breads made with commercial yeast. If the problem is the yeast, reducing the yeast is unlikely to make much difference. You’re best to delve into the world of sourdough baking. It’s so much fun and a game-changer, but requires a lot of patience.
Hello,
In the recipe it uses instant yeast. Can I substitute the instant yeast for Active yeast? And if so what is the altered quantities and method please?
Many thanks
Trish
Hello! You can use instant yeast or active yeast interchangeably in this recipe, that means you can follow the same method and quantities.
The Active yeast needs to be activated, but that’s what I do in the recipe anyway.
Only one note: make sure the dough has doubled in size, and allow extra 15-20 minutes for the rise time if needed.
Enjoy x
I am excited to try this recipe, one question before I do….can I use bread flour? We are in a COVID lockdown and I don’t want to take a trip to the grocery store if I don’t have to.
Sure, you can use your bread flour, Angela! I’ll be glad if you let me know in the comment how the recipe turns out. Enjoy x
I have tried three other rolls recipes for a quick and easy bread roll for dinner and this one has turned out the best by far! Super easy to memorize and repeat. Love it. I also recommend adding some dried rosemary, I did to mine last night and we devoured them!! Thank you for this recipe!
You’re so welcome, Cassie! 🤩 Love the rosemary too, thanks for sharing your feedback with us, so glad you loved it. x
Hi,
I only have traditional yeast, not instant…..can I use that ?
Hi Debbie, yes you can, just dissolve it in lukewarm water (as per the recipe) and make sure it’s active.
One note: allow extra 15-20 minutes for the rise time if needed.
Enjoy x
If i add dried rosemary to the dough, how much do you recommend for the 10 serving, original recipe?
Hi Julie! I would add approximately 1/2 Tbsp. x
It is amazing just amazing I try to send a picture of the bread
I’m pleased it turned out amazing, well done! It would be lovely to see the picture, you can also tag me on Instagram if you have the account. Thanks for the update 💛