PANINI BREAD RECIPE (READY IN 1 HOUR!)
This post may contain affiliate links. Please read my disclosure policy for more details.
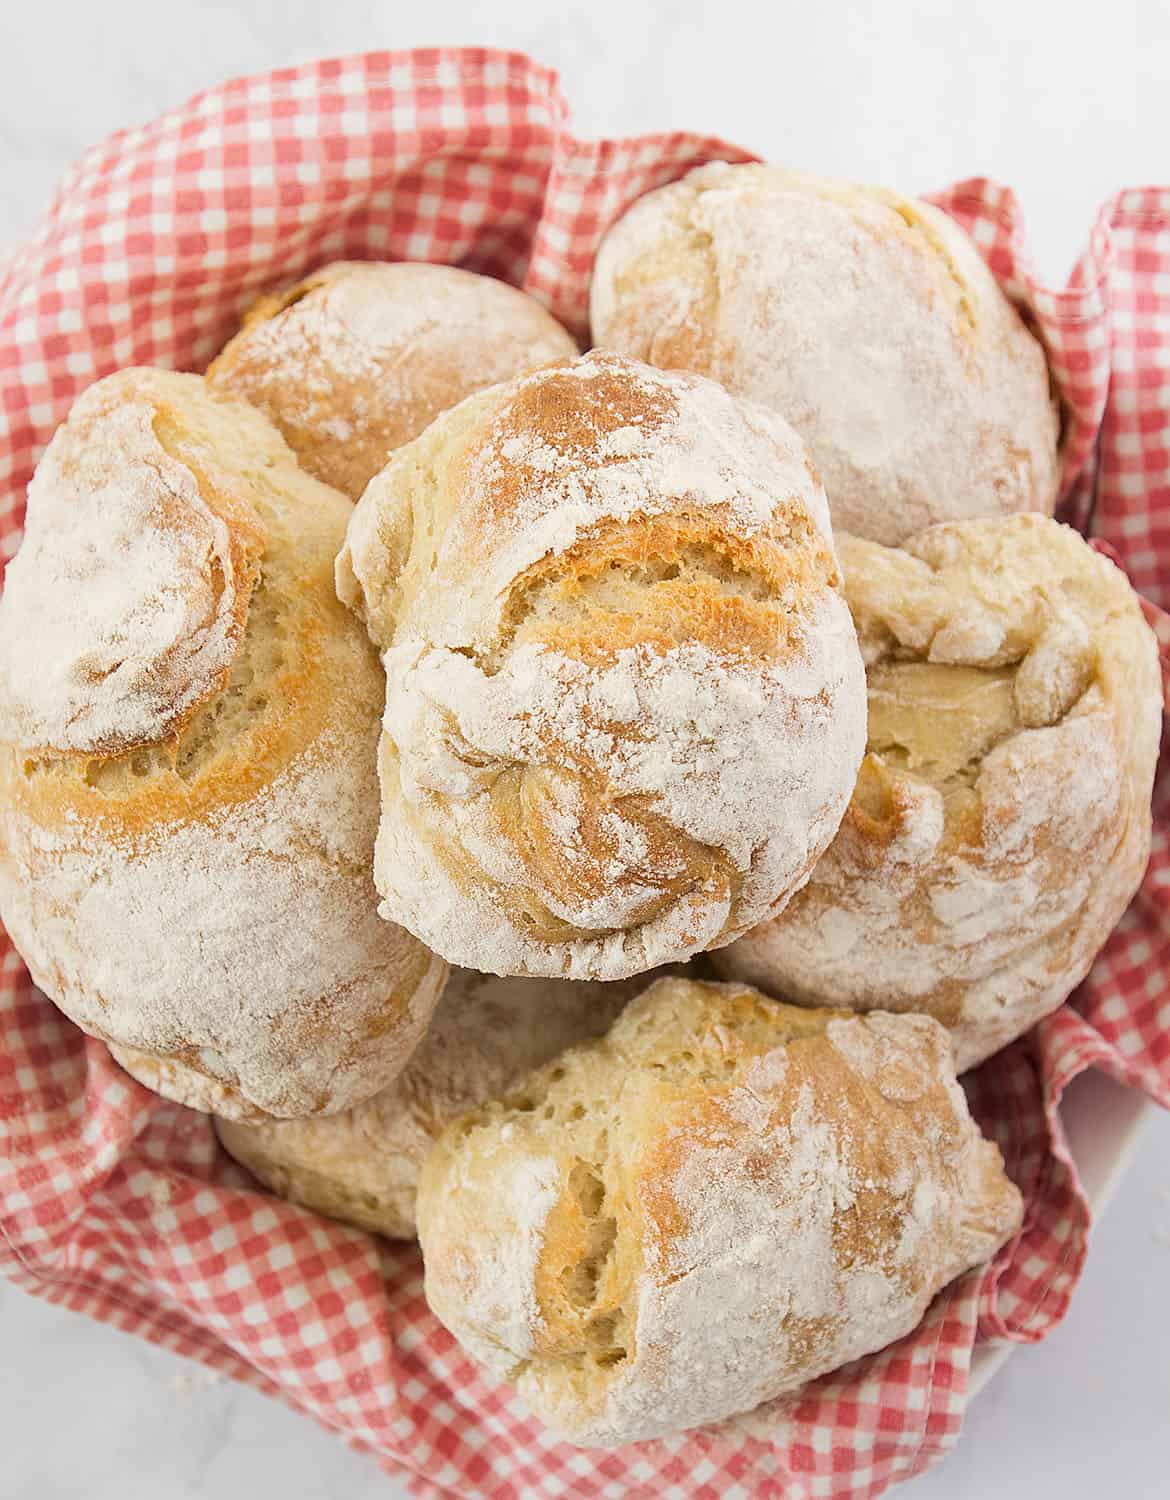
This amazing and super easy panini bread recipe will make your kitchen smell like an Italian bakery!
It’s crusty, irresistible, super easy to make, and ready in 1 HOUR flat.
A real dream when you feel lazy or you run out of time, and you want fresh bread NOW.
Believe me, warm and crunchy bread that comes out from the oven is a real treat, it’s a million times better and cheaper than store-bought bread.
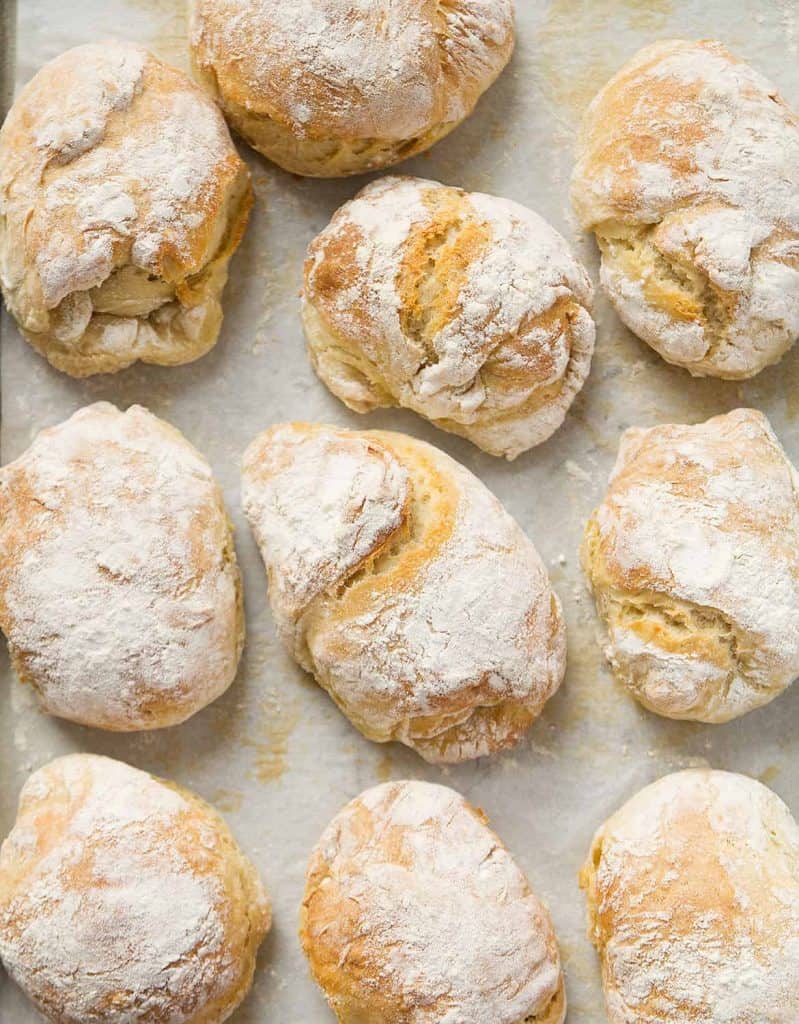
How much cheap? Homemade bread is super economical: 10 paninis cost less than $1.
How much easy? This is a no-knead recipe: you’ll mix all the ingredients in 1 BOWL.
How much good? Let’s forget sliced bread, homemade panini will change your concept of sandwiches forever.
Watch how to make it
What ingredients you need
- Flour
- Olive oil
- Instant yeast
- Salt
- Sugar
And delicious fillings…
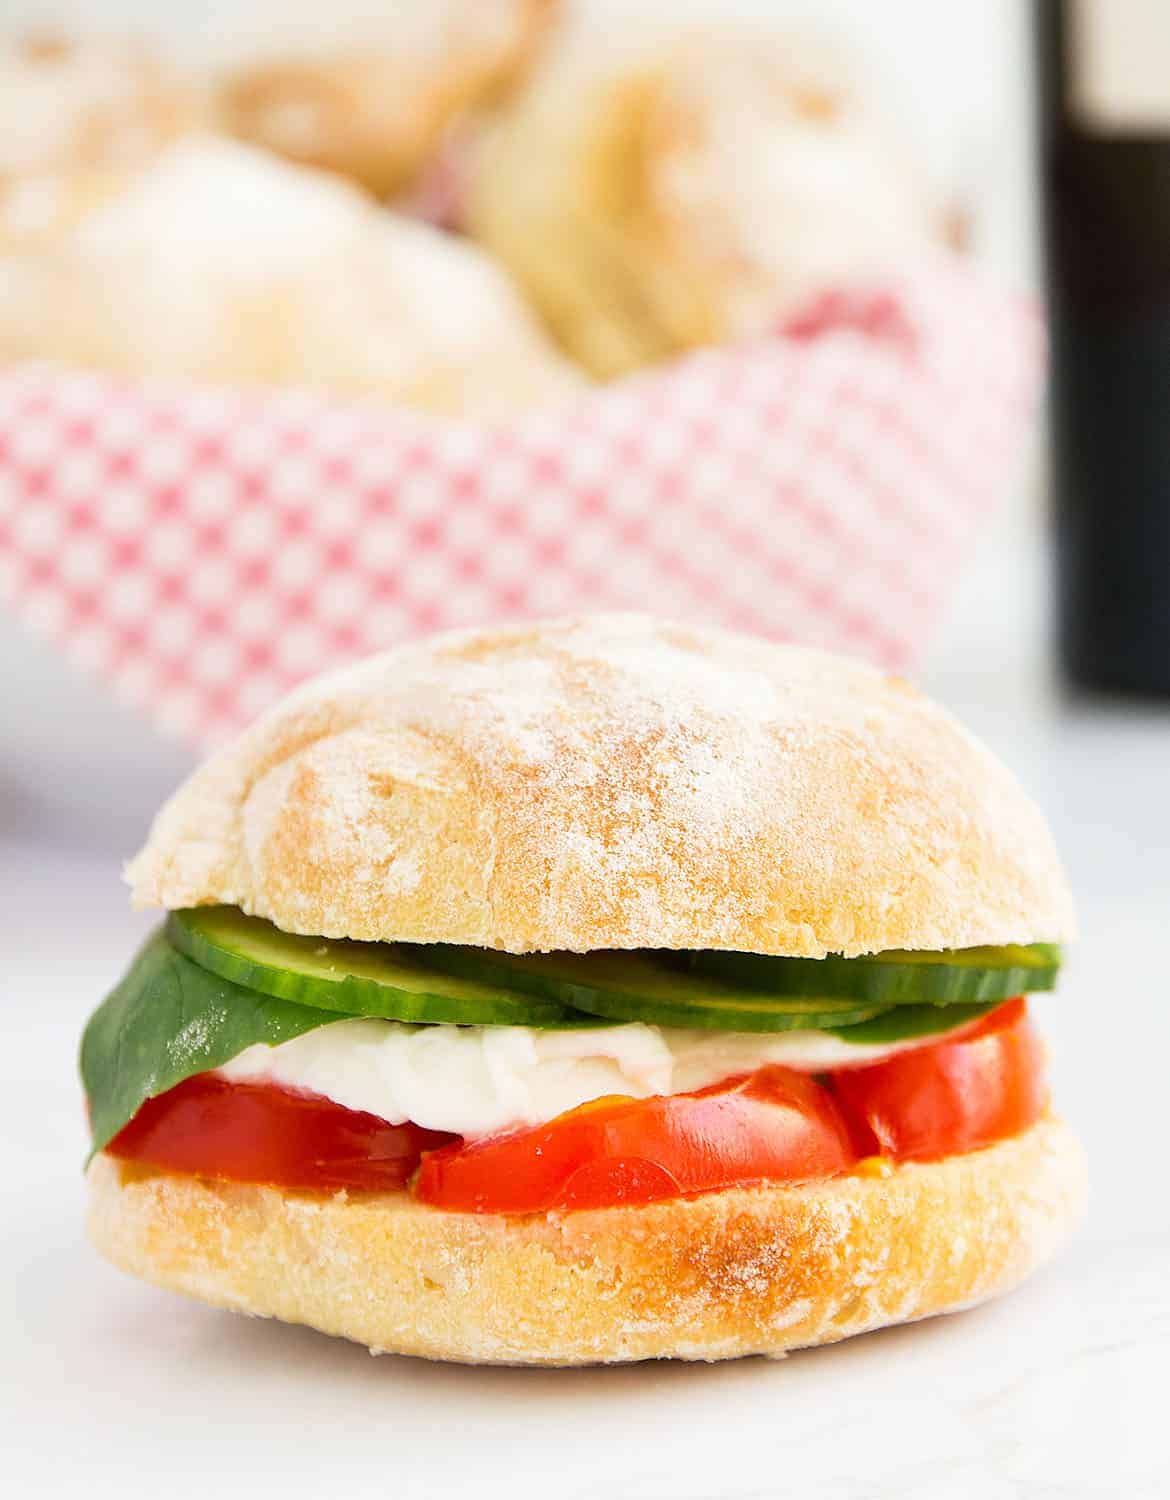
HOW DO YOU MAKE PANINI DOUGH?
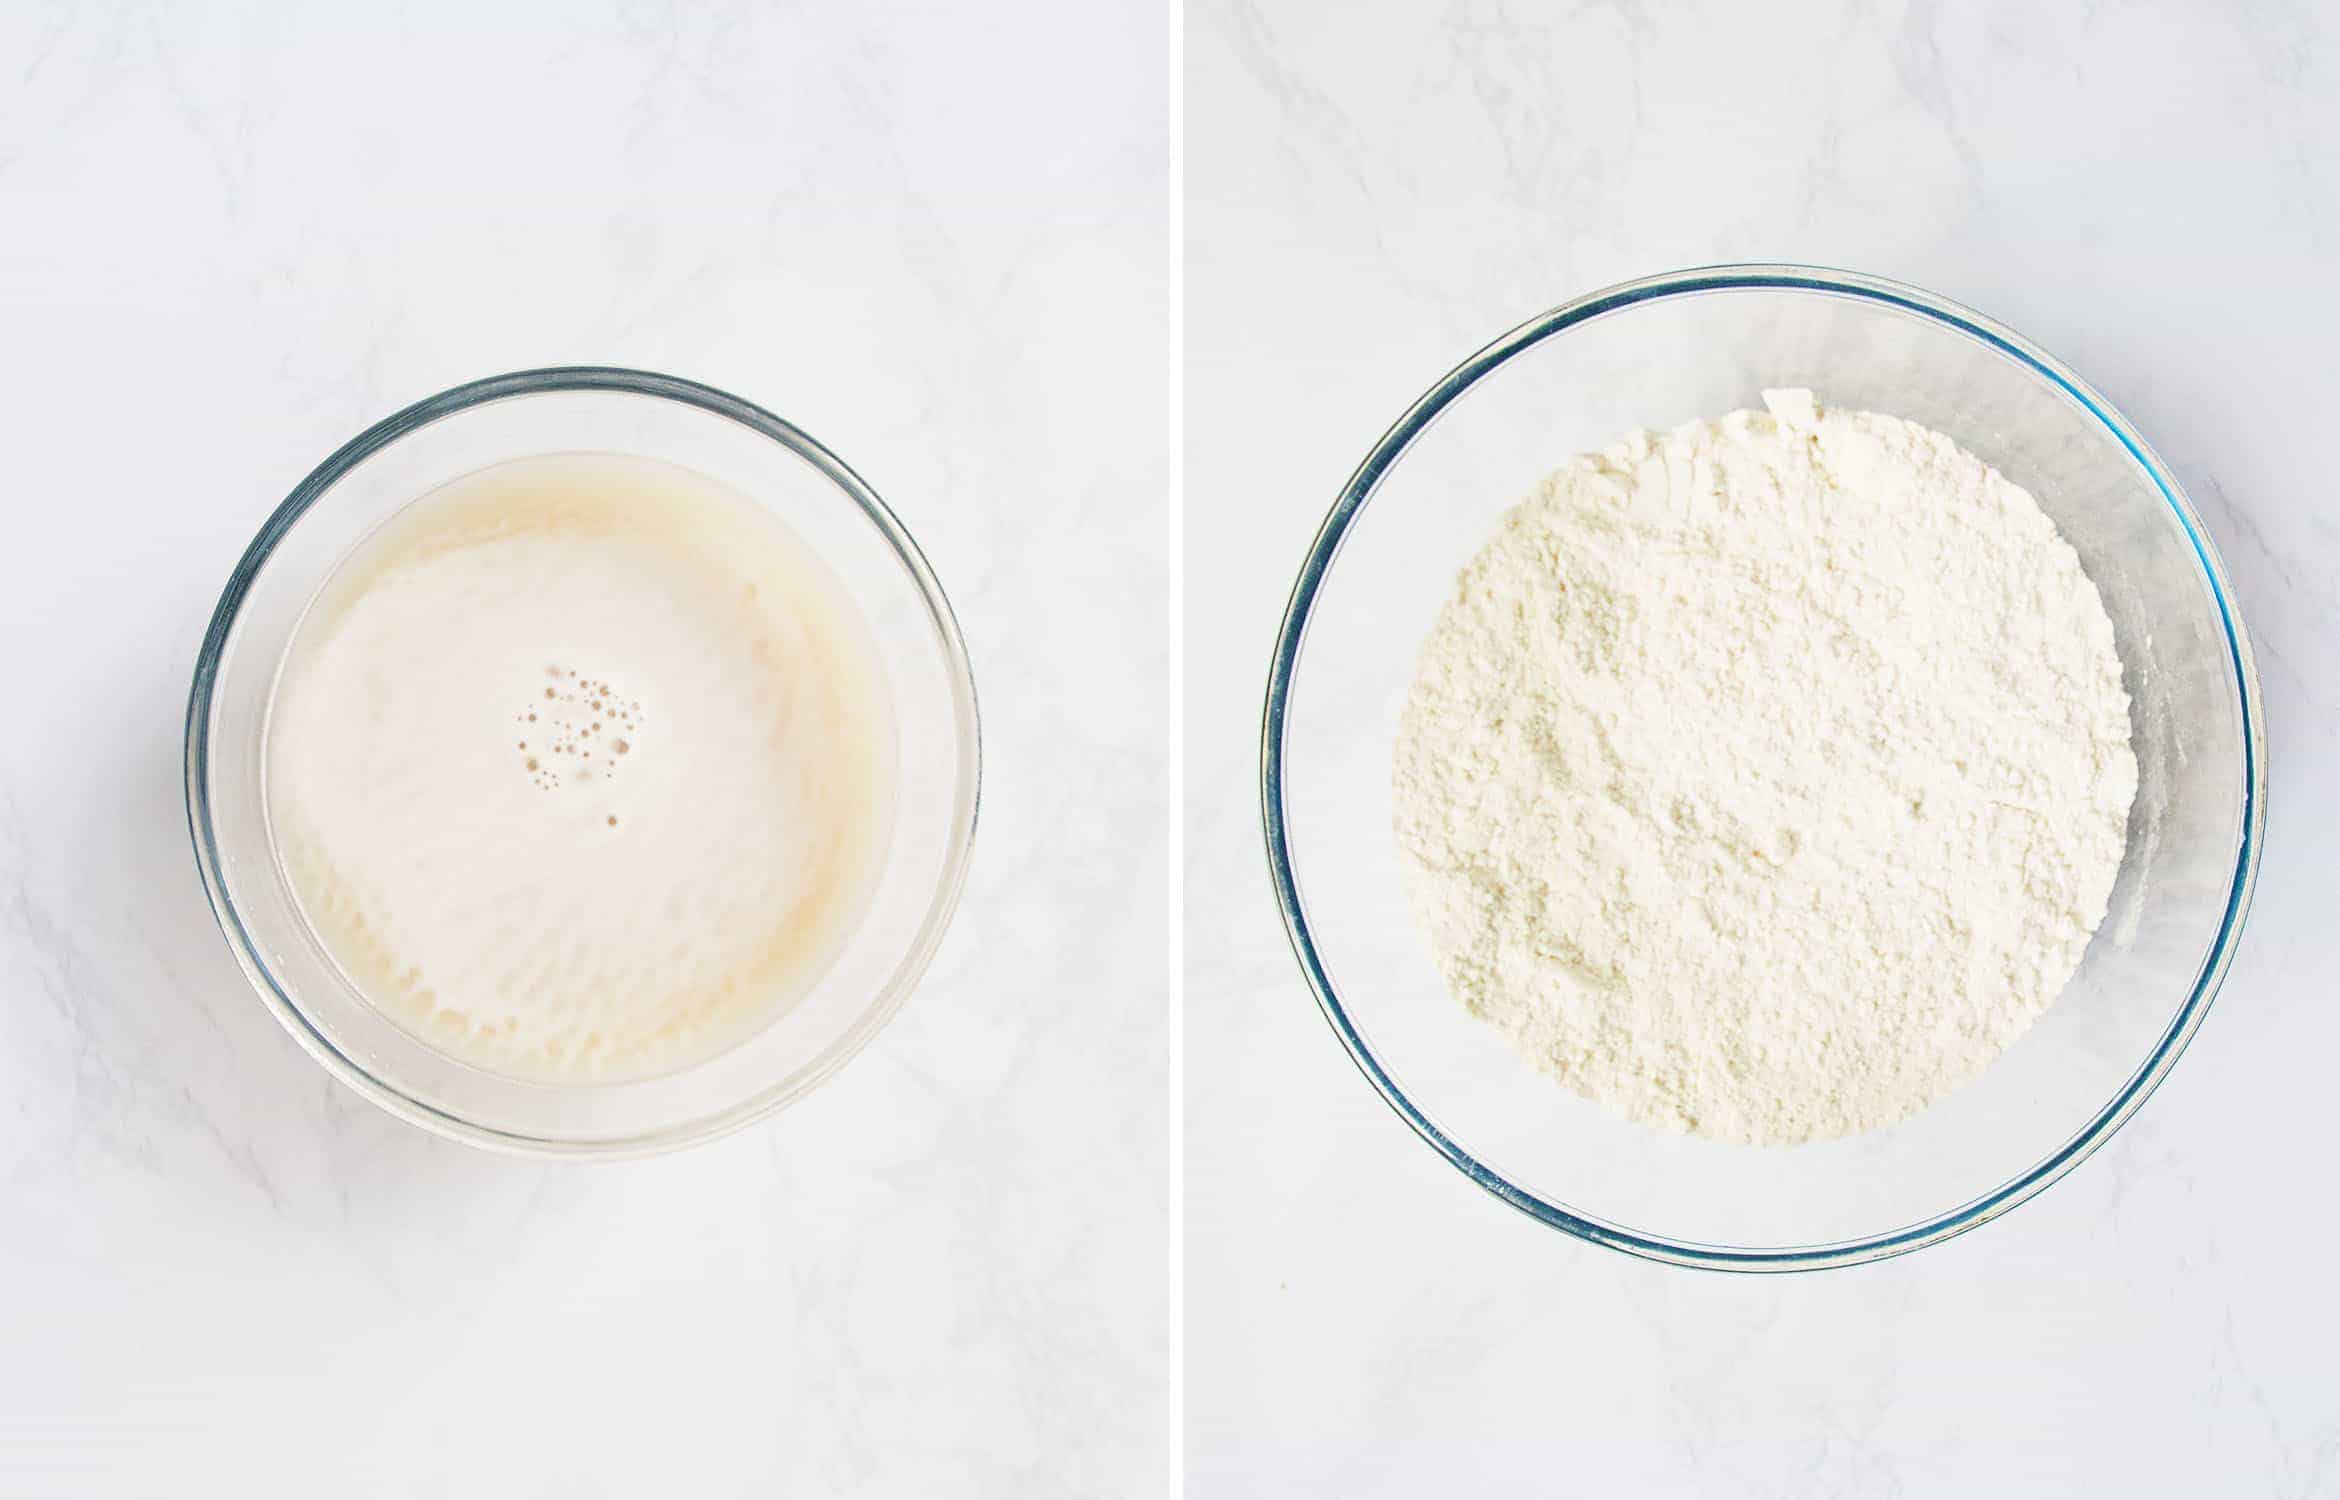
- In a small bowl, mix lukewarm water, yeast, sugar and let sit until foamy
- In a larger bowl, combine flour and salt
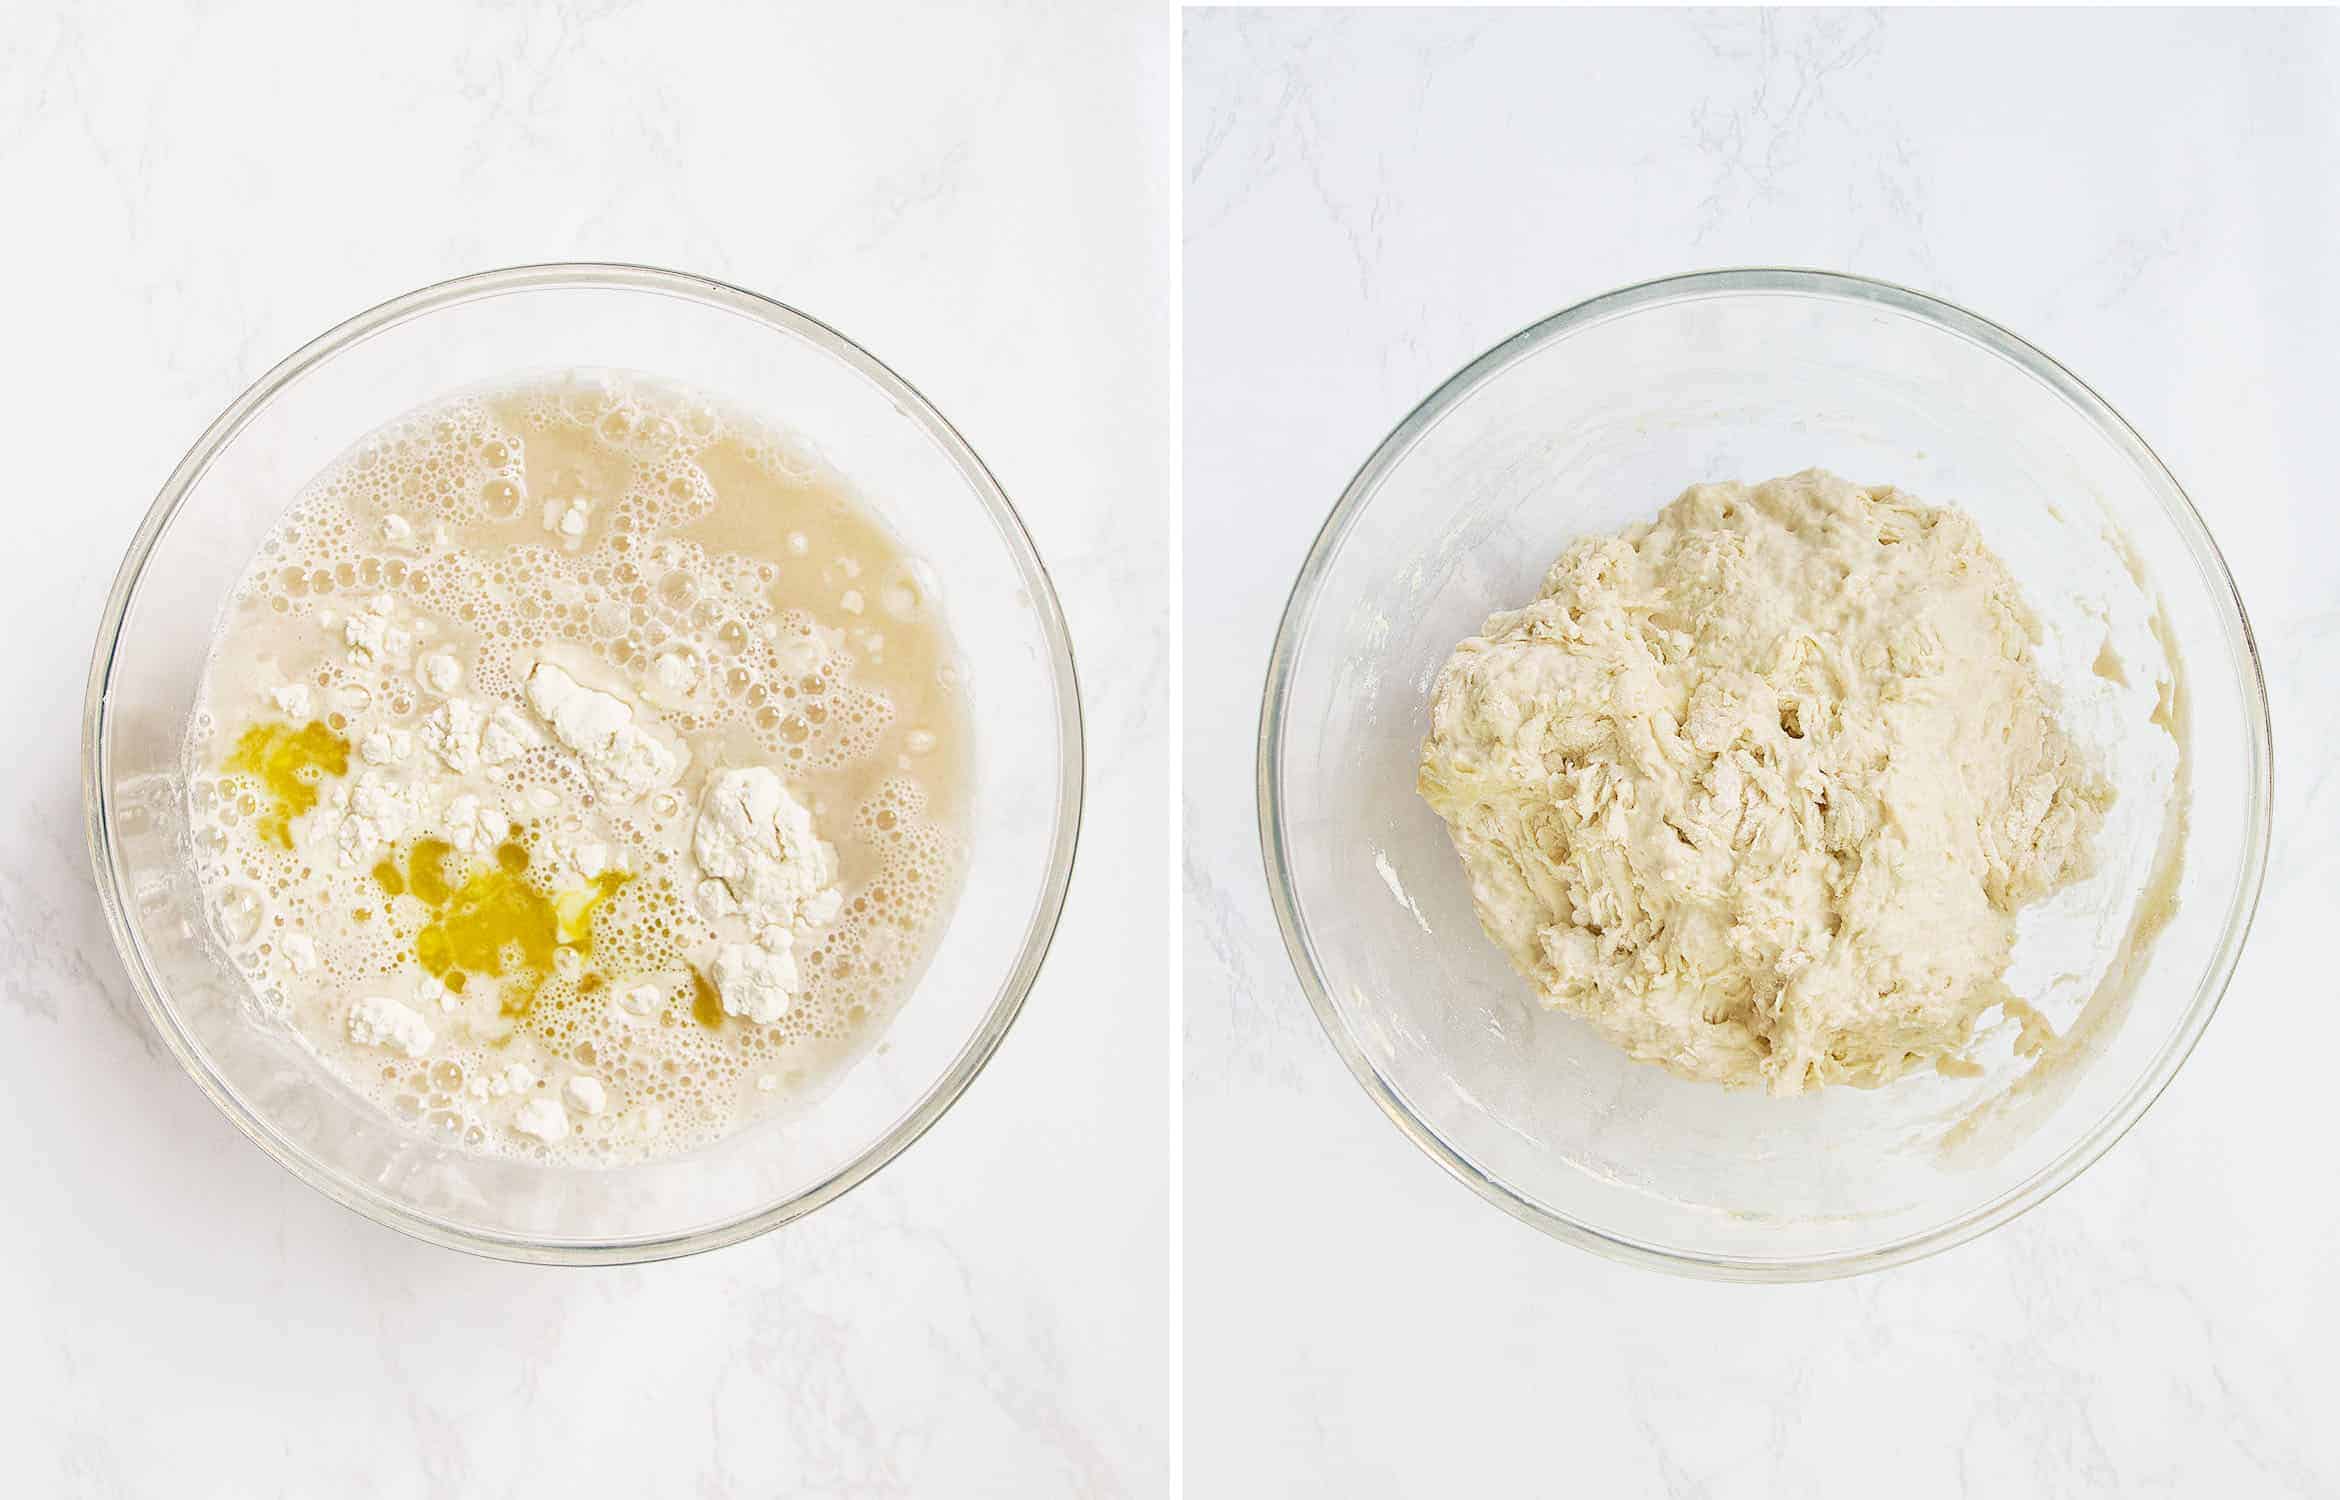
- Pour the liquid into the dry ingredients and add olive oil
- Mix well with a fork, you want to incorporate all the liquid
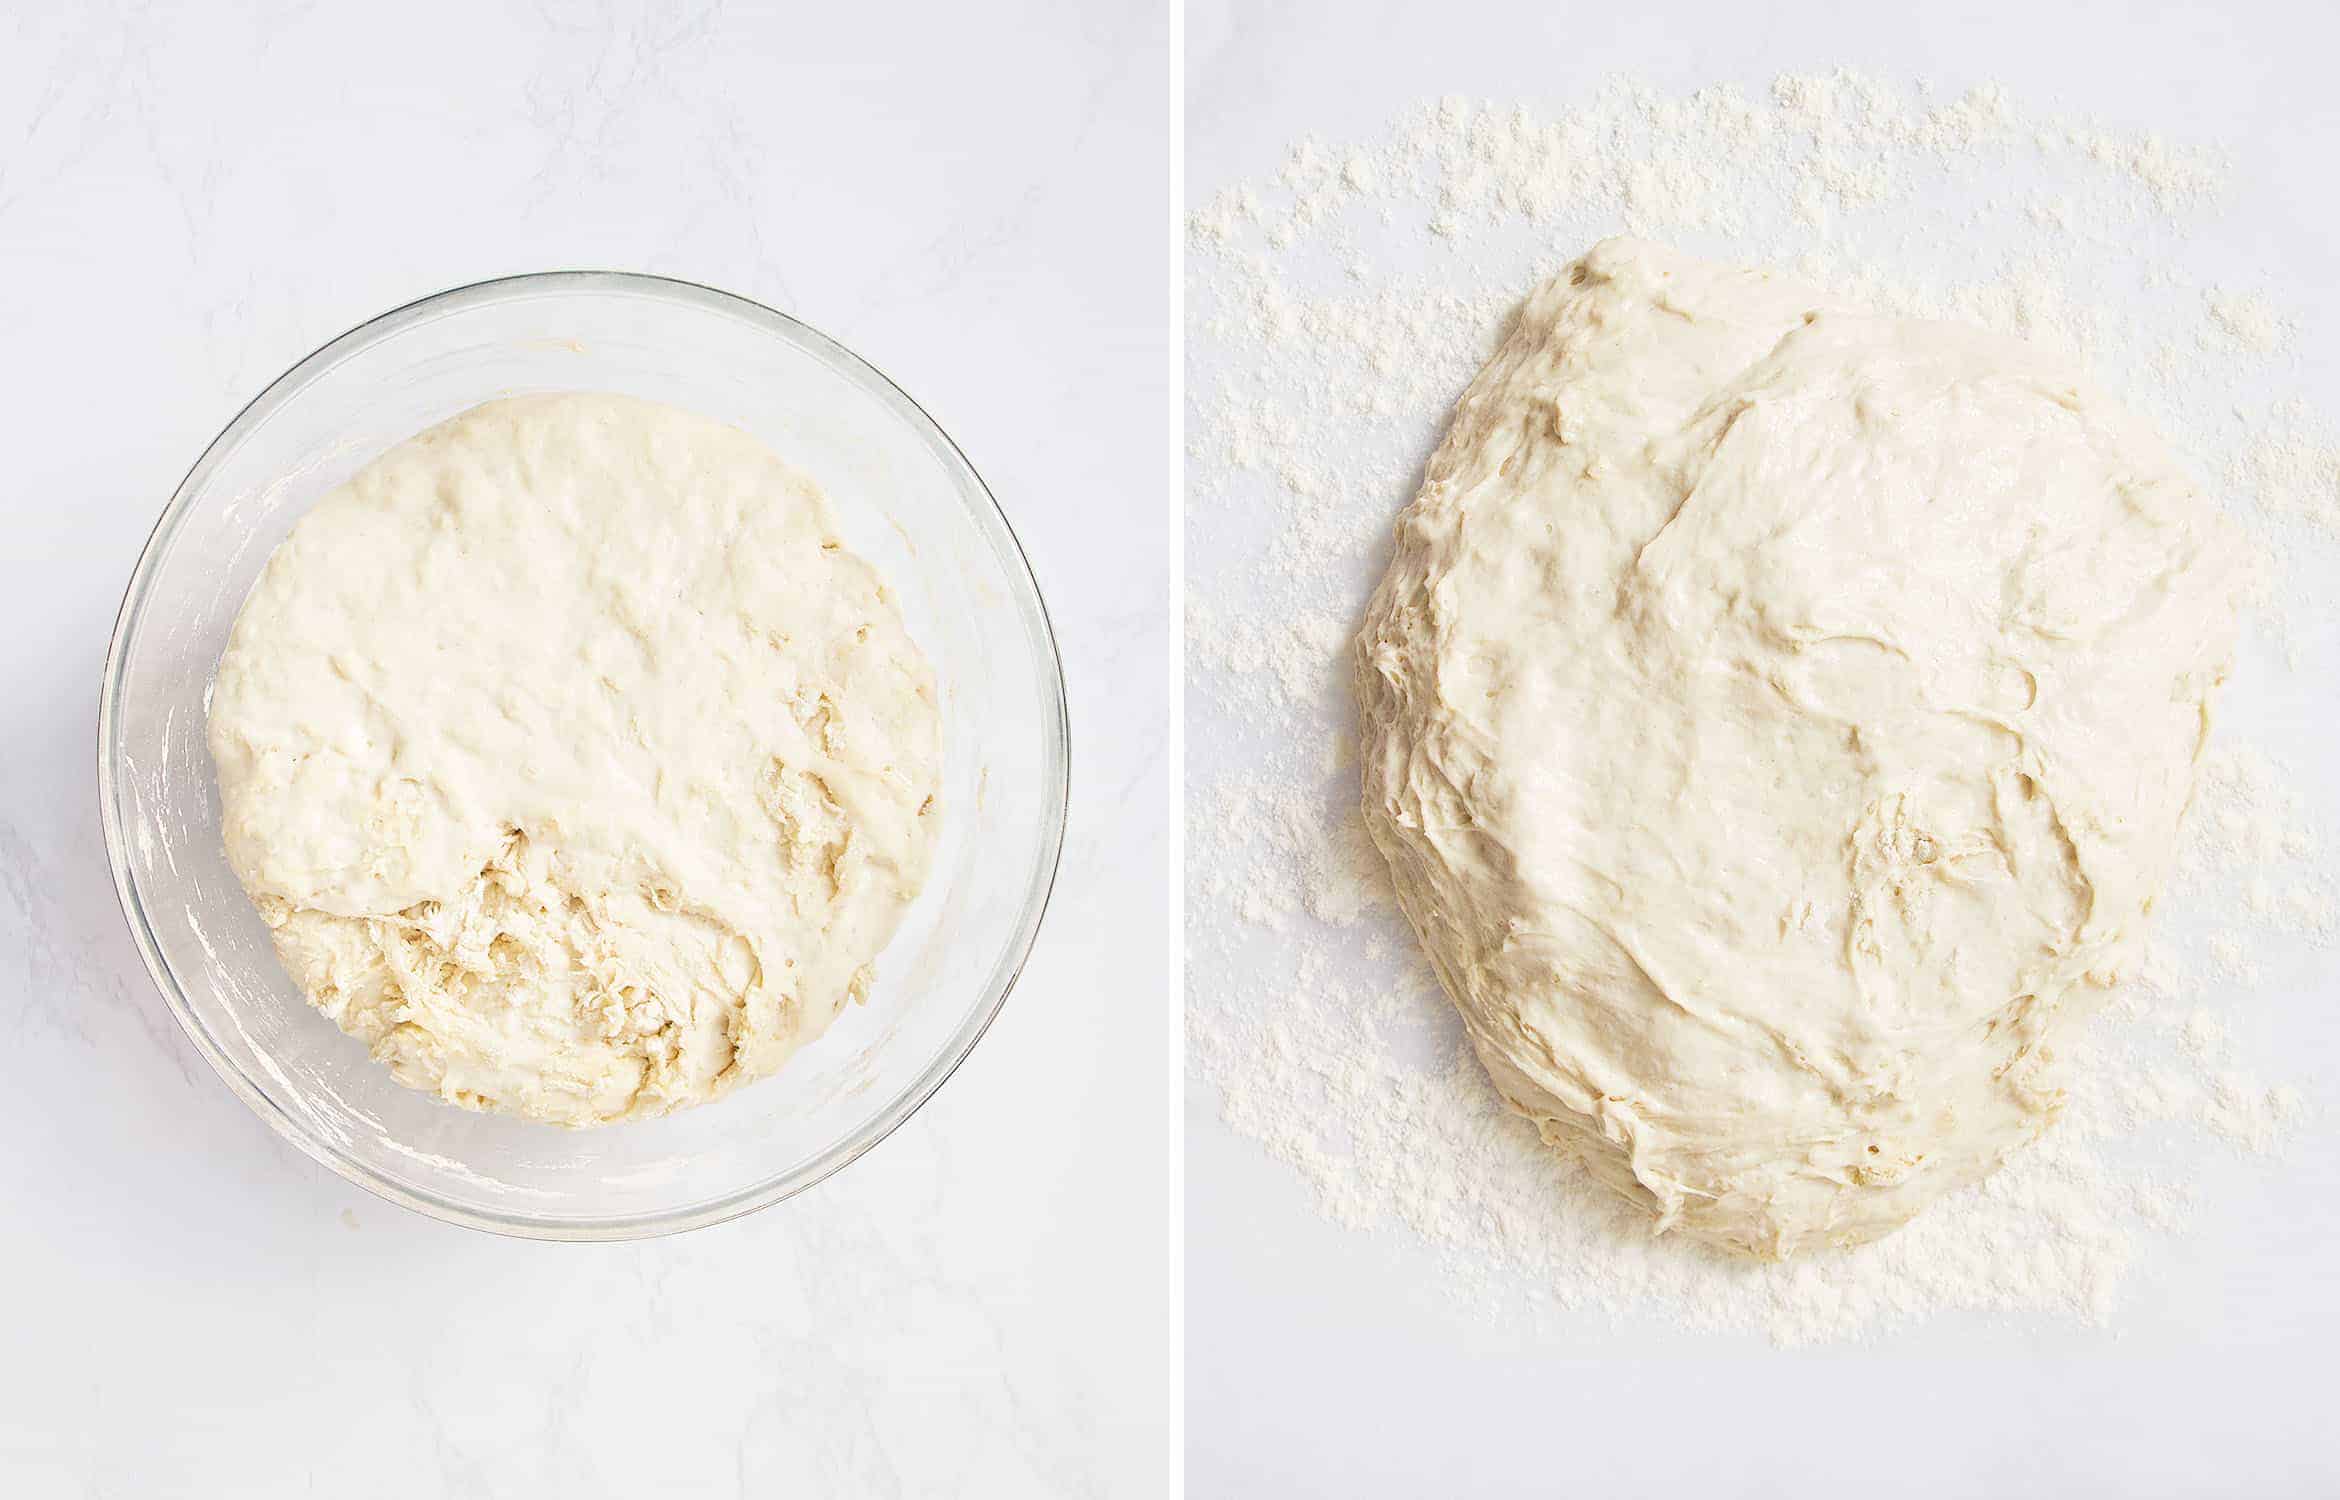
- Preheat the oven to 250F, turn it off and let the dought there to rise for 35 MINUTES. This trick creates a warm environment and helps the dough rise faster. On the left (picture below) you see how the dough looks like after this rest in a warm oven
- Using a spatula, pour the dough on a floured surface
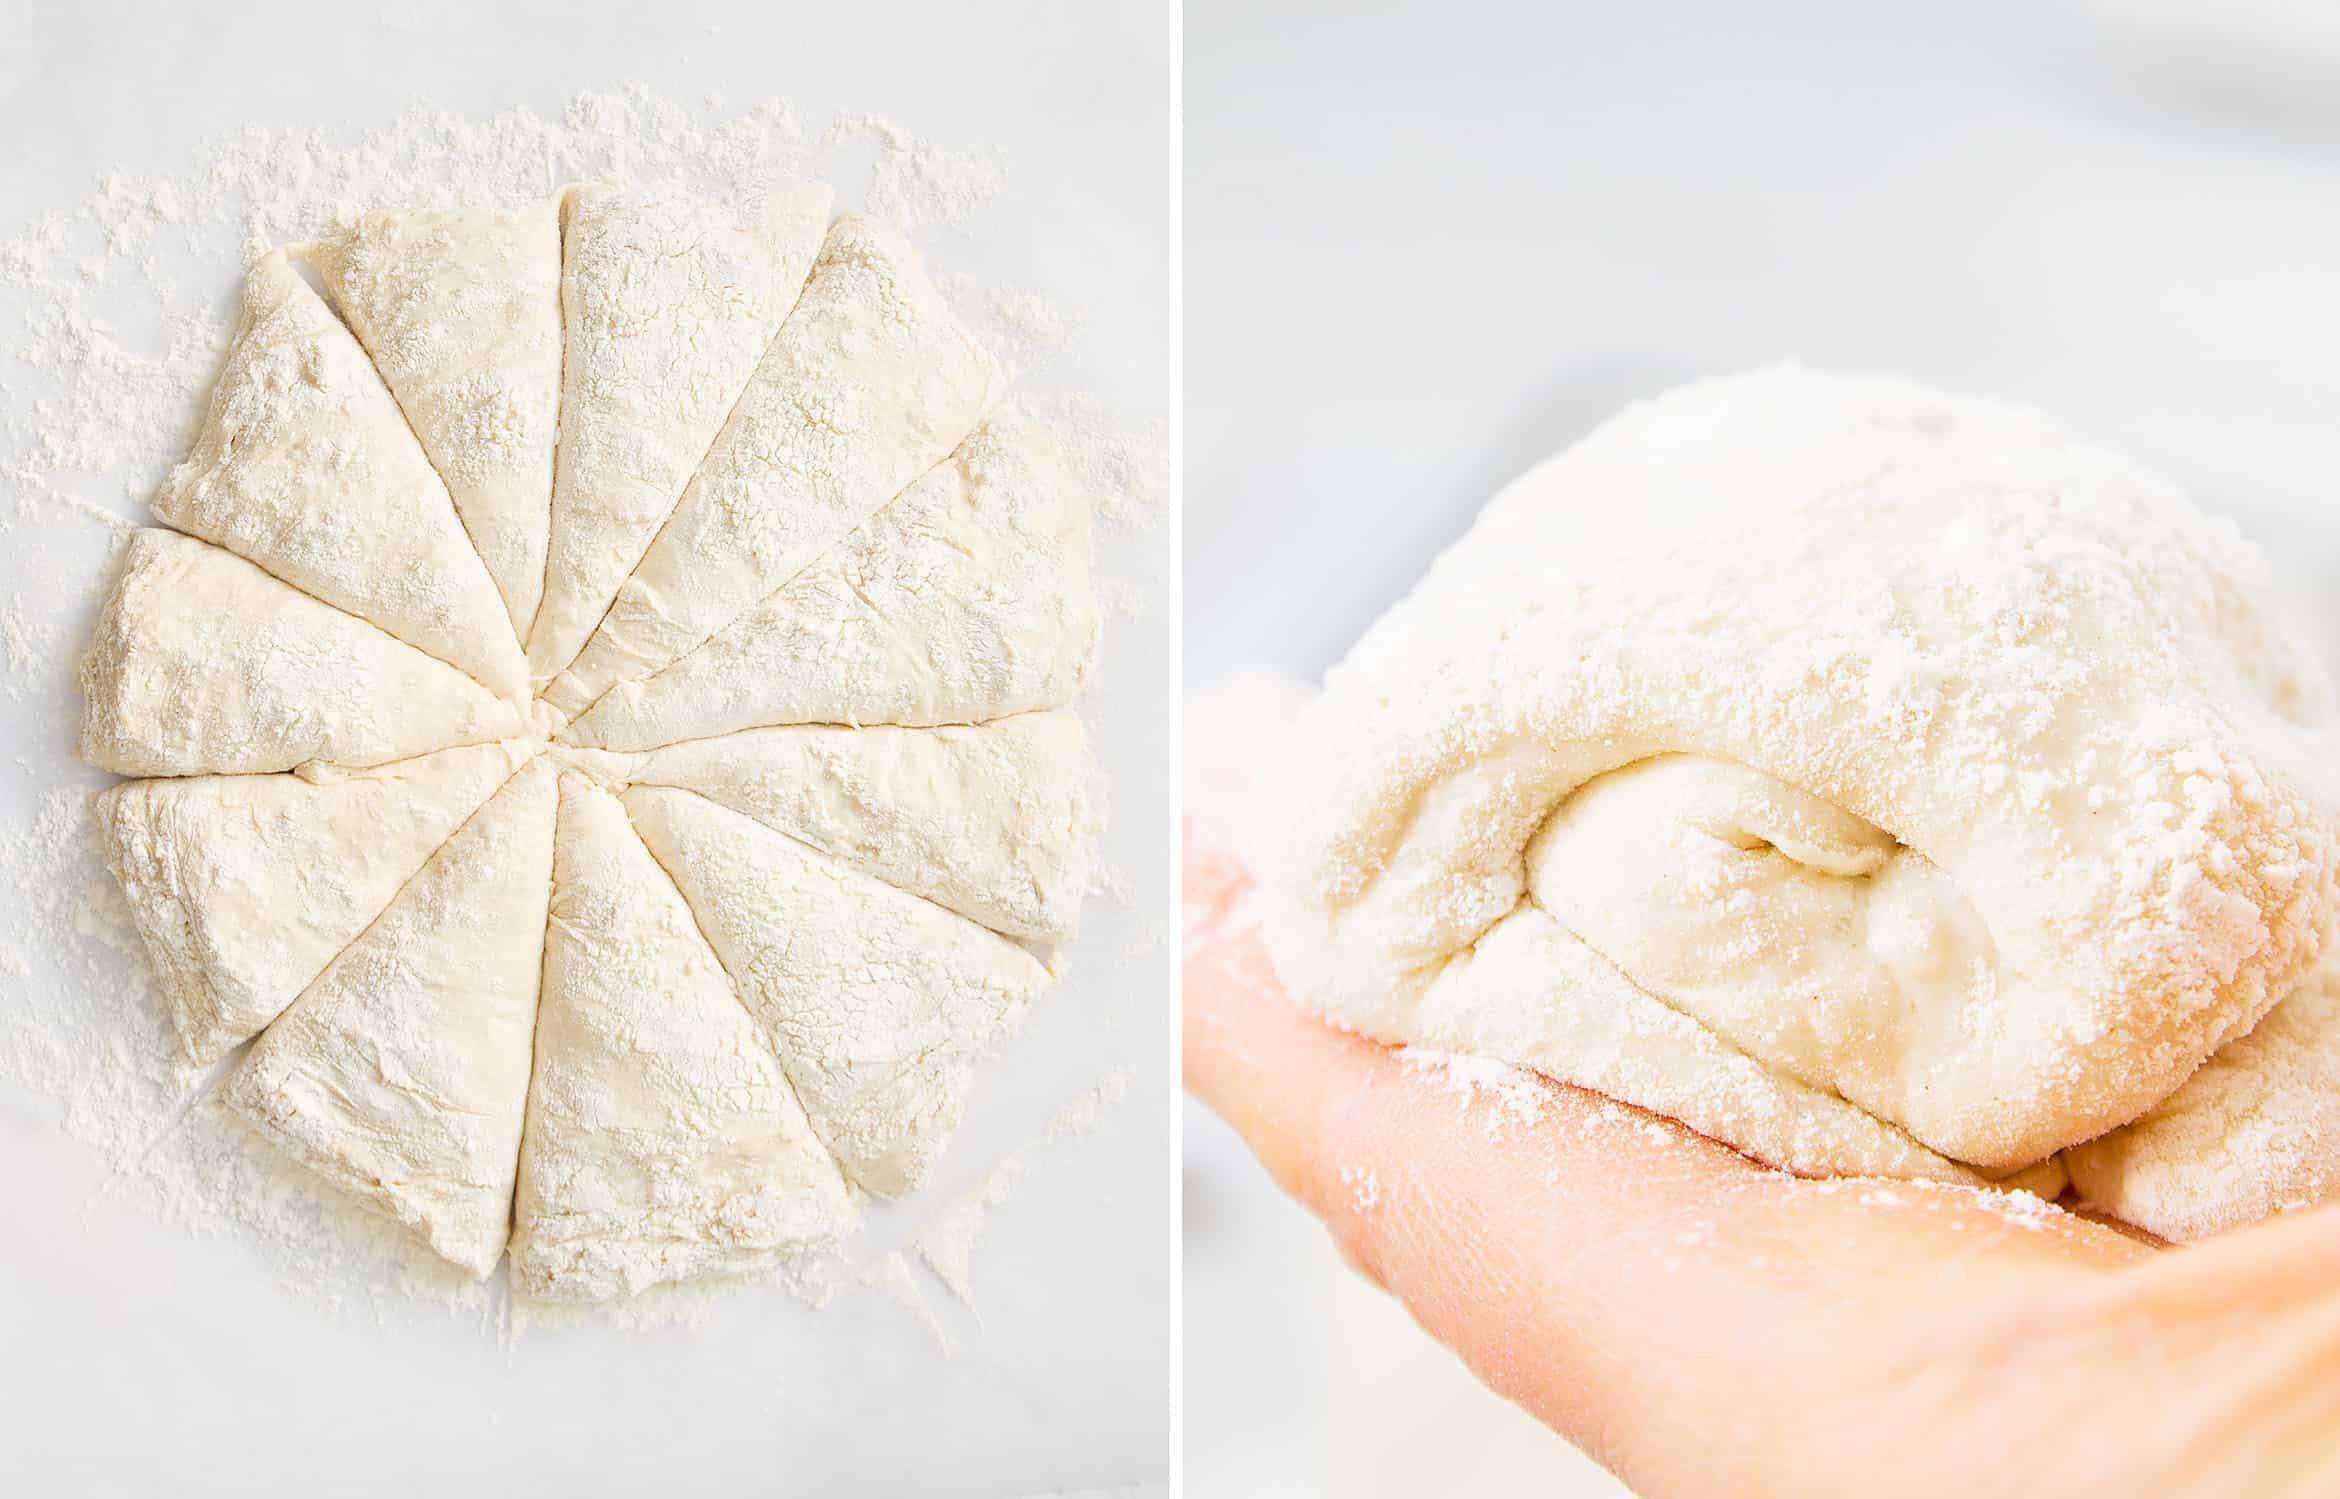
- Dust with flour and cut it into 10 portions
- Roll out each portion of the dough as you see in the picture on the right (never mind if it’s not perfect)
- Place them on a baking sheet
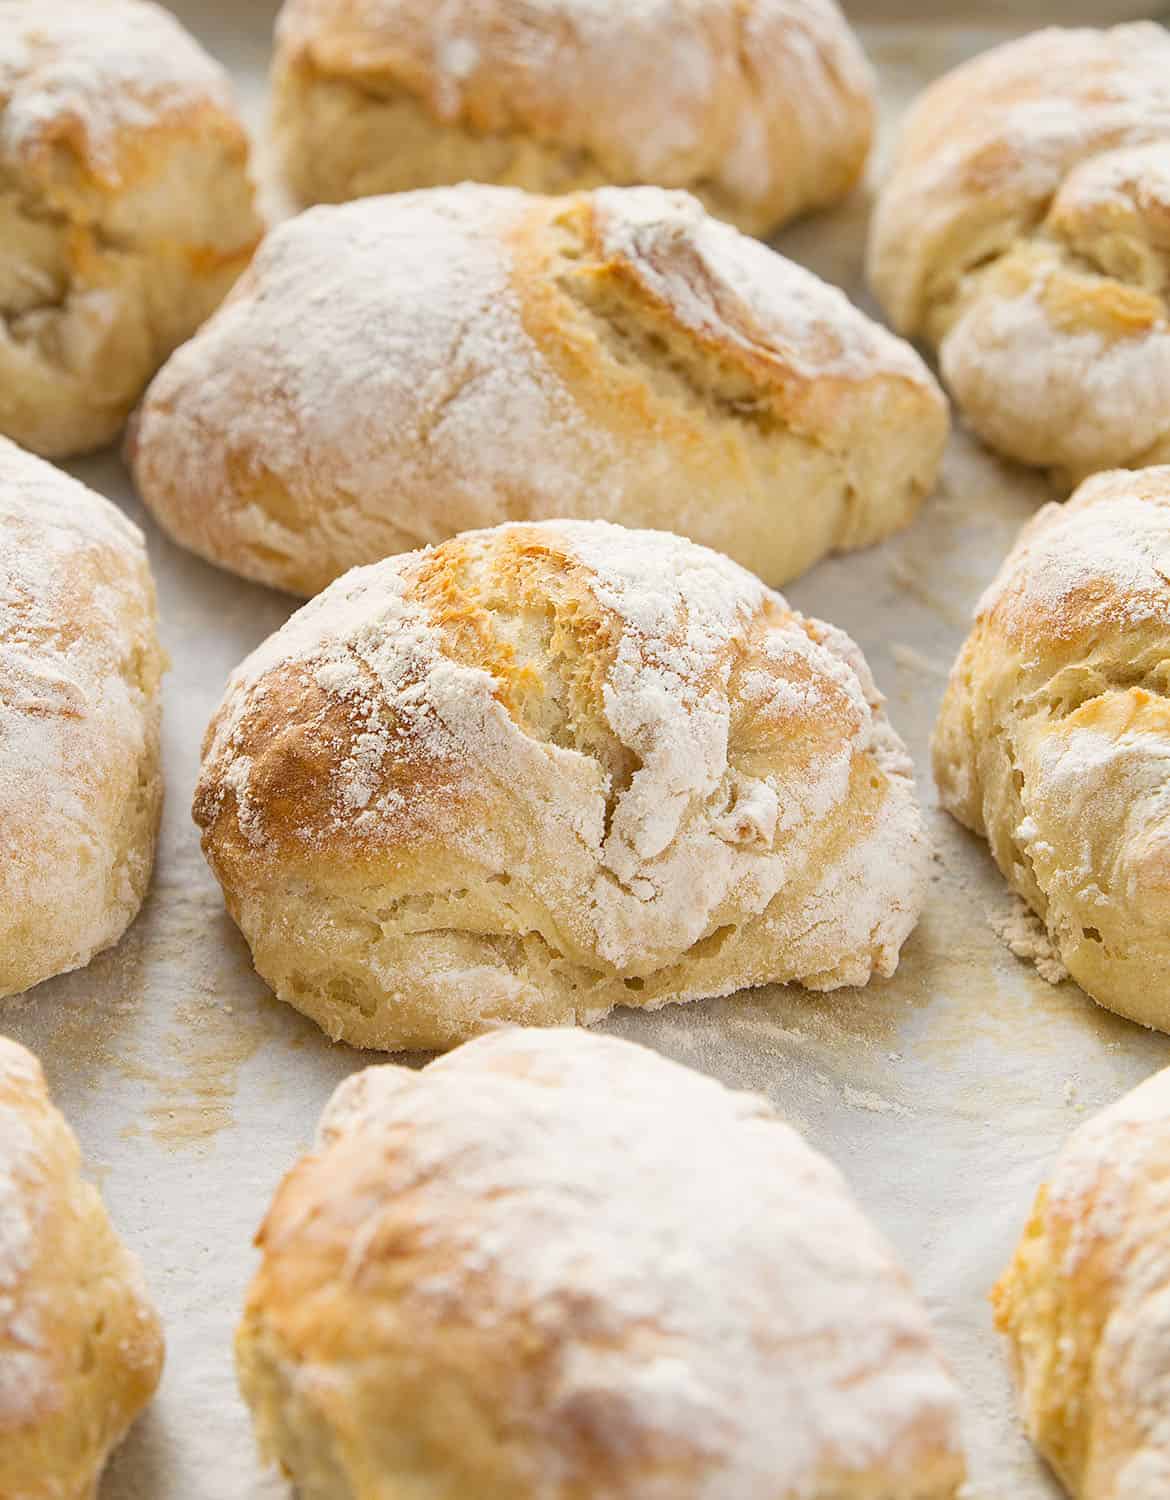
- Bake for about 20 MINUTES
- Enjoy, straight out the oven IS BEST!
RECIPE NOTES & QUESTIONS
WHAT’S PANINI?
First things first, “panini” is an Italian word. One panino (singular), two panini (plural).
In Italian, the noun panino means a simple small bread roll, without filling.
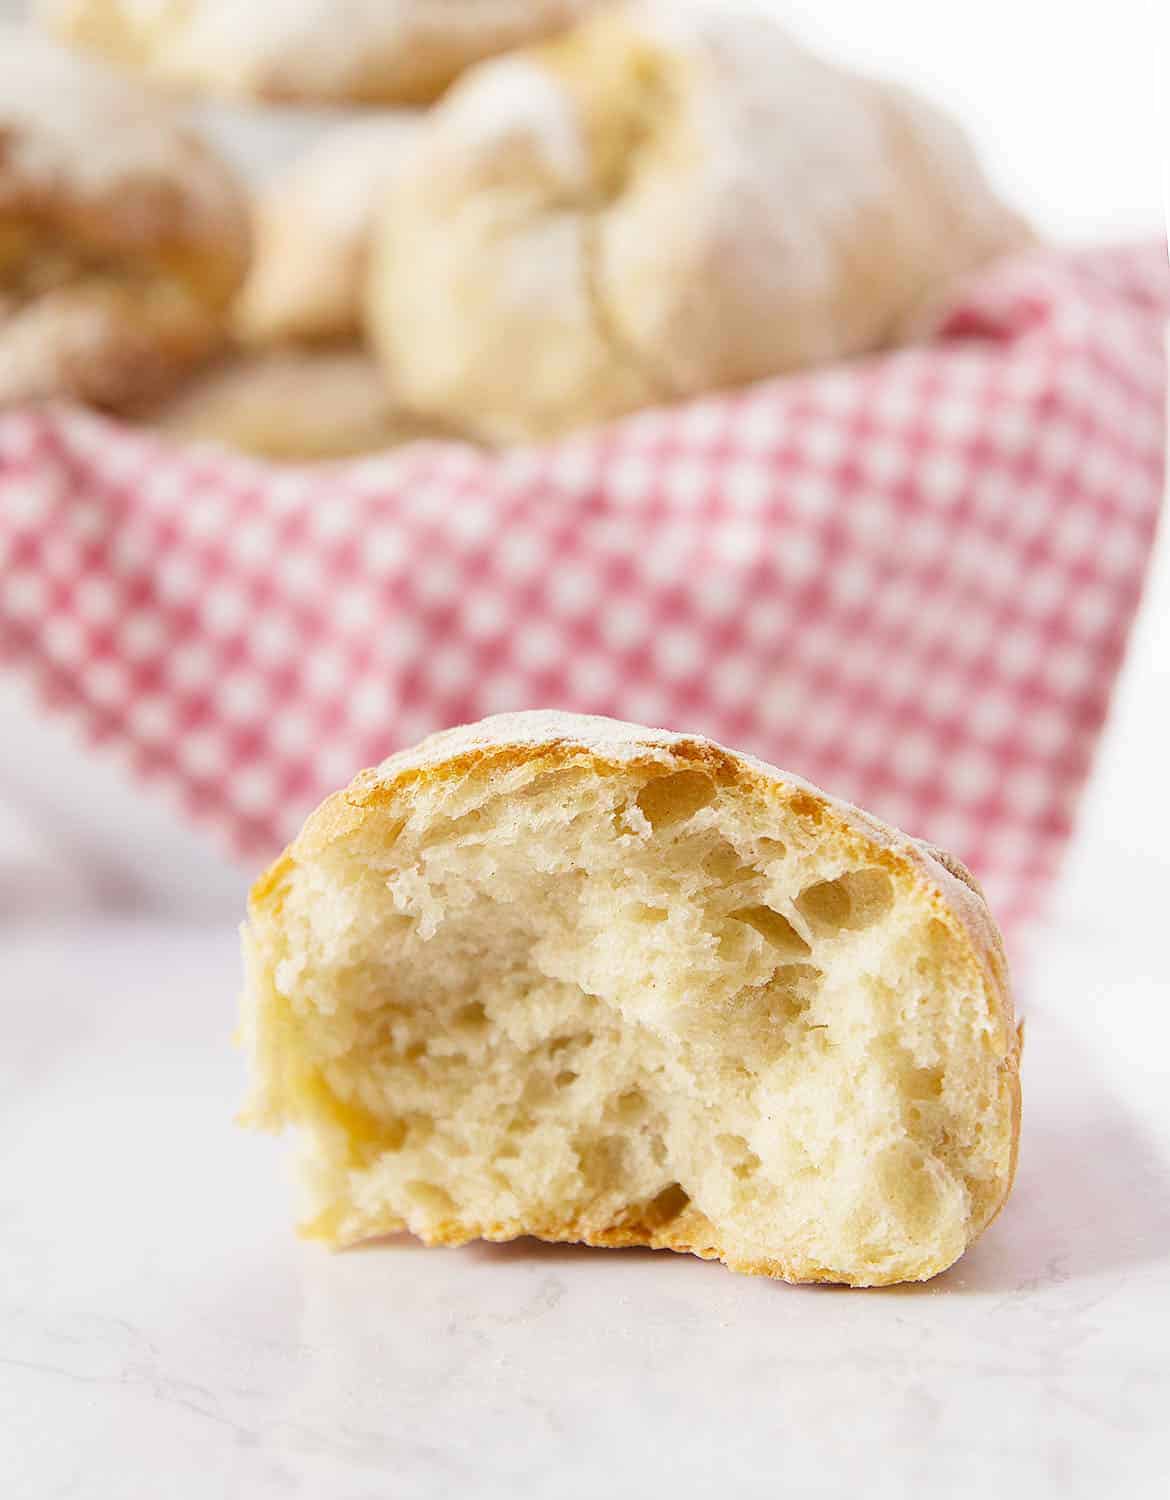
However, the word is also used to indicate a sandwich made from any Italian bread. The bread is cut horizontally (not sliced!) and filled with deli ingredients, often served warmed or grilled.
Every bakery (panetteria) in Italy sells plain panini. And if you happen to be over there, please pay a visit to a panetteria in the morning, get fresh bread and think of me for a second 🙂
WHAT DO YOU EAT WITH PANINI BREAD?
The sky is the limit! That being said, the most popular filling for panini is any kind of salami, cured meat, cheese, fresh or grilled vegetables. Here a few examples of the usual ingredients for authentic Italian stuffed panini:
- Meat: salami, mortadella, ham, parma ham, bresaola, coppa, speck, porchetta, grilled chicken or chicken Milanese.
- Cheese: mozzarella, brie, soft cheese, toma, Emmental, gouda, goat cheese.
- Vegetables: tomatoes, lettuce, rocket, grilled vegetables such as zucchini, peppers, eggplants.
- Eggs: sliced hard-boiled eggs or any kind of frittata, like this spinach frittata or this potato frittata.
- Dressing: olive oil or extra virgin olive oil and salt are the most popular dressings. But also basil pesto, red pesto, mustard or mayo are often used to jazz up classic panini recipes.
Last but not least, Italians eat panini bread with any kind of dish, except pasta and pizza.
We love carbs ?!
IS HOMEMADE BREAD HEALTHY?
Homemade bread is healthier than a store-bought bread mostly because it doesn’t contain preservatives, additives, emulsifiers, and enzymes to keep the bread softer for longer.
Baking your own bread from scratch gives you control over the ingredients and you know exactly what goes in it. You can reduce the amount of salt, you can mix whole grain flours and get plenty of fiber, or you can add super healthy seeds to increase your omega-3 levels.
WHAT IS THE BEST FLOUR FOR BREAD?
Different types of wheat flour contain different amounts of protein. With a high protein content, bread flour contains a greater amount of gluten which contributes to a good structure, higher rise, and chewier consistency. These qualities make bread flour perfect for artisanal rustic bread.
On the other hand, all-purpose flour has a lower content protein, slightly lower rise, it gives a softer crumb, but overall works well in this panini recipe. Plus, all-purpose flour is cheaper and easily available.
NOTE: I use half all-purpose flour and half whole wheat flour or spelt flour for this recipe. They both work well and increase the fiber content of my panini.
HOW LONG DOES HOMEMADE BREAD LAST?
Homemade bread doesn’t contain preservatives and keeps fresh for a short period of time. This panini bread lasts for about 1-2 days.
HOW TO STORE HOMEMADE BREAD?
Store panini bread in a closed paper bag, at room temperature. However, the crispy crust softens very soon and the crumb becomes firmer, usually within 12 hours. This panini bread needs to be toasted or grilled in order to get that nice crispiness back.
Alternatively, you can freeze your panini bread while it’s still fresh, that’s what I usually do. Place your bread in a sealed plastic bag, then freeze it. When you want to use your panini bread, let it thaw at room temperature.
Have you ever tried fresh homemade bread straight out the oven? If not, please do 🙂
And if you make this panini bread recipe, leave a comment, rate it or tag a photo #theclevermeal on Instagram.
I would love to hear from you!
PANINI BREAD RECIPE: NO-KNEAD & READY IN 1-HOUR!
Ingredients
- 4 cups (500 grams) unbleached all-purpose flour*, plus more for dusting (leveled)
- 1 3/4 cup (420 ml) lukewarm water, plus more if needed*
- 1 Tbsp (15 ml) olive oil
- 2 tsp instant yeast
- 1 1/2 tsp fine salt
- 1/2 tsp sugar
Instructions
- Mix well water, yeast, and sugar in a jug or in a bowl and let it rest until foamy (about 5 minutes).
- Combine flour and salt in a large bowl.
- In the meanwhile, preheat the oven to 250F and turn it off.
- Add the liquid to the dry ingredients, add olive oil, and mix with a spoon or a spatula to incorporate the flour*. Mix well until no dry flour remains, but do not overmix.
- Cover the bowl with a damp kitchen towel or with cling film, then let rest in the warm oven for 30 minutes*.
- Take the dough out and preheat the oven to 440F° (forced fan).
- Gently scrape the edge of the bowl and pour the dough on a floured working surface. The dough is fluffy and a bit bubbly now, you don't want to deflate it.
- Dust the dough with flour and cut it into 10 portions as shown in the pictures above*.
- Gently roll out each portion, and keep dusting hands and surface with some flour if needed.
- Place each portion of dough (panino) on a baking sheet covered with parchment paper.
- Bake for about 20 minutes. If you have a conventional oven (without a fan), just bake for 5 minutes longer until golden and crusty.
- Enjoy while they're still warm if possible, they're delicious!
Video
Notes
Either whole grain flour and high protein flour such as bread flour absorb more water than all-purpose flour.
That being said, when you add water to the flour, start with the amount stated in the recipe. If the liquid is not enough to achieve that dough consistency as shown in the pictures above, just add graduallty a little extra water until the flour has been incorporated. WARM OVEN METHOD: this is a trick to help you to make the dough rise faster. Basically, preheat the oven at low temperature, then turn it off and create a warm environment for the dough to rise in. This shortcut works great when you run out of time. DOUGH CUTTING: I use a dough scraper, but if you don't have one, use a knife large enough to not require a slicing motion. The dough is pretty fluffy and you don't want to deflate any air pockets. NOTE: Nutritional values are estimates only.



I have a question can I make this recipe and put my dough in a Dutch oven thank you I am going to make the rolls today
Hi Kathryn! Sorry, I’m not sure I got the question… Would you like to put the dough in a Dutch oven during the first rise? You can, then make the rolls and bake then on a baking pan x
Good morning I don’t think you understood what I was asking you first of all I want to tell you I made the rolls they are amazing absolutely amazing what I wanted to know was can I make up the doll like you did and instead of doing it and rolls can I make bread like a loaf of bread or put it in my Dutch oven that is what I was asking you again the recipe is amazing I can’t thank you enough for it
Hi Kathryn, I didn’t get it, sorry 😅, but I’m so happy you enjoyed the rolls!
Regarding your question, you can certainly bake this dough in a large Dutch oven, while it might overflow easily from a loaf pan (since it’s 4cups/500 grams of flour).
I suggest you make the folds anyway, like it was a giant roll, that will give more “structure” to the bread. However, I’ve never baked this dough in a dutch oven before and I can’t give you the exact instructions and baking time. By coincidence I got a similar question yesterday, and I’m planning to do this test properly in order to add more instructions and notes to the recipe. Many thanks! x
Good afternoon I am doing it right now I’m waiting for my water and yeast and sugar to foam I will let you know and I will send you pictures thank you for getting back to me
You’re so welcome, Kathryn, I hope it turns out perfectly. I would be so pleased to hear back from you, thanks! x
Hi there how are you doing today well here is my bread that I made out of your recipe in my Dutch oven still waiting for her to cool it looks amazing
Wish I had this recipe a few years back. – such an easy to remember -.. Being Half-Italian – we grew up with having alot of the Calabrese Bread / Panini Sandwiches ( with Rapini).. or even Pickled Malensane (peppers with cheese)… And Yes… Fresh CAPICOLLO..
It is also good with Cheeses alone & RED WINE ( Italians have the best Cold Cut Meats and Cheeses I’ve ever tried).. or even with Fresh Mortadella or Sopresada…- Again, it is like someone described here “over the moon”…. Your a Blessing!…Making them this very moment (my 4th time)… I feel like I have my very own BAKERY now… Love em!! THANK YOU! – I only wish my Dad was here to try this..:(
Lucia, you’ve just made my day! 😍 Part of my roots are from Southern Italy as well, your memories are somehow my memories, too. Comments like yours make me feel SO HAPPY and motived, thank you! ♥️
First time making homemade rolls and these were so easy and delicious! I added some herbs and they are fabulous!
Thanks for your lovely feedback, Heather! 😍 I’m so glad they turned out fabulous x
Love the taste! My first attempt at making panini and I’m no good at shaping the rolls yet. Any tips?? I went heavy on the “dont worry if it’s not perfect” directions lol
LOL, thanks for making me smile 😉 I’m glad you loved the taste!
And regarding the “tricky” shaping…
Make sure you dust the dough and your hands with enough flour and try to work on a surface, that would be definitely easier for you.
Firstly, gently press each piece of the dough to flatten it into a round circle (about 8-9 inch diameter), dust with flour if needed. Then try to roll it or fold it (like it was a piece of paper!) in order to build a structure, and make sure the rolls don’t look flat before you bake them. 😉
Hope this helps x
What temp afire do I cook it at ,350 degrees? For 20 minutes
Hi! Please, follow the recipe at the bottom of the page, it says “preheat the oven to 440°F” and “Bake for about 20 minutes”. Cheers!
Thank you for the recipe!
I prefer doing everything in grams so I converted it roughly. It turned out good 🙂
The only thing I kinda improvised was: when do you preheat the oven? As soon as you take the dough out from resting you turn the oven on to that temp? And do you let the rolls rest on the baking sheet covered until the oven reaches the desired temp?
I also used sourdough starter to replace 150g of water and 150g of flour and they turned out very tasty, in case someone has sourdough discard they don’t want to actually discard.
Thanks again! 🙂
Thank you, Nicole! So glad you liked it 😍
Technically, in order to get the bread ready in 1 hour flat, the oven should be preheated as soon as you take the dough out (I will make this step clear in the recipe, thank you). However, if time allows, you can preheat it even when the rolls are on the baking sheet, you can let them rest until the oven reaches the temperature, it’s not an issue.
Regarding the sourdough discard, that’s brilliant (I hate wasting!), thanks for the helpful tip 💛
Golden and crusty on the outside, soft and chewy on the inside. Restaurant quality bread- can’t believe it was so easy to make! Thank you for sharing this recipe to the world💗
You’re so welcome, Tua! I’m pleased you enjoyed it 😍
Hi! Instead of doing the warm oven method for quick-rise, can I make this dough ahead of time and leave it in the fridge overnight. I plan to just take it out in the morning in time for it to reach room temperature prior to shaping. Thanks in advance for your inputs!
Hi! Yes, you can 😊 and in this case, I would suggest reducing the amount of yeast, 1 tsp is fine x
Your instructions say @ step 9 to bake at 440 F (forced fan). I don’t know what that means. My oven does not have a fan. Please include appropriate temperature for non-fan ovens.
A forced fan oven has a heating element around the fan, the hot air is evenly distributed and cooks faster. But it’s fine if you don’t have this type of oven, the panini rolls are pretty small and you don’t need to adjust the temperature, but you might want to keep them in the oven 5 minutes longer until they get a golden crust x
Is that a convection oven?
Any oven will work, and if it’s not a convection oven, just bake a bit longer or until crusty. The note is in the recipe. x
Can this be made into a loaf instead of rolls?
What a lovely easy recipe. Such a beautiful day today I put the dough outside to rise. I used 2 cups plain flour (allpurpose) and 2 cups wholegrain flour so needed to add a little more warm water. We had the rolls for lunch, so delicious with a light crust and soft and chewy inside, filling was pesto, feta and spinach. Will most definitely be making these again. Thank you for sharing.
I’m so glad you enjoyed this crusty bread on this sunny day, Carol 🙂 I usually mix all-purpose and wholegrain flour as you did, and we love it! Thanks a lot for your comment x
Hi, i’m making this now and I noticed that the blog describes adding in the oil after the yeast liquid to the flour, but it is not mentioned in the recipe instructions. Thank you! I hope it turns out well!
Hi Lauren, I see that the recipe mentions liquid and dry ingredients without specifying the oil, I’ll make that step clear now, thanks for your comment! Enjoy your freshly baked bread, I’m sure it will turn out delicious 🙂
Can I make this into a loaf? Sorry for the question – I’m not a big bread baker but would love to try this
Hi Anna, I guess you can, but I haven’t tried it yet, so I can’t give you the exact instructions and the baking time. But thanks for asking, you make me think I should try it soon myself to add more notes to the recipe. x
Loved it!! Easy and quick!! Wow!!great crust and soft in the inside!!?????? Thank you!! Great recipe!! From Costa Rica staying at home!!
You’ve just made my day, Alexandra, I’m so glad you loved this bread! Greetings from London, staying at home too xx
I am from Bari in Puglia Italy and these cane so close to the real thing that I cried. Bread in 1 hour …easy and with very little effort…all ingredients in pantry …making quarantine super easy for this Italian girl living in NY.
Your comment made my day, Elisabetta! Things like these make blogging simply amazing 🙂
Big hugs from an Italian girl living in London, and in bocca al lupo! x
I’ve never tried to make bread this way, I loved this recipe! It was pretty easy and the bread so good, this is a keeper 😉 Thanks.
Born and raised in Puglia where the bread is amazing. I have been baking bread for few years and always look for new recipes and, first time baking panini, this recipe is great.
Wow, I’m over the moon! ? If you come from Puglia that makes you an expert, especially if you’ve been baking bread for years.
Thanks so much for your lovely comment, Franca! Also, it would be great if you could pls leave a 5-star rating on this recipe! x
No words can describe these rolls,The only problem is I never
make enough
Thanks so much for your lovely comment, you’ve just made my day, Mary! 💛
You say 440 if you have a forced air oven, what about a regular ov
en?
Hi, just bake it for 5 minutes longer until golden and crusty, I’ve mentioned that in the recipe card, but I’ll make it clear x
Loved it!
Nice and easy panini!
Thank you!
Greetings from Greece!
I’m so glad you loved the recipe, Melina! Thanks for sharing your feedback, and enjoy your beautiful country! x
Delicious! Made to compliment a stew and used leftovers for chicken salad sandwiches. Easy recipe and great taste.
Thanks for your lovely comment, Susan! I’m so pleased it turned out delicious 😊 x
Hello, is this recipe OK to use with a panini press? I am looking for a bread recipe that may be used on the press once cooked. Thanks!
Good morning! These panini rolls come out crusty and puffy, not suitable for a panini press. x