PANINI BREAD RECIPE (READY IN 1 HOUR!)
This post may contain affiliate links. Please read my disclosure policy for more details.
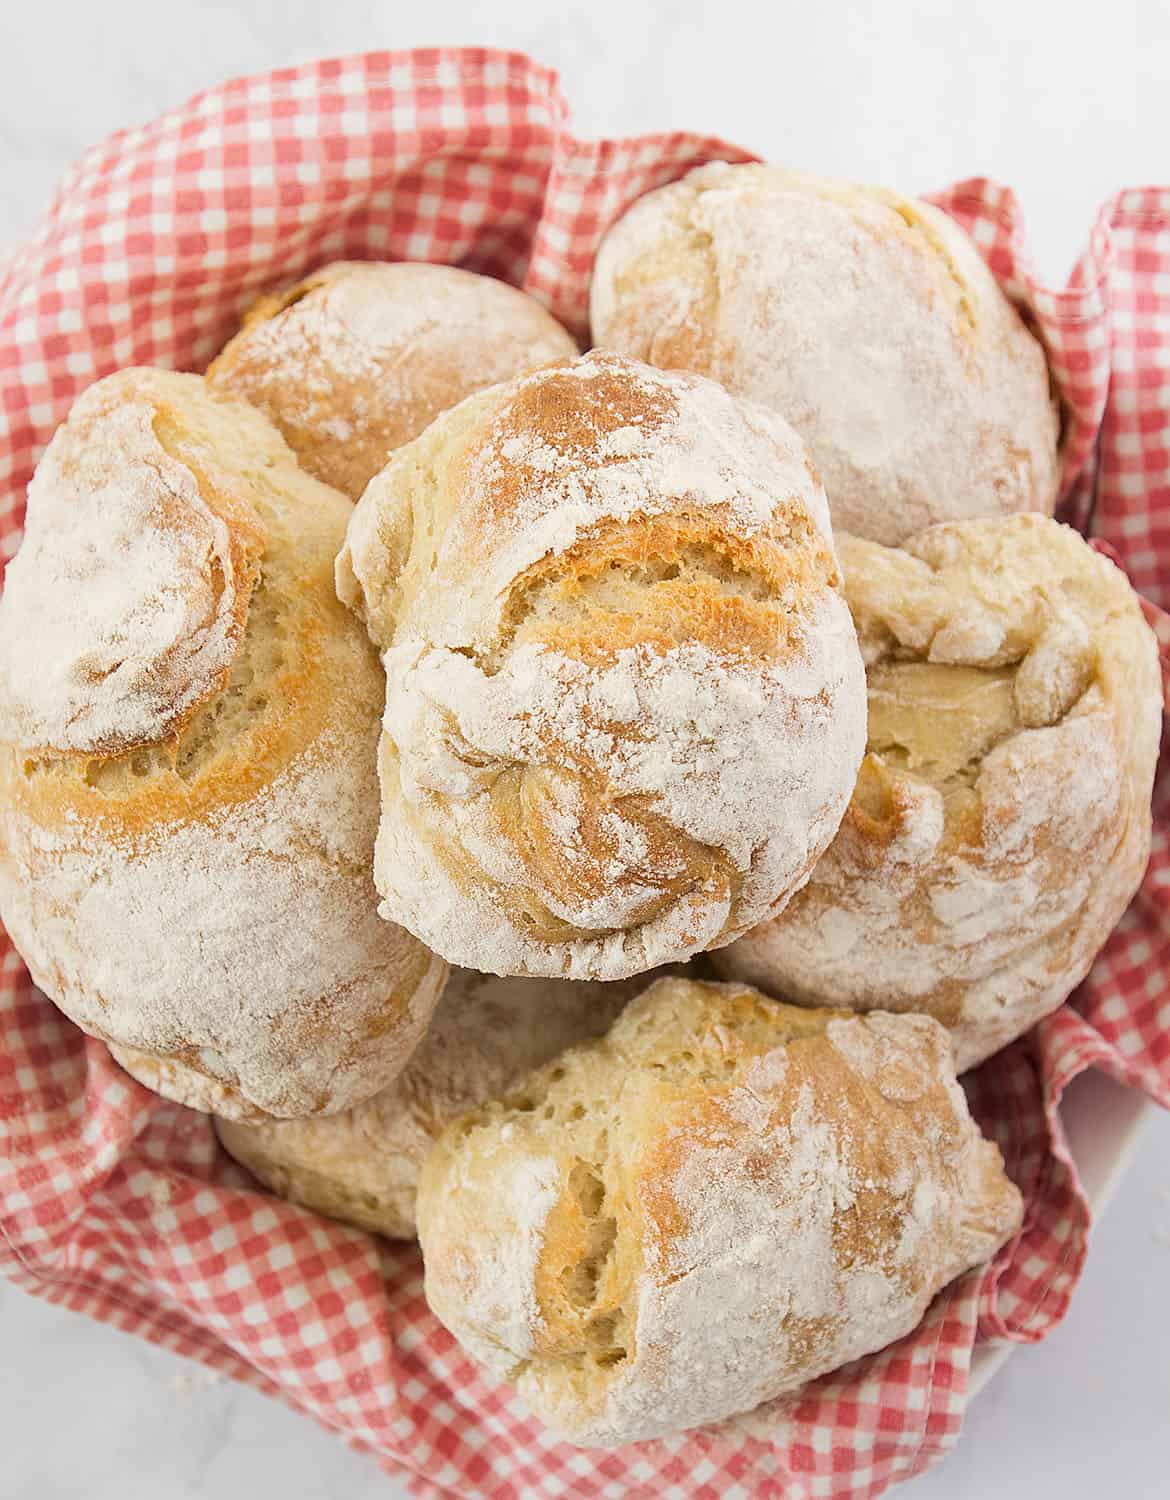
This amazing and super easy panini bread recipe will make your kitchen smell like an Italian bakery!
It’s crusty, irresistible, super easy to make, and ready in 1 HOUR flat.
A real dream when you feel lazy or you run out of time, and you want fresh bread NOW.
Believe me, warm and crunchy bread that comes out from the oven is a real treat, it’s a million times better and cheaper than store-bought bread.
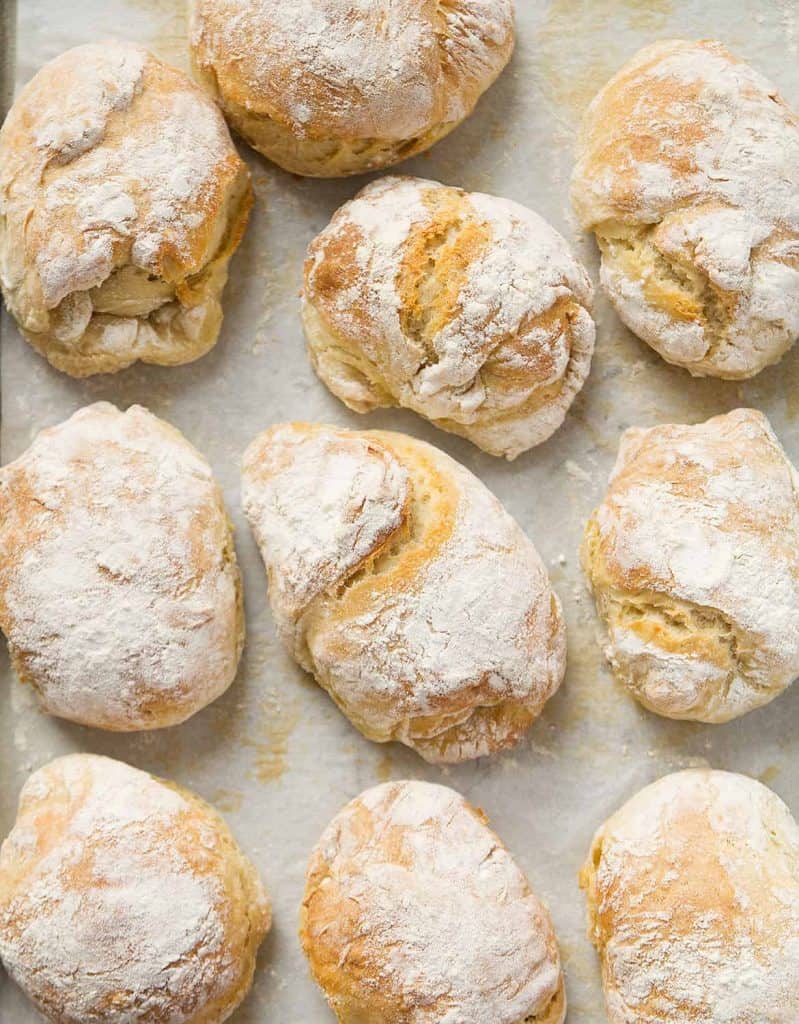
How much cheap? Homemade bread is super economical: 10 paninis cost less than $1.
How much easy? This is a no-knead recipe: you’ll mix all the ingredients in 1 BOWL.
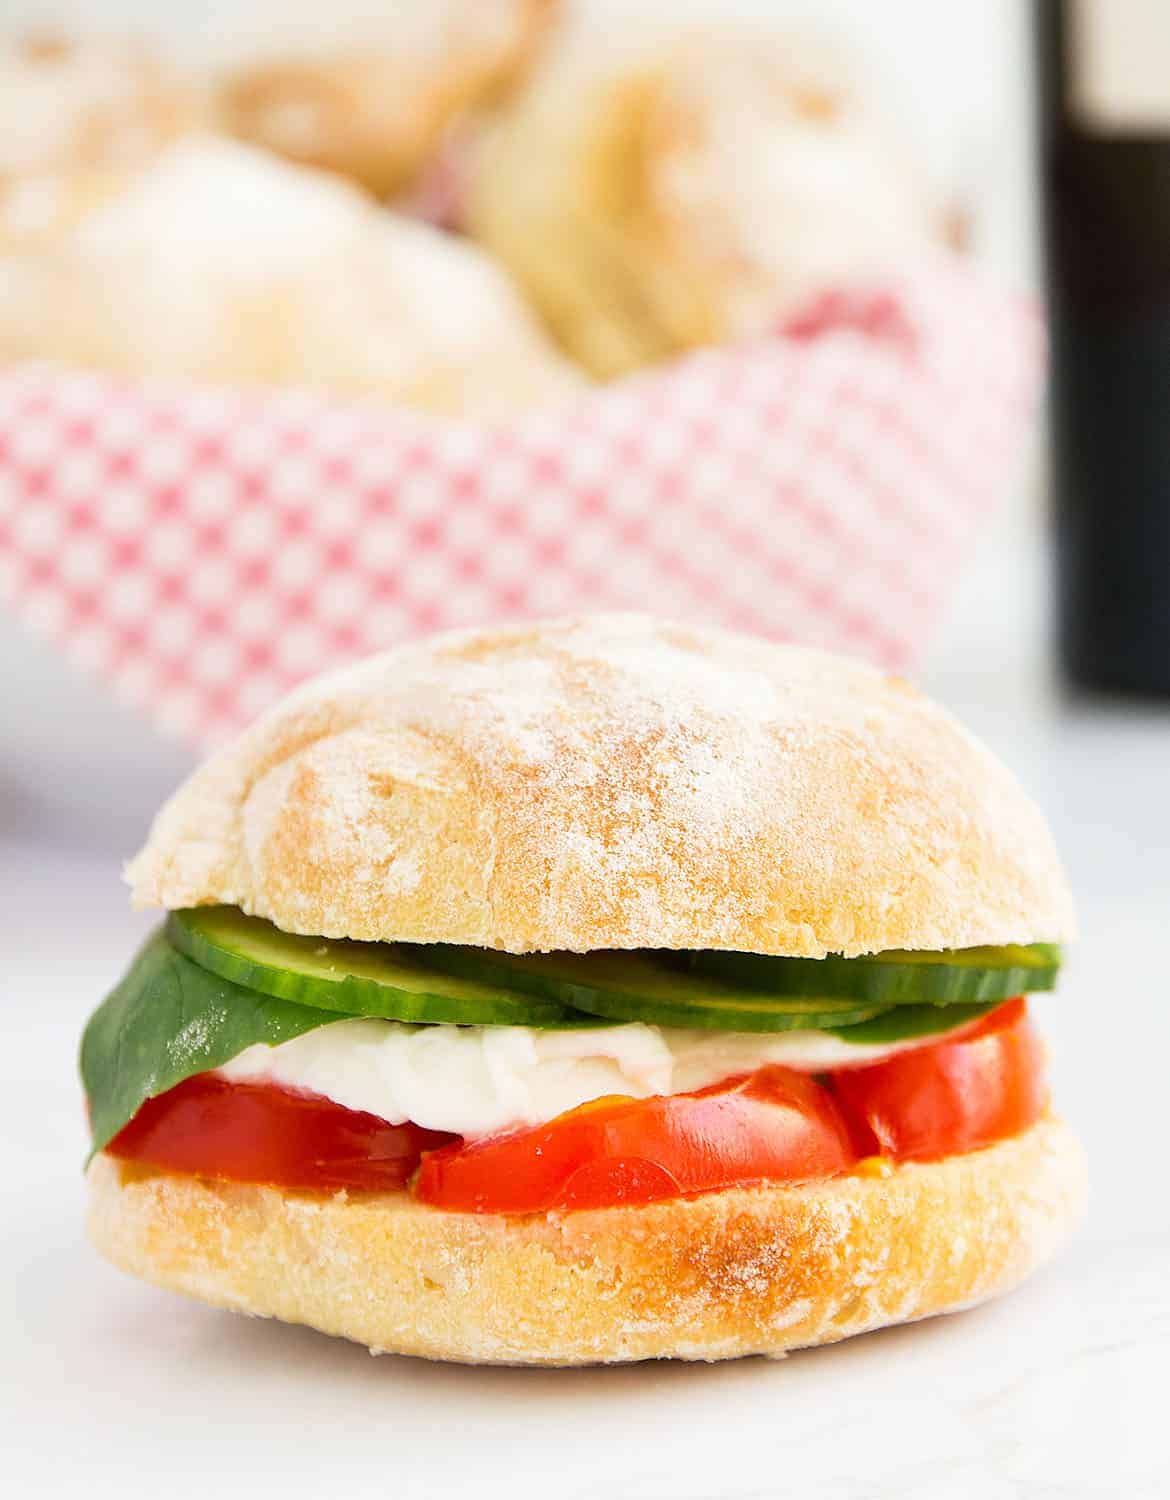
How much good? Let’s forget sliced bread, homemade panini will change your concept of sandwiches forever.
Watch how to make it
What ingredients you need
- Flour
- Olive oil
- Instant yeast
- Salt
- Sugar
And delicious fillings…
HOW DO YOU MAKE PANINI DOUGH?
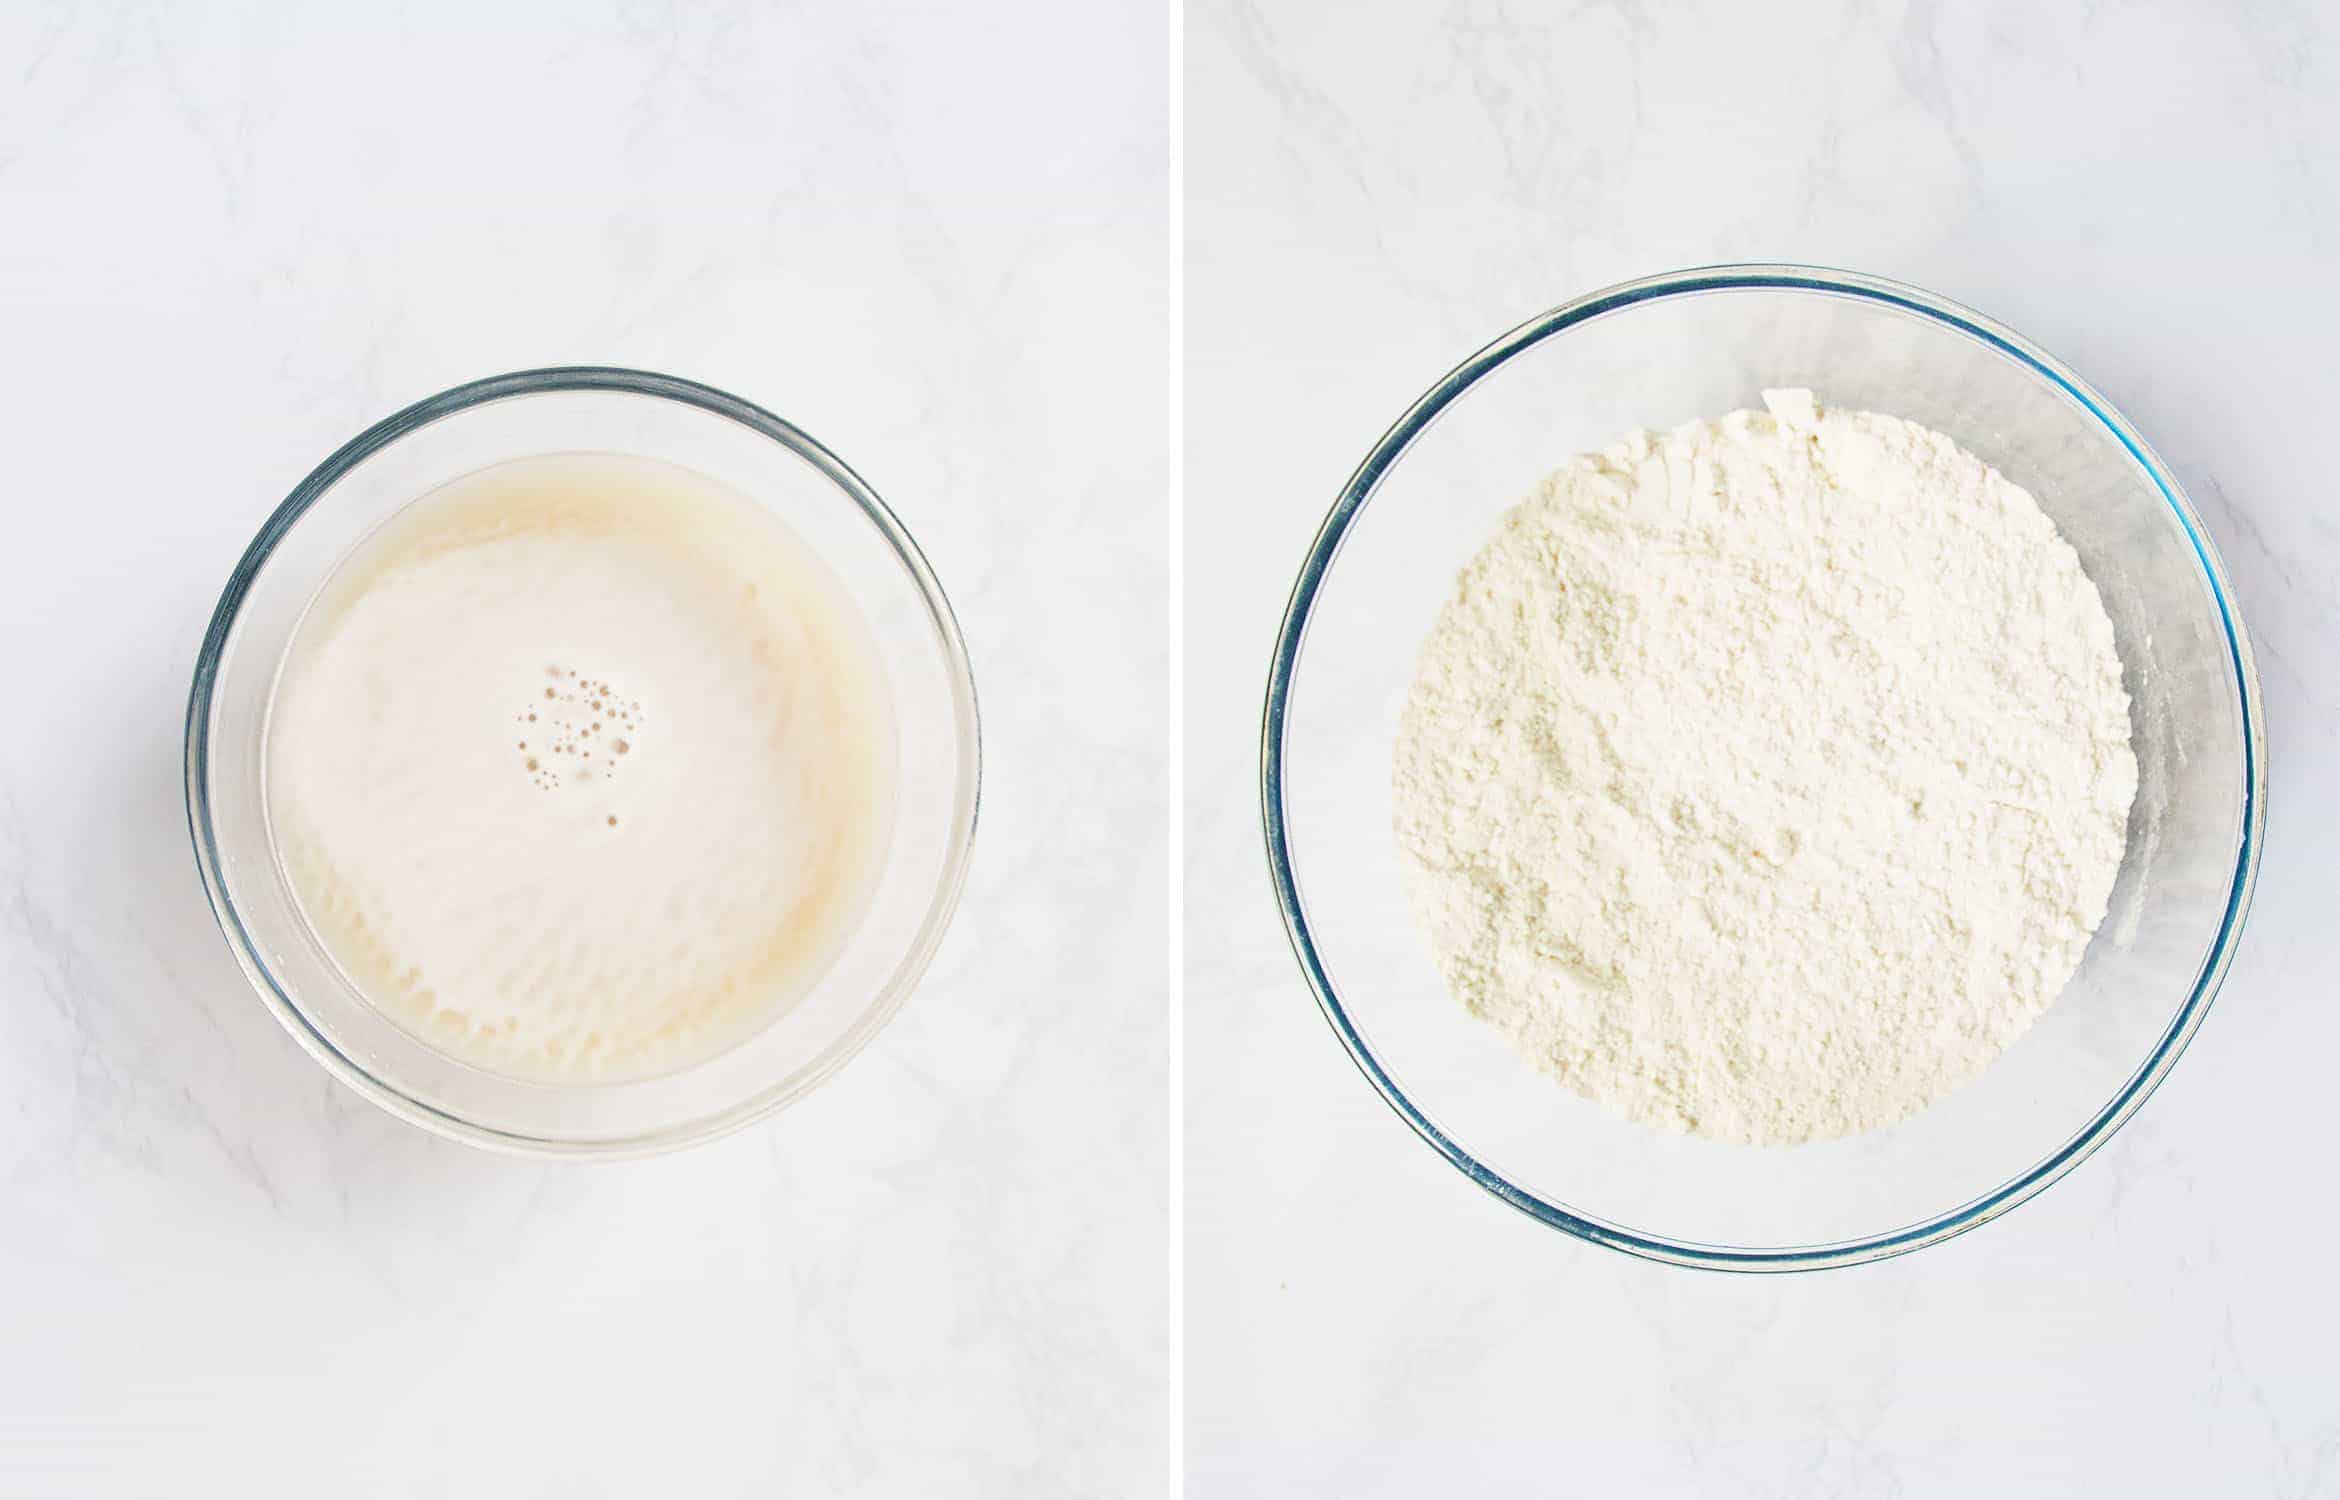
- In a small bowl, mix lukewarm water, yeast, sugar and let sit until foamy
- In a larger bowl, combine flour and salt
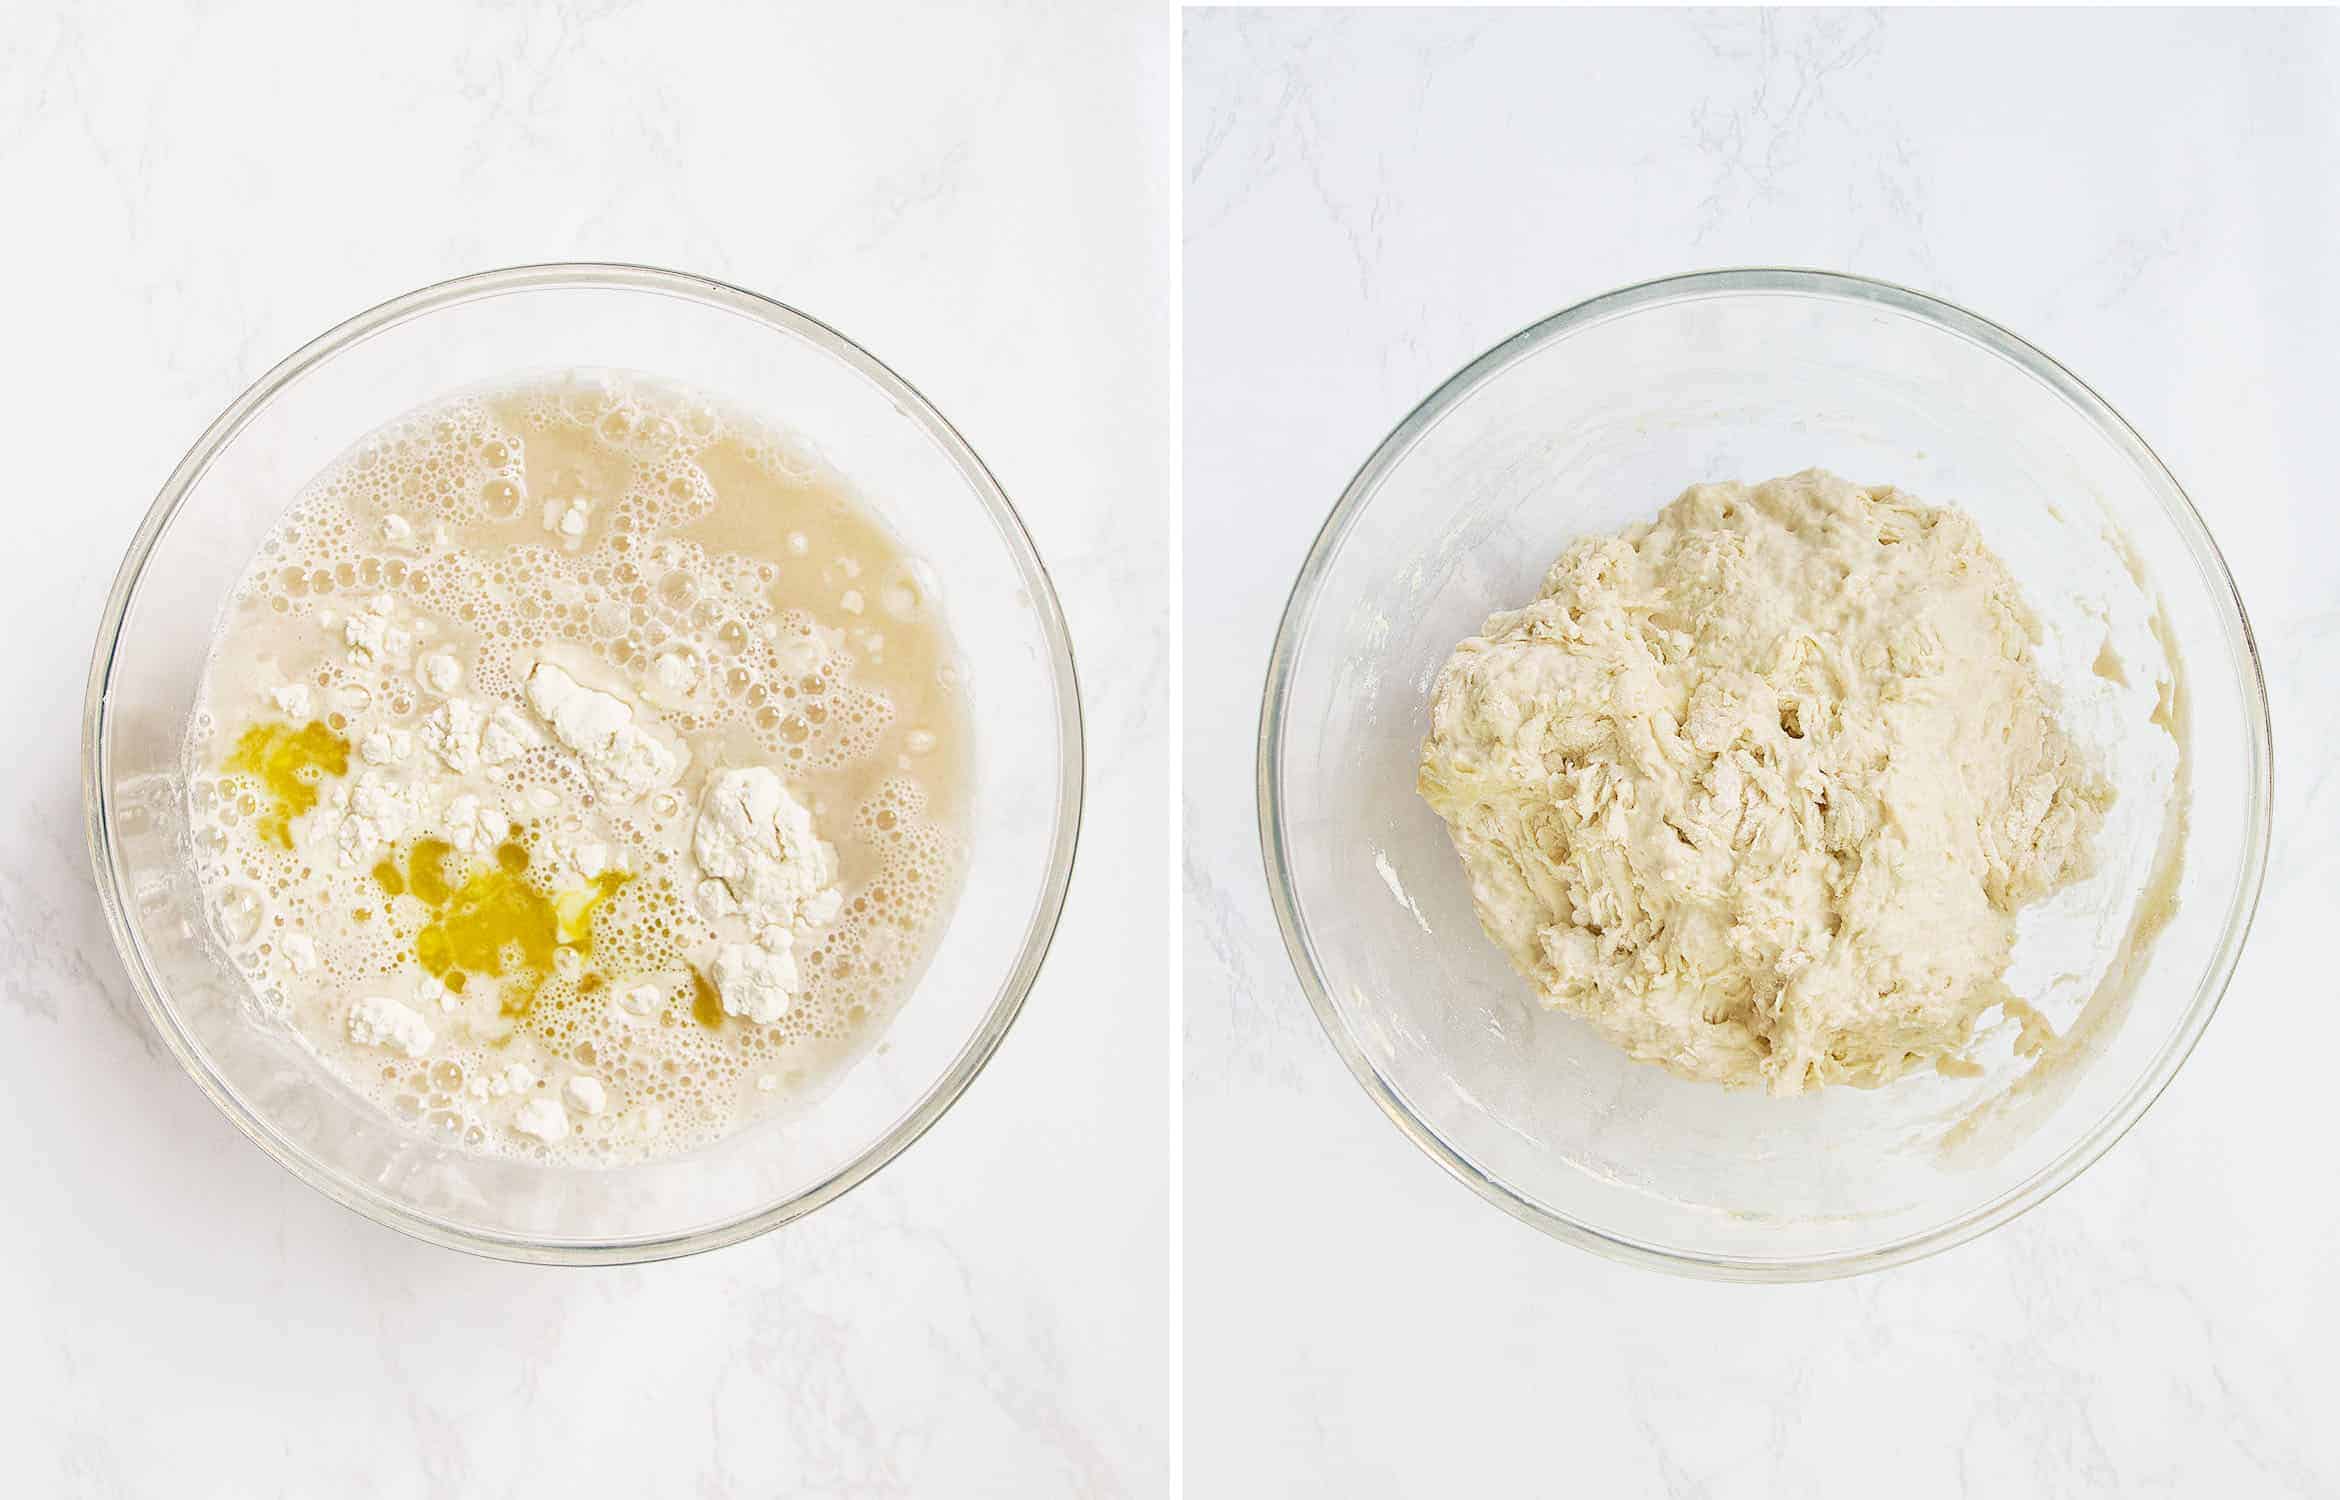
- Pour the liquid into the dry ingredients and add olive oil
- Mix well with a fork, you want to incorporate all the liquid
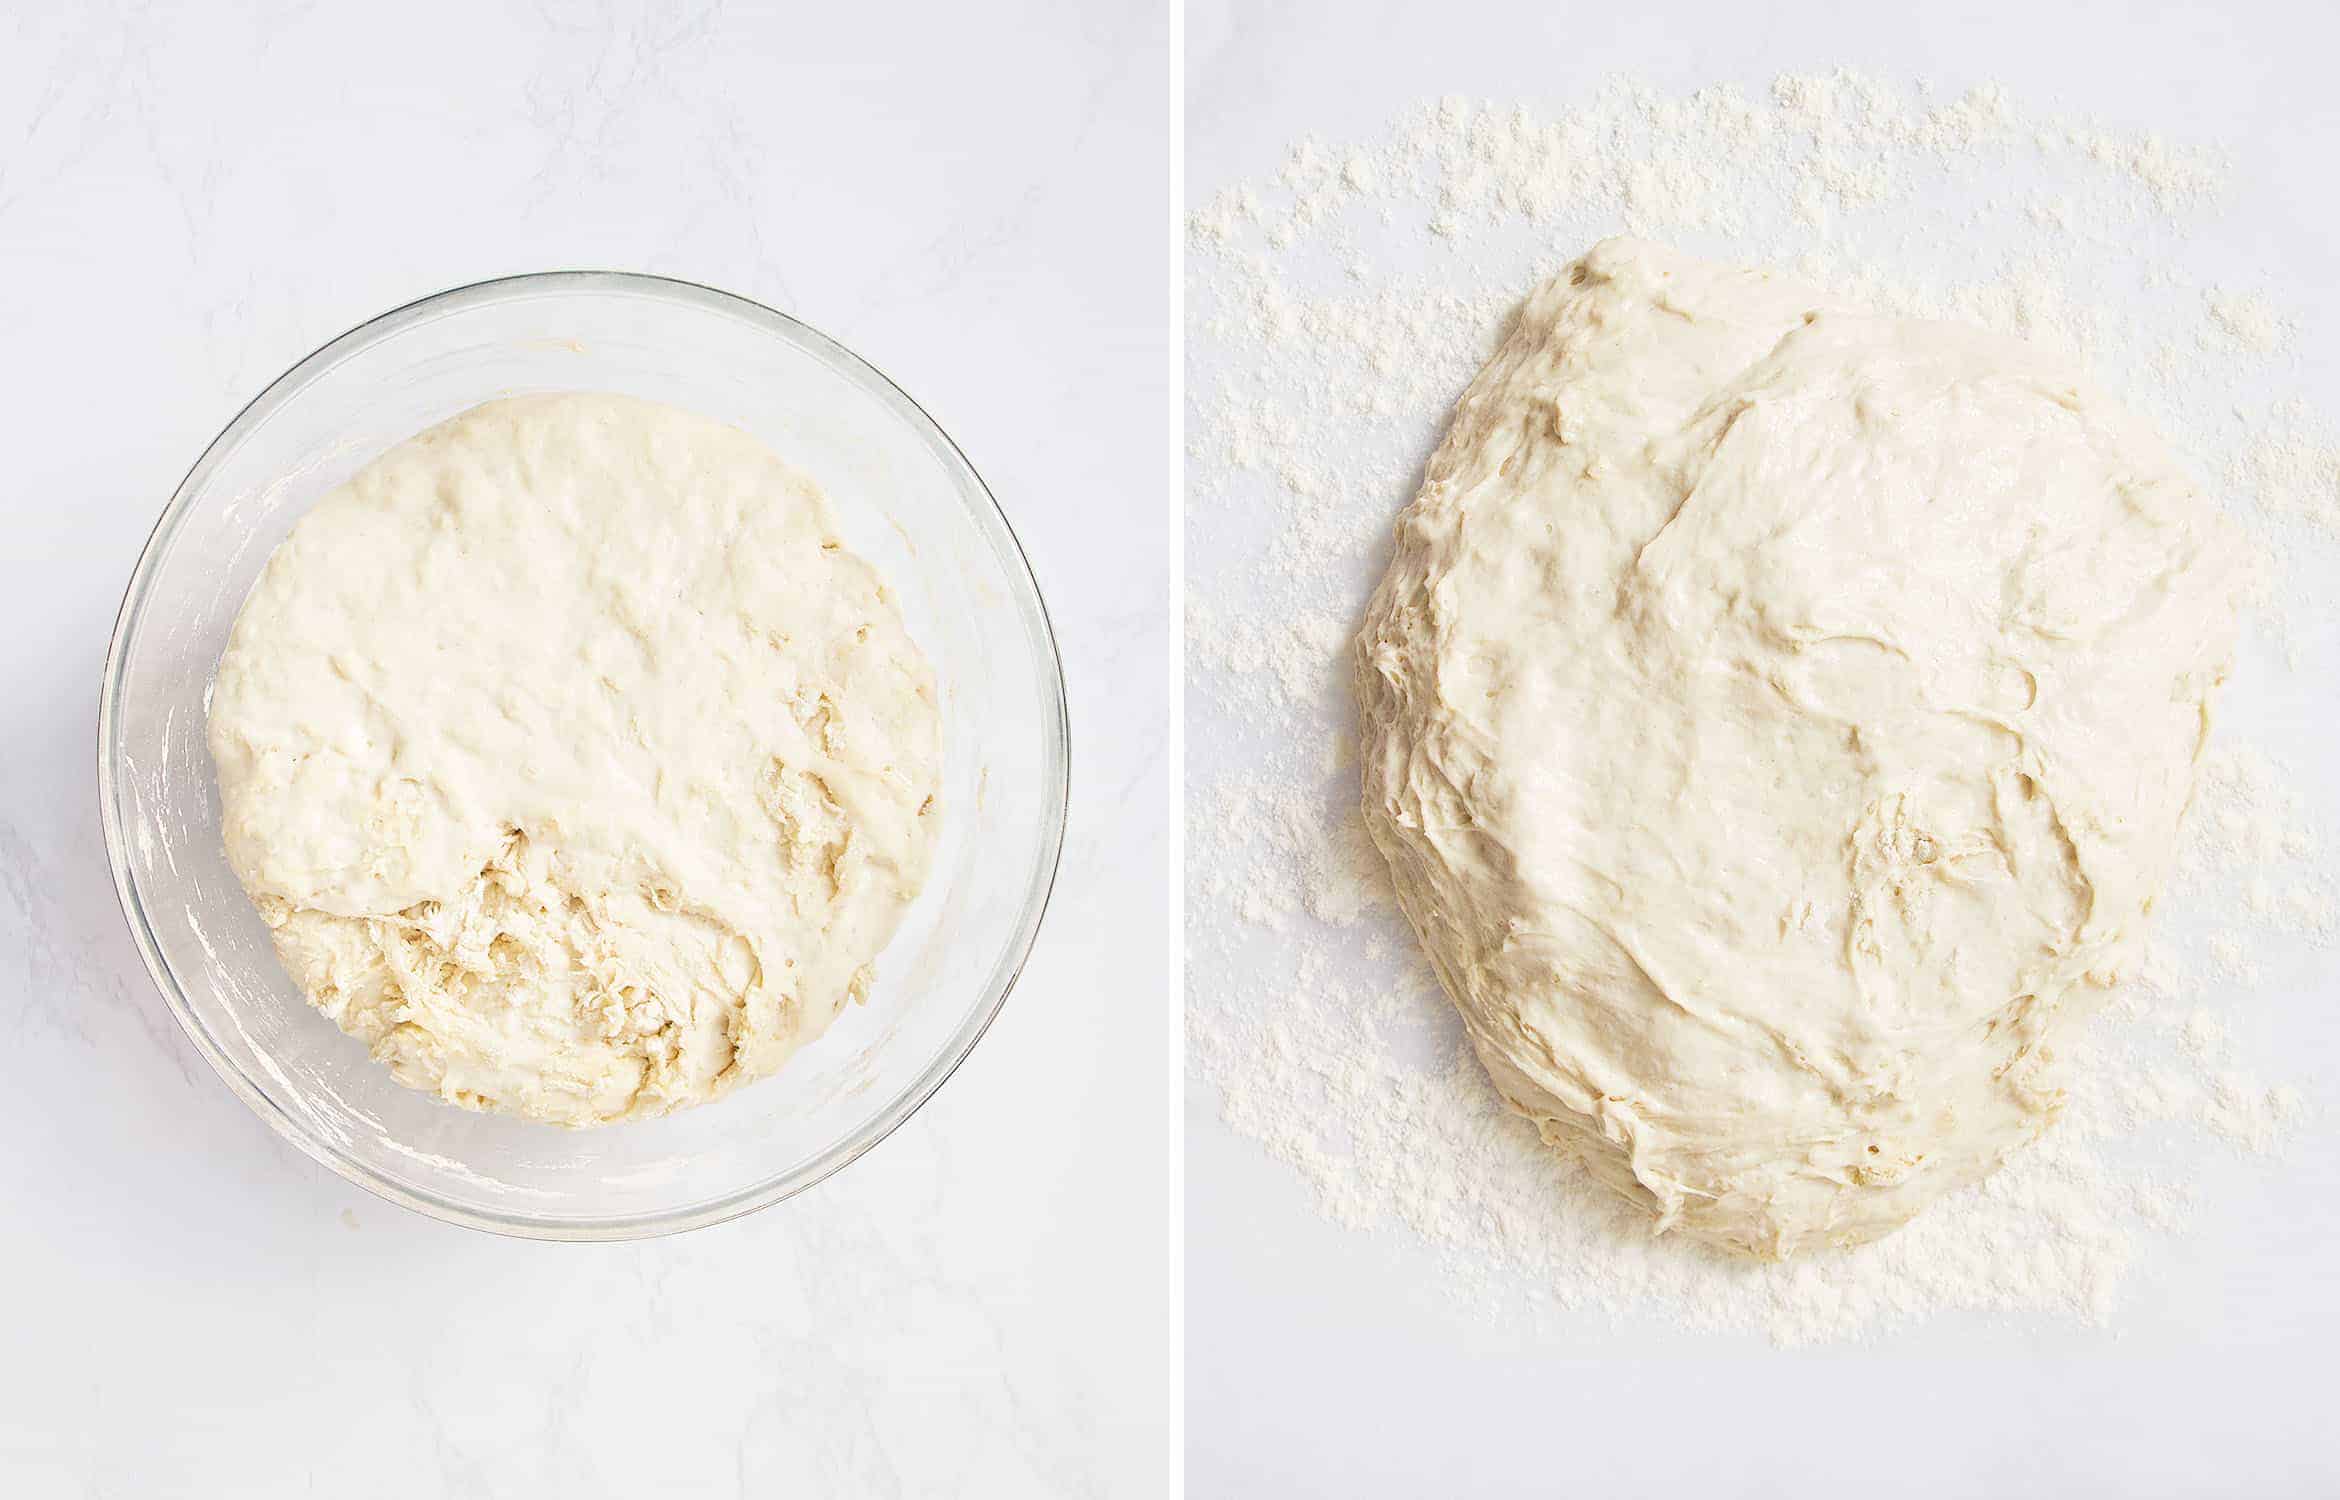
- Preheat the oven to 250F, turn it off and let the dought there to rise for 35 MINUTES. This trick creates a warm environment and helps the dough rise faster. On the left (picture below) you see how the dough looks like after this rest in a warm oven
- Using a spatula, pour the dough on a floured surface
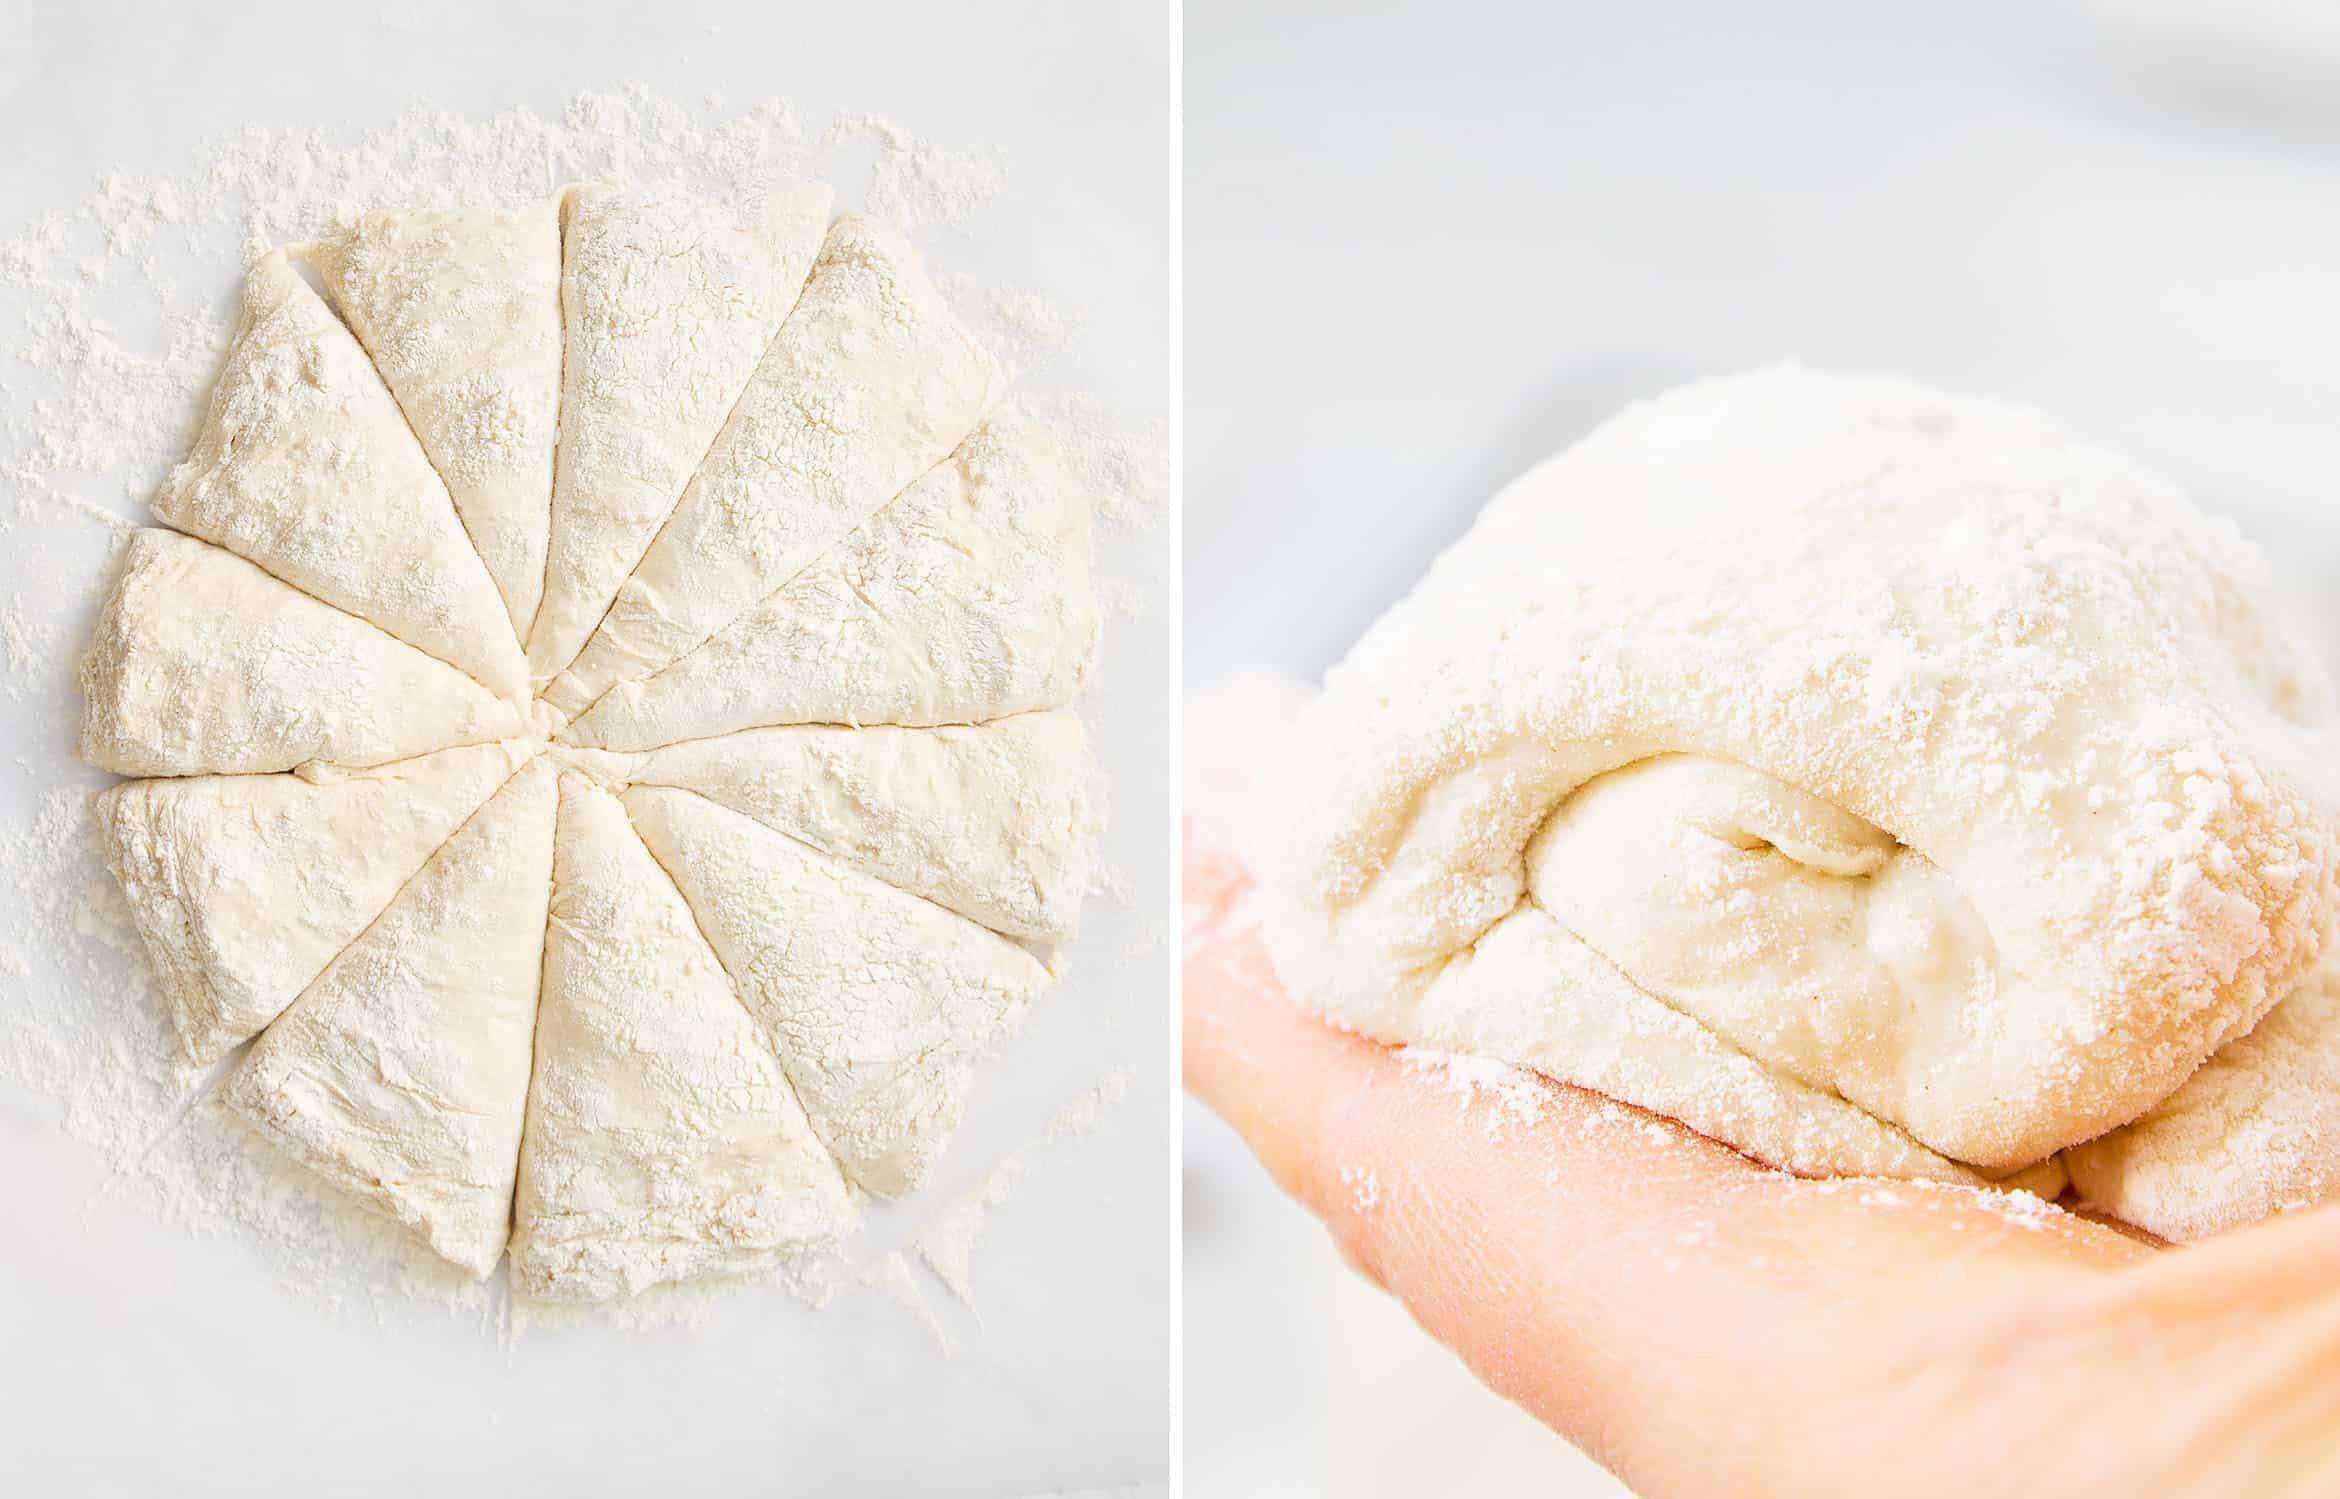
- Dust with flour and cut it into 10 portions
- Roll out each portion of the dough as you see in the picture on the right (never mind if it’s not perfect)
- Place them on a baking sheet
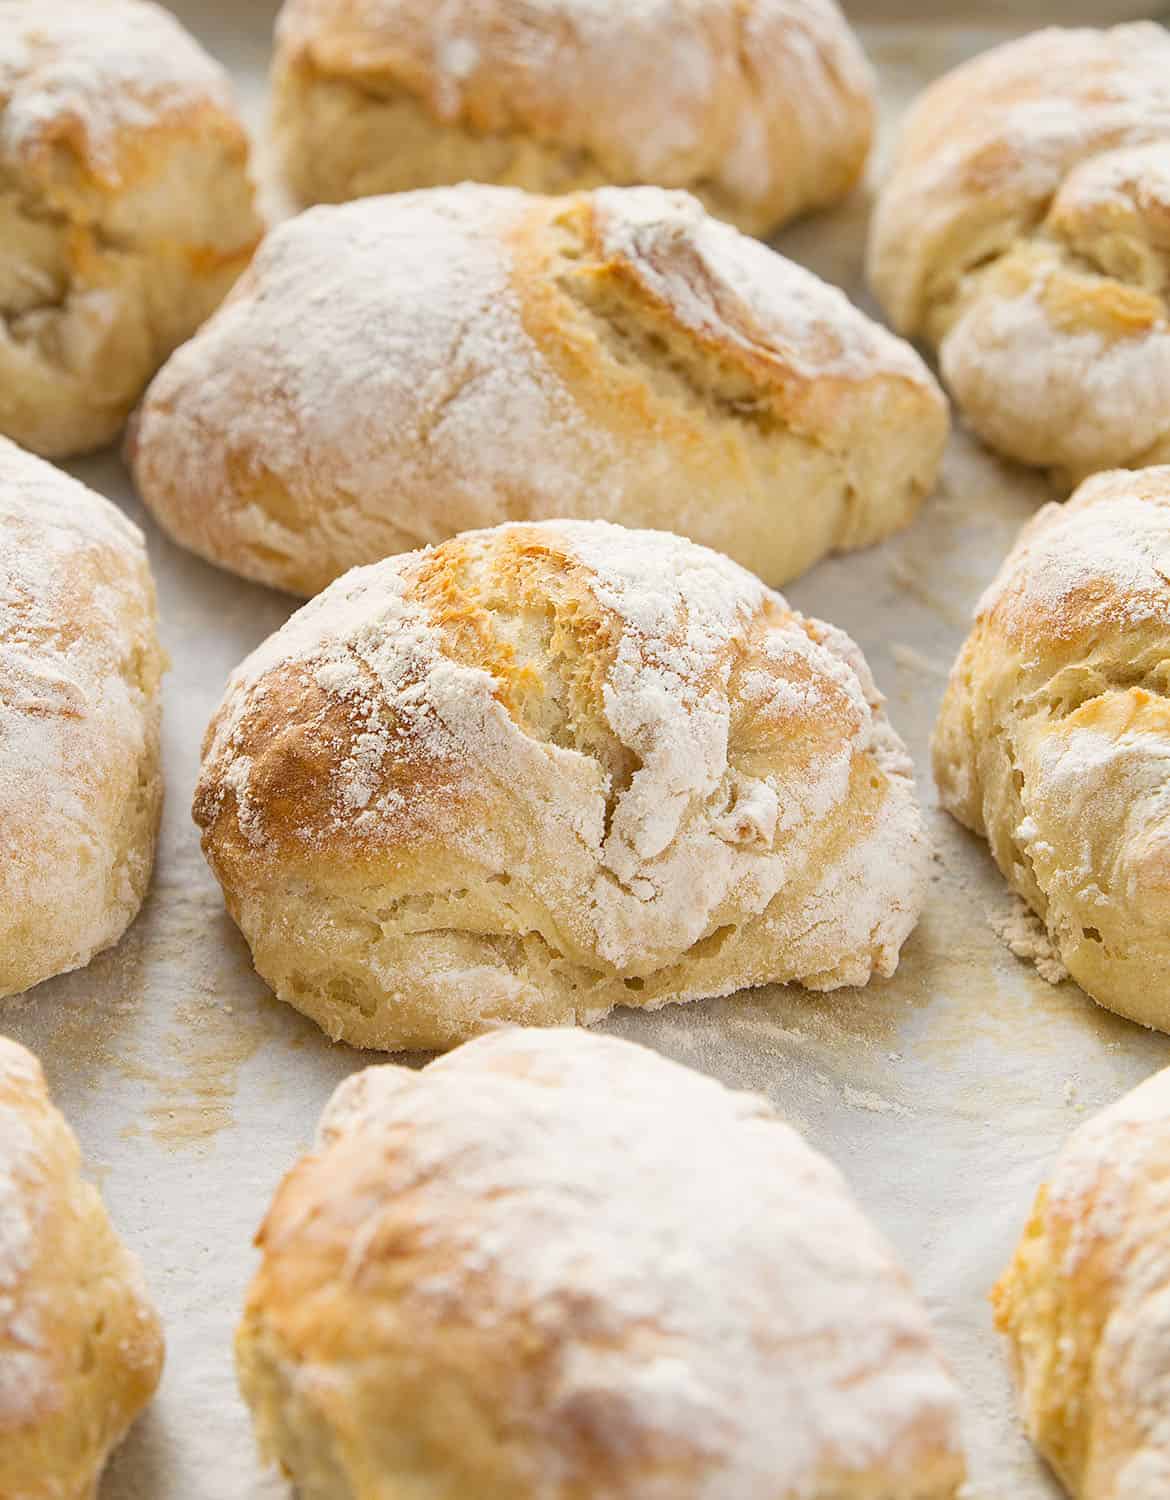
- Bake for about 20 MINUTES
- Enjoy, straight out the oven IS BEST!
RECIPE NOTES & QUESTIONS
WHAT’S PANINI?
First things first, “panini” is an Italian word. One panino (singular), two panini (plural).
In Italian, the noun panino means a simple small bread roll, without filling.
However, the word is also used to indicate a sandwich made from any Italian bread. The bread is cut horizontally (not sliced!) and filled with deli ingredients, often served warmed or grilled.
Every bakery (panetteria) in Italy sells plain panini. And if you happen to be over there, please pay a visit to a panetteria in the morning, get fresh bread and think of me for a second 🙂
WHAT DO YOU EAT WITH PANINI BREAD?
The sky is the limit! That being said, the most popular filling for panini is any kind of salami, cured meat, cheese, fresh or grilled vegetables. Here a few examples of the usual ingredients for authentic Italian stuffed panini:
- Meat: salami, mortadella, ham, parma ham, bresaola, coppa, speck, porchetta, grilled chicken or chicken Milanese.
- Cheese: mozzarella, brie, soft cheese, toma, Emmental, gouda, goat cheese.
- Vegetables: tomatoes, lettuce, rocket, grilled vegetables such as zucchini, peppers, eggplants.
- Eggs: sliced hard-boiled eggs or any kind of frittata, like this spinach frittata or this potato frittata.
- Dressing: olive oil or extra virgin olive oil and salt are the most popular dressings. But also basil pesto, red pesto, mustard or mayo are often used to jazz up classic panini recipes.
Last but not least, Italians eat panini bread with any kind of dish, except pasta and pizza.
We love carbs ?!
IS HOMEMADE BREAD HEALTHY?
Homemade bread is healthier than a store-bought bread mostly because it doesn’t contain preservatives, additives, emulsifiers, and enzymes to keep the bread softer for longer.
Baking your own bread from scratch gives you control over the ingredients and you know exactly what goes in it. You can reduce the amount of salt, you can mix whole grain flours and get plenty of fiber, or you can add super healthy seeds to increase your omega-3 levels.
WHAT IS THE BEST FLOUR FOR BREAD?
Different types of wheat flour contain different amounts of protein. With a high protein content, bread flour contains a greater amount of gluten which contributes to a good structure, higher rise, and chewier consistency. These qualities make bread flour perfect for artisanal rustic bread.
On the other hand, all-purpose flour has a lower content protein, slightly lower rise, it gives a softer crumb, but overall works well in this panini recipe. Plus, all-purpose flour is cheaper and easily available.
NOTE: I use half all-purpose flour and half whole wheat flour or spelt flour for this recipe. They both work well and increase the fiber content of my panini.
HOW LONG DOES HOMEMADE BREAD LAST?
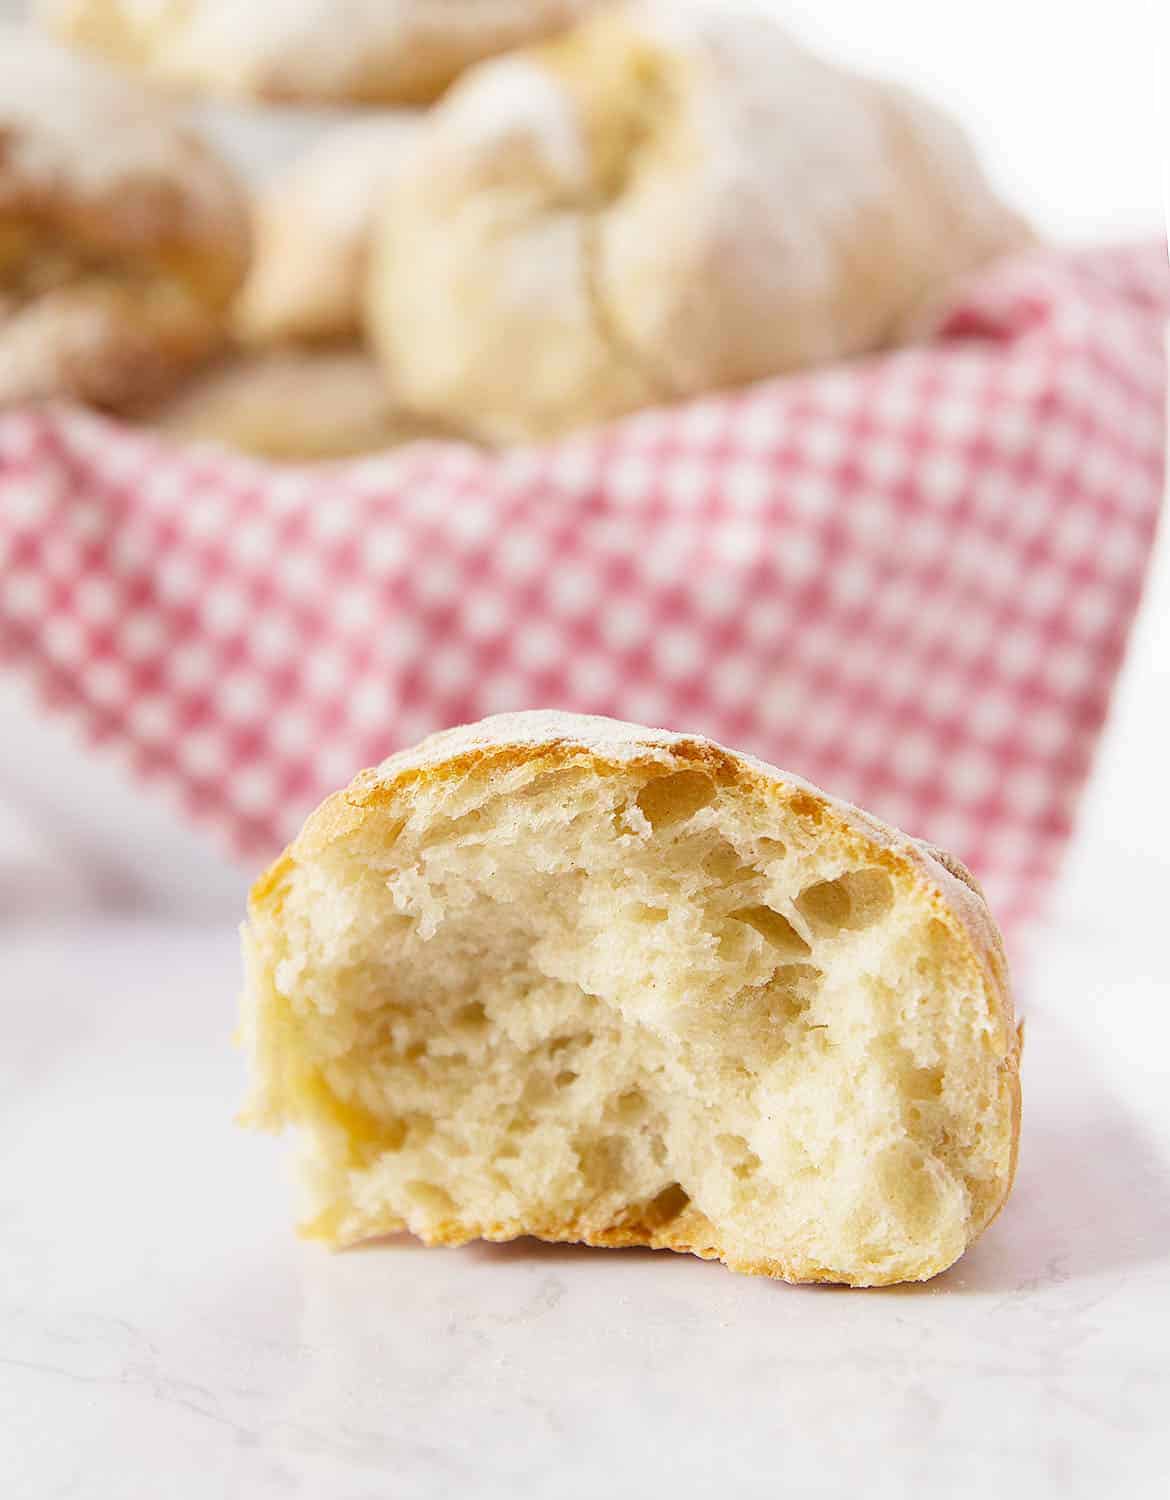
Homemade bread doesn’t contain preservatives and keeps fresh for a short period of time. This panini bread lasts for about 1-2 days.
HOW TO STORE HOMEMADE BREAD?
Store panini bread in a closed paper bag, at room temperature. However, the crispy crust softens very soon and the crumb becomes firmer, usually within 12 hours. This panini bread needs to be toasted or grilled in order to get that nice crispiness back.
Alternatively, you can freeze your panini bread while it’s still fresh, that’s what I usually do. Place your bread in a sealed plastic bag, then freeze it. When you want to use your panini bread, let it thaw at room temperature.
Have you ever tried fresh homemade bread straight out the oven? If not, please do 🙂
And if you make this panini bread recipe, leave a comment, rate it or tag a photo #theclevermeal on Instagram.
I would love to hear from you!
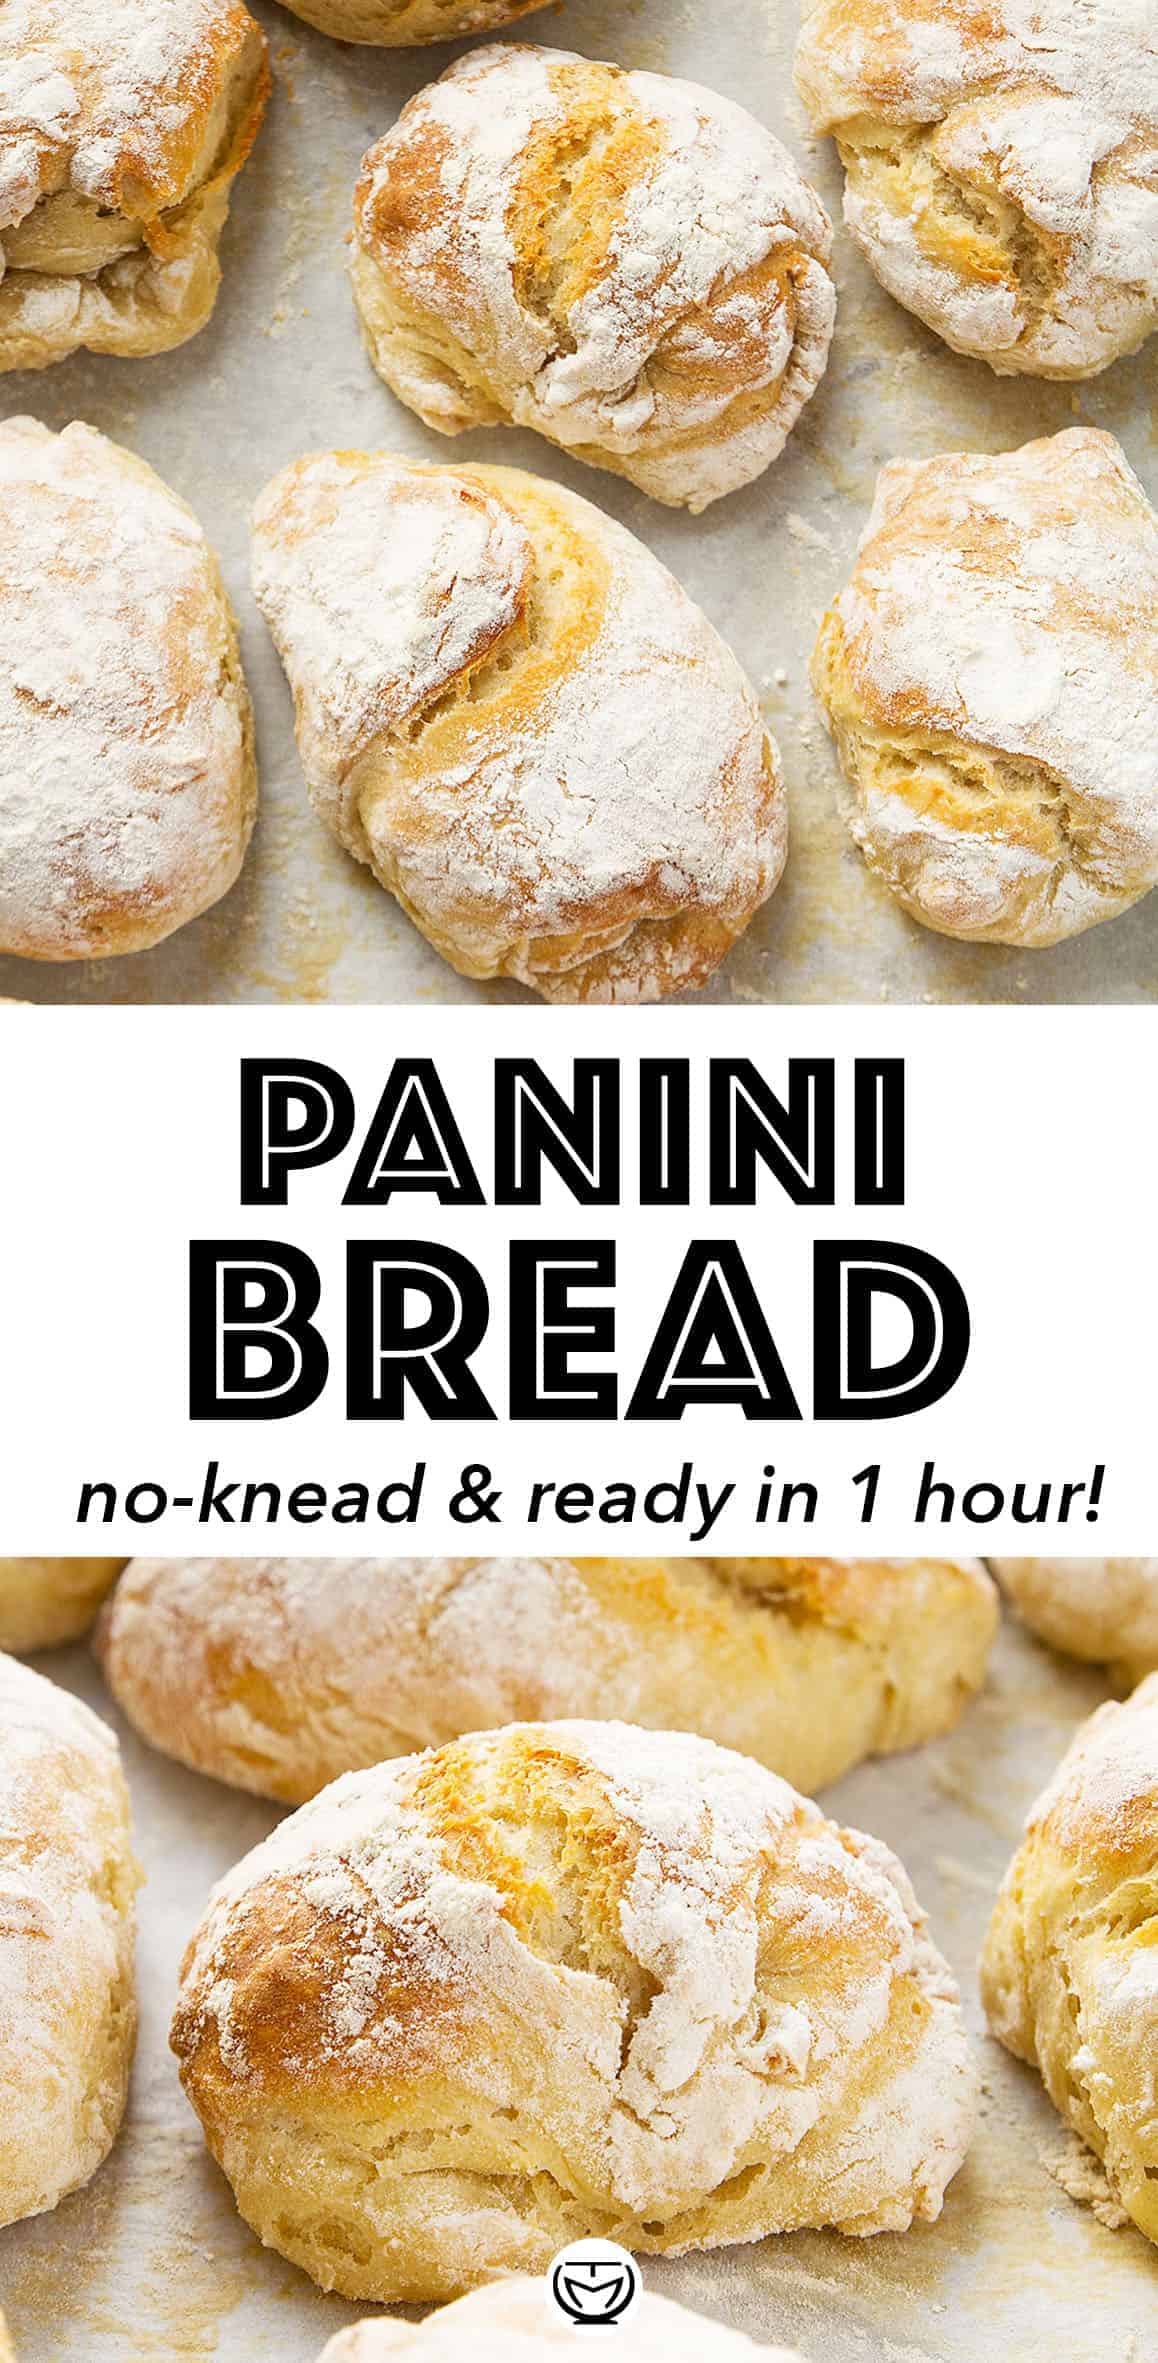
PANINI BREAD RECIPE: NO-KNEAD & READY IN 1-HOUR!
Ingredients
- 4 cups (500 grams) unbleached all-purpose flour*, plus more for dusting (leveled)
- 1 3/4 cup (420 ml) lukewarm water, plus more if needed*
- 1 Tbsp (15 ml) olive oil
- 2 tsp instant yeast
- 1 1/2 tsp fine salt
- 1/2 tsp sugar
Instructions
- Mix well water, yeast, and sugar in a jug or in a bowl and let it rest until foamy (about 5 minutes).
- Combine flour and salt in a large bowl.
- In the meanwhile, preheat the oven to 250F and turn it off.
- Add the liquid to the dry ingredients, add olive oil, and mix with a spoon or a spatula to incorporate the flour*. Mix well until no dry flour remains, but do not overmix.
- Cover the bowl with a damp kitchen towel or with cling film, then let rest in the warm oven for 30 minutes*.
- Take the dough out and preheat the oven to 440F° (forced fan).
- Gently scrape the edge of the bowl and pour the dough on a floured working surface. The dough is fluffy and a bit bubbly now, you don't want to deflate it.
- Dust the dough with flour and cut it into 10 portions as shown in the pictures above*.
- Gently roll out each portion, and keep dusting hands and surface with some flour if needed.
- Place each portion of dough (panino) on a baking sheet covered with parchment paper.
- Bake for about 20 minutes. If you have a conventional oven (without a fan), just bake for 5 minutes longer until golden and crusty.
- Enjoy while they're still warm if possible, they're delicious!
Video
Notes
Either whole grain flour and high protein flour such as bread flour absorb more water than all-purpose flour.
That being said, when you add water to the flour, start with the amount stated in the recipe. If the liquid is not enough to achieve that dough consistency as shown in the pictures above, just add graduallty a little extra water until the flour has been incorporated. WARM OVEN METHOD: this is a trick to help you to make the dough rise faster. Basically, preheat the oven at low temperature, then turn it off and create a warm environment for the dough to rise in. This shortcut works great when you run out of time. DOUGH CUTTING: I use a dough scraper, but if you don't have one, use a knife large enough to not require a slicing motion. The dough is pretty fluffy and you don't want to deflate any air pockets. NOTE: Nutritional values are estimates only.



Hi,
Is the video still up? I can’t seem to find it on this page. Thanks 🙂
Yes, the video recipe is still there. : )